-
Notifications
You must be signed in to change notification settings - Fork 8
Post Installation
This article aims to give you some information on what to do after installing MassOS and how to make the most out of your new system.
There are multiple ways you can install software on MassOS. Some of these are described in this article.
Flatpak is a universal package manager designed for distributing desktop applications across a wide variety of GNU/Linux distributions. It is installed and configured by default on MassOS, making it the most convenient way to get new apps.
You can install Flatpak apps graphically, using the Software program on MassOS, as well as via the command-line.
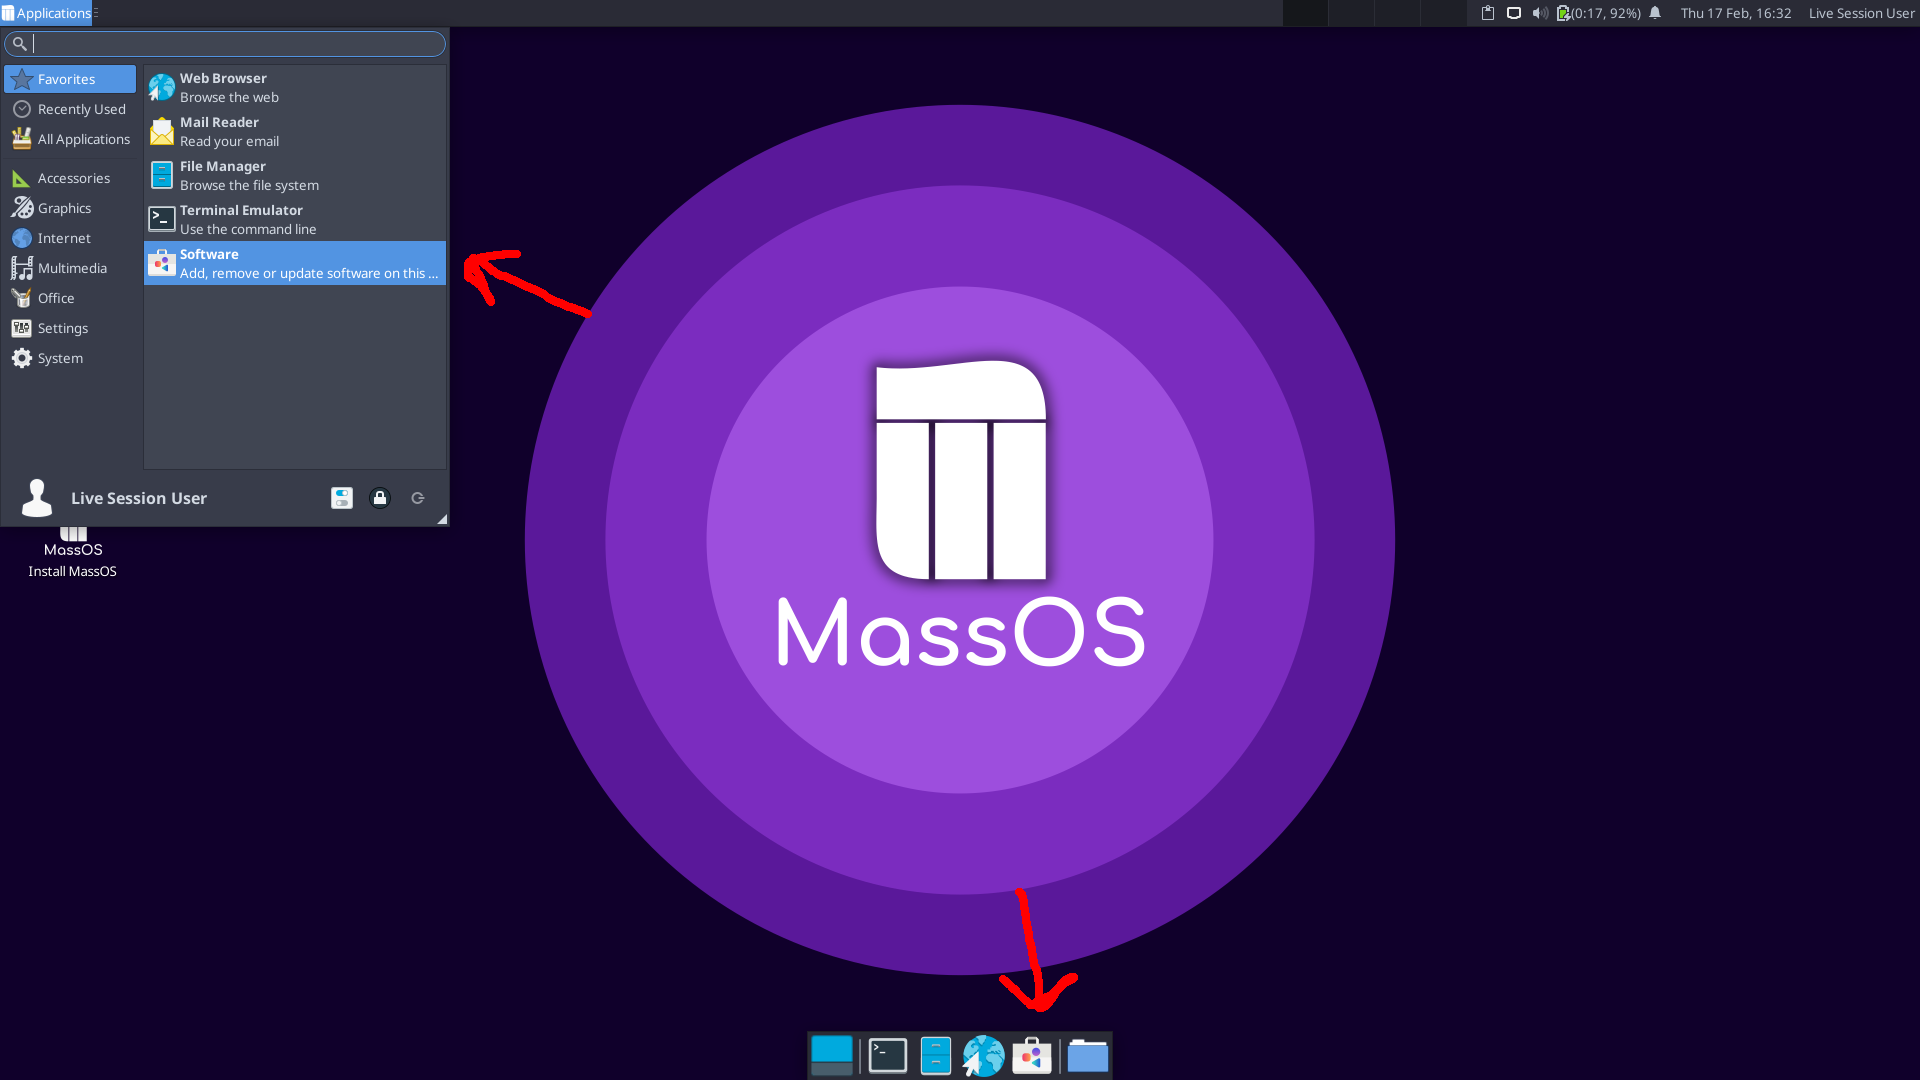
The software center on MassOS (GNOME Software) can be launched from the applications menu, or from the panel at the bottom of the screen:
 On the first launch, it may take a few seconds to download application data. Once open, the front page of the store contains some recommended apps. You can browse through the categories, or click the search button at the top left hand corner:
 For example: To install LibreOffice, we will search for it:
 Now click "Install" and wait patiently. When the app is installed, it will be available from your apps list. You can also launch it by clicking the "Launch" button in the software center.

You can also install Flatpak apps from the terminal.
Press Control+Alt+T to open a terminal, or find the terminal in your apps list.
You can type the following command to install Flatpak software:
flatpak install <name of package>
For example, to install LibreOffice:
flatpak install org.libreoffice.LibreOffice
To search for software, replace install with search:
flatpak search <search term>
To list installed software:
flatpak list
AppImages are Linux apps which bundle all their dependencies into a single portable executable which can be run from almost anywhere.
Many popular projects including Kdenlive and Krita provide AppImages on their download pages. There are also hundreds of community-built AppImages for other popular applications like Atom, Arduino, Blender, Chromium, GIMP and many more available from AppImageHub.
After downloading an AppImage file, all you have to do is make it executable, and then run it. To make an AppImage executable, simply right click the file, go to "Permissions", and check "Allow this file to run as a program".

Additionally, MassOS 2022.07 and newer contain zap, an experimental package manager for AppImages.
Homebrew is a ports-like distribution-agnostic package manager which supports macOS and GNU/Linux.
NOTE: Installing Homebrew takes around 700MB of disk space, excluding packages you might install with it later.
Homebrew can be installed on MassOS by running the following command in a terminal:
/bin/bash -c "$(curl -fsSL https://raw.githubusercontent.com/Homebrew/install/HEAD/install.sh)"
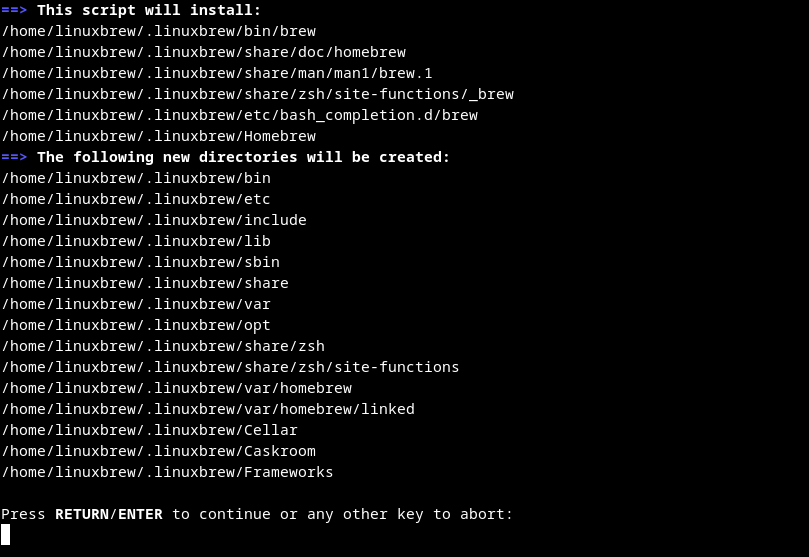
When prompted, type your user password and press enter to perform a system-wide installation. If you are not an administrator on the system, the script will perform a local installation instead.

Press enter at the next confirmation prompt, and be patient. The installation may take some time.

Once the installation is finished, you'll need to set up the environment to be able to use Homebrew. If your installation is system-wide, run the following two commands:
/home/linuxbrew/.linuxbrew/bin/brew shellenv | sudo tee /etc/profile.d/homebrew.sh
source /etc/profile.d/homebrew.sh
Alternatively, if your installation is local (not system-wide), run the following two commands:
~/.linuxbrew/bin/brew shellenv >> ~/.bashrc
source ~/.bashrc
To install a package:
brew install <package-name>
brew install docker
To update packages:
brew update
To search for a package:
brew search <search-query>
brew search docker
To remove a package:
brew uninstall <package-name>
brew uninstall docker
For full/complete usage details, see the following commands:
brew help
man brew
Since MassOS 2022.07, snapd is supported on MassOS, however it is not installed by default, due to its controversy within the GNU/Linux community.
Please see the MassOS-Snapd project for installation instructions (don't worry, it's pretty straightforward).
After installing snapd, if you would like GUI support for installing and managing snap packages, you can install the Snap Store like this:
snap install snap-store