xServer ‐ Installation and Configuration Guide
How to install xServer
Warning: Do not install and/or run both xCore and xServer clients on the same computer.
This guide works for every Tier of xServer (T1, T2 and T3).
Before you move on with the installation you need to open two TCP ports on your router and system firewall, your xServer client will tell you if the ports have not been successfully opened. This process is unique to each system and our users are expected to be capable of doing this on their own, support won't be provided for this step on our discord support channels.
Only open one of those sets of ports, if you are running your xServer on the main live network (99.9% of users) use ports 52342 and 4242.
Mainnet Ports - 52342 and 4242 (TCP)
Testnet Ports - 62342 and 4243 (for alpha and beta testers only) (TCP)
These ports only need to be opened on the xServer machine or VPS, xCore doesn't need open ports.
Do not do the following steps before you install PostgreSQL, you can find the guide here.
When PostgreSQL is fully installed you can start installing the xServer software:
-
Download the latest xServer version here.
-
Install xServer by following these steps:
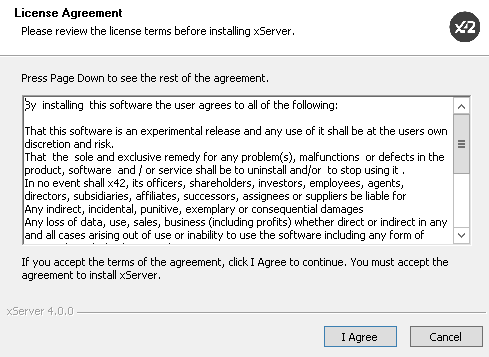
a. Click ‘I Agree’.
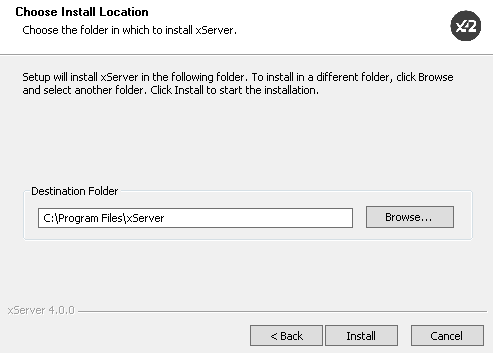
b. Use the default Destination Folder, click ‘Install’.
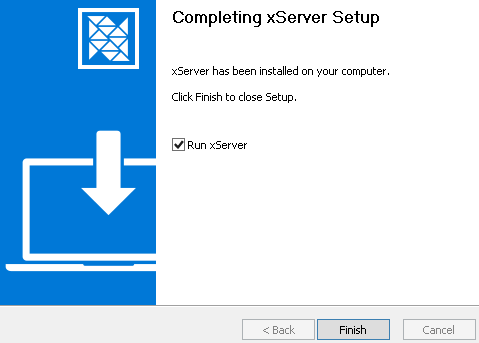
c. Check ‘Run xServer’ and click ‘Finish’. xServer will open and you can immediately close it after it loads, this is done so some system files are created for the connections and configuration step.
- xServer Database Connection
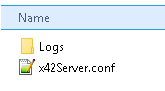
a. Go to the xServer folder:
Windows [WIN] config location: %AppData%\Roaming\xServerData\Main\YOURDATABASENAME
Linux [TUX] and Mac [MAC] config location: Located in your home directory ~/
b. Edit the xServer.conf file to make any configuration changes for the desired environment.
Find this string on the text file:
#connectionstring=User ID=postgres;Password=password;Host=localhost;Port=5432;Database=x42;
Take out the hashtag/comment (#) at the beginning of the line, edit it with your chosen password, port and database name, for this example we used '123456' as a password, the default '5432' PostgreSQL port and x42 for the database name yours will look similar to this:
connectionstring=User ID=postgres;Password=123456;Host=localhost;Port=5432;Database=x42;
Do not forget to take out the line comment (#) otherwise the connection string will not work.
This is the string that allows for PostgreSQL connection with xServer, without the correct information the server will not start.
c. Save the file xServer.conf file after you have made the changes.
d. Open the xServer and let it fully synchronize without creating a wallet. This process may take several hours.
e. Your xServer is now ready to be launched. After you launch the client do not interact with it for a full sixty seconds.
Optional steps (node check):
a. You can monitor the state of your node by accessing this page: http://localhost:42220/logs If you get a page offline or unreachable page error your node is not properly running, reboot your PC/VPS and launch the client again OR close the xServer client and go to your task manager (or equivalent) and click 'End Task' on all x42 and blockcore-related processes.
b. Relaunch your client, wait a full minute before unlocking it.
You can now proceed to the wallet creation guide that can be found here.