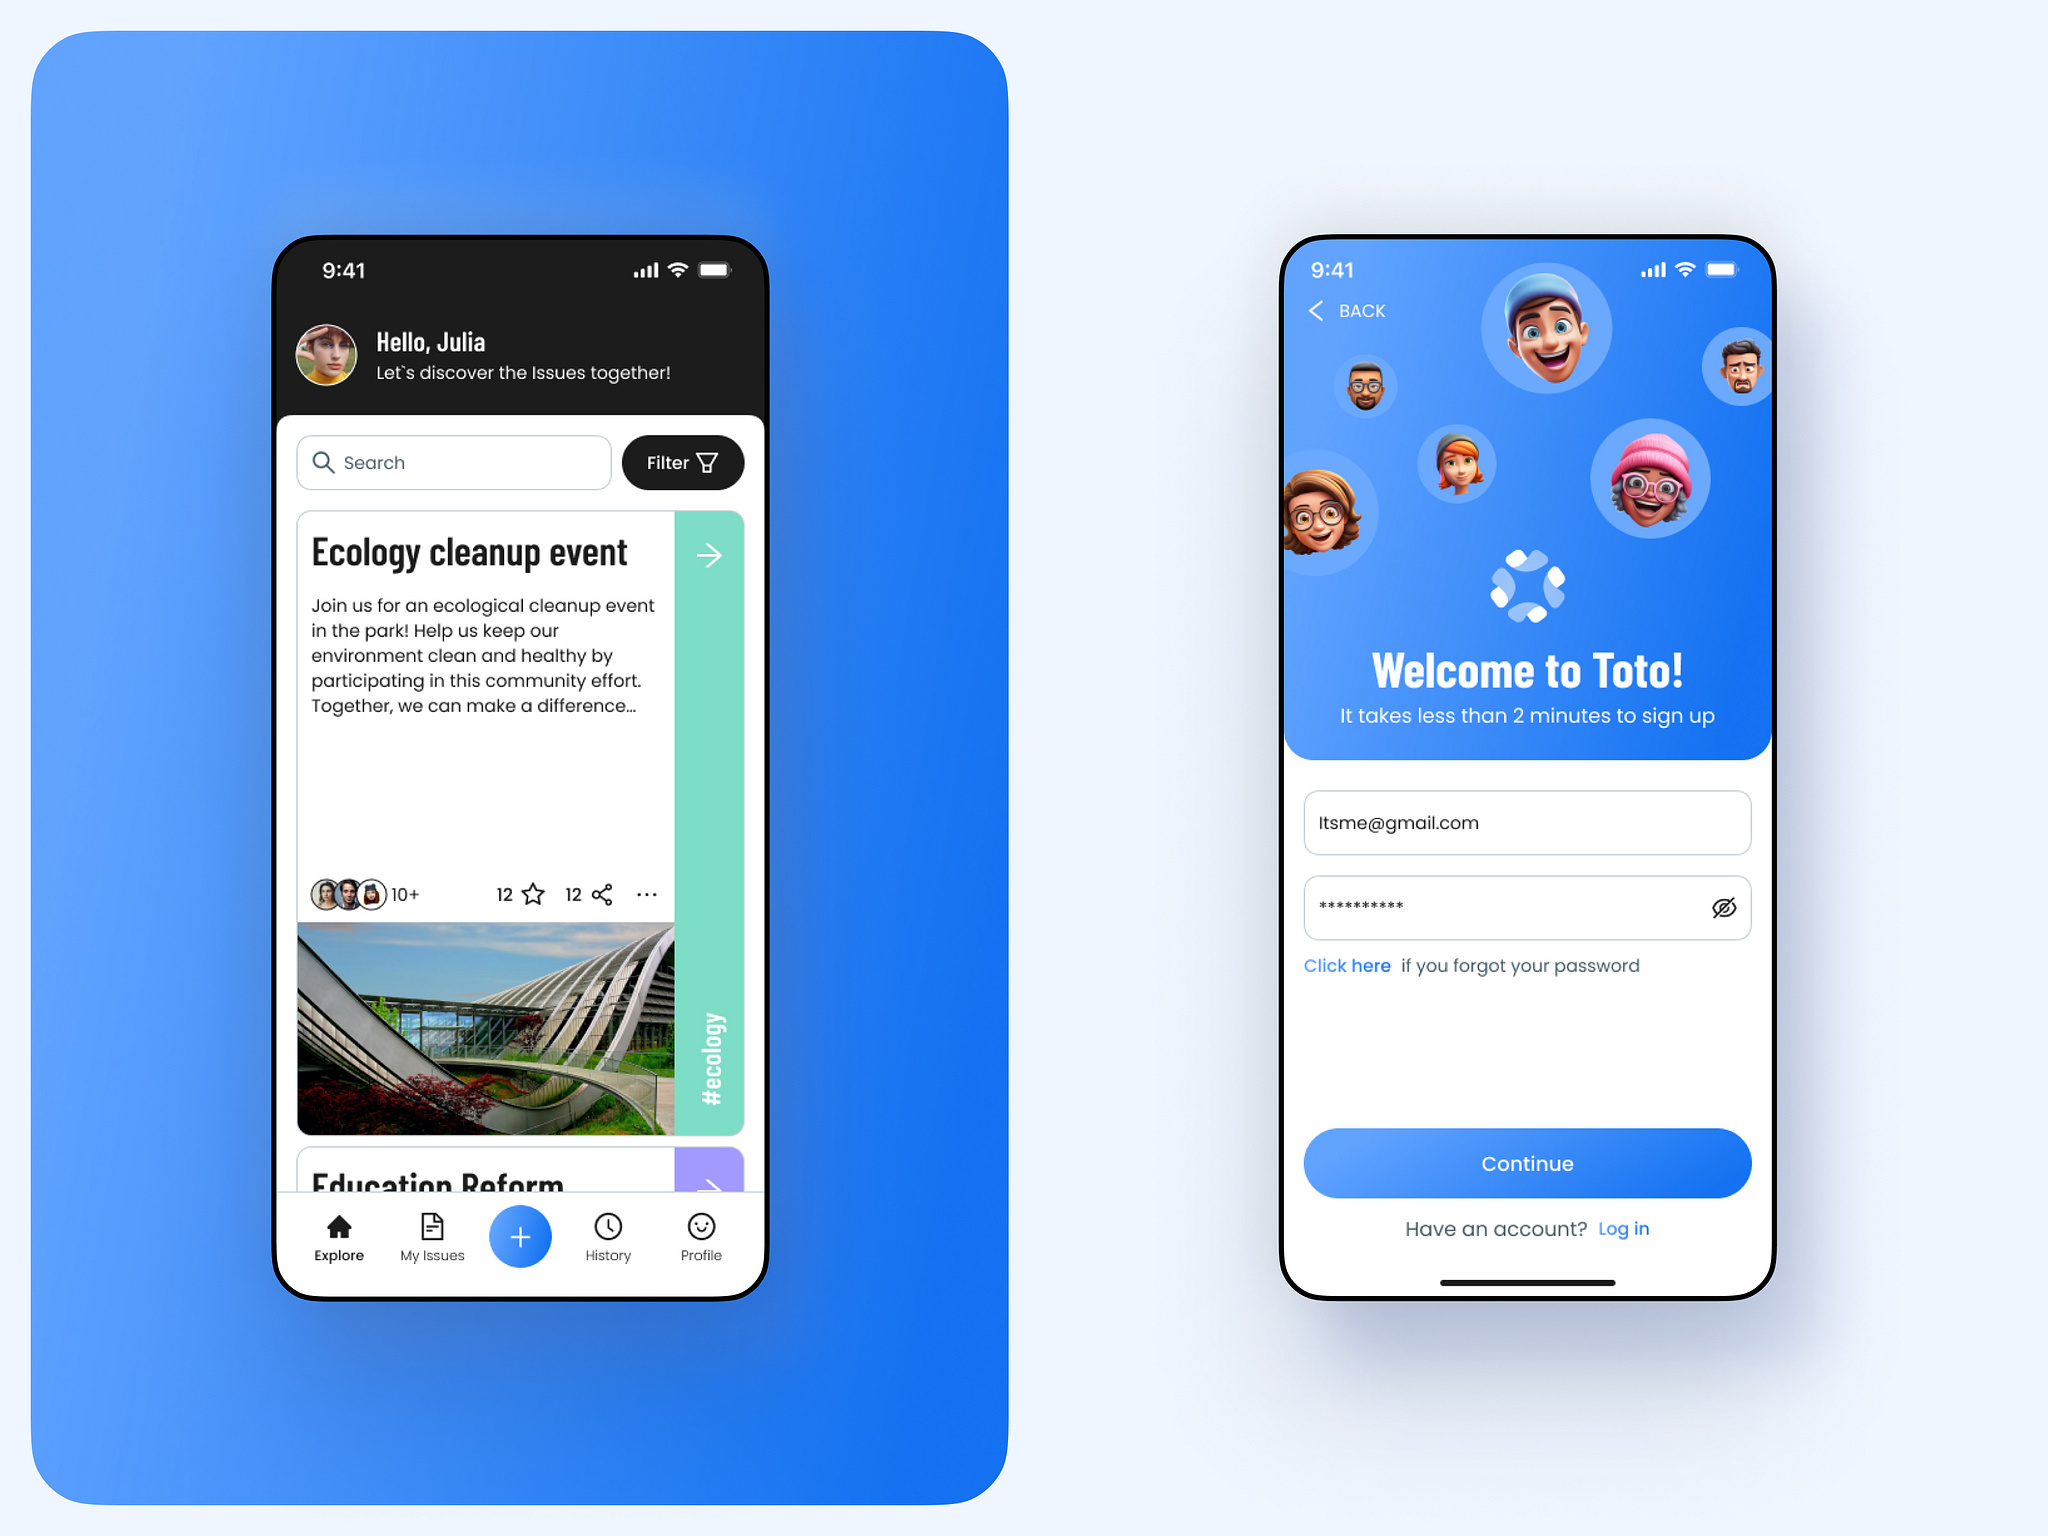
In this project, you will continue on your previous profile page and create 4 main pages for your new social media app. The pages you select are up to you, but they should be related to a social media app. You can use the navigation method of your choice (Material page route or Named routes).
- Learn how to navigate between pages in Flutter.
- Learn how to create a bottom navigation bar.
- Learn how to push and pop pages in Flutter.
To setup this project, please follow this simple git and github tutorial provided here
import 'package:flutter/material.dart';
// Import all of the pages that we want to navigate to
// ...............

// Create a stateful widget
class MainScreen extends StatefulWidget {
  const MainScreen({super.key});
  @override
  _MainScreenState createState() => _MainScreenState();
}

// Create a state
class _MainScreenState extends State<MainScreen> {
  // Create a list of pages that we want to navigate to
  final List<Widget> _pages = [
    // Add all of the pages that we want to navigate to
    // ...............
  ];

  // Create a variable to keep track of the current page
  int _selectedPageIndex = 0;

  // Create a method to change the current page
  void _selectPage(int index) {
    setState(() {
      _selectedPageIndex = index;
    });
  }

  @override
  Widget build(BuildContext context) {
    // Create a scaffold
    return Scaffold(
      // Create a bottom navigation bar
      bottomNavigationBar: BottomNavigationBar(
        // Set the current page
        currentIndex: _selectedPageIndex,
        // Set the items in the bottom navigation bar
        items: [
          // Create a bottom navigation bar item
          BottomNavigationBarItem(
            // Set the icon of the item
            icon: Icon(Icons.home),
            // Set the label of the item
            label: 'Home',
          ),
          // Create a bottom navigation bar item
          BottomNavigationBarItem(
            // Set the icon of the item
            icon: Icon(Icons.search),
            // Set the label of the item
            label: 'Search',
          ),
          // Create a bottom navigation bar item
          BottomNavigationBarItem(
            // Set the icon of the item
            icon: Icon(Icons.shopping_cart),
            // Set the label of the item
            label: 'Cart',
          ),
          // Create a bottom navigation bar item
          BottomNavigationBarItem(
            // Set the icon of the item
            icon: Icon(Icons.person),
            // Set the label of the item
            label: 'Profile',
          ),
        ],
        // Set the action that happens when an item is pressed
        onTap: _selectPage,
      ),
      // Set the body of the scaffold
      body: _pages[_selectedPageIndex],
    );
  }
}import 'package:flutter/material.dart';
// Import the page that we want to navigate to
// ...............
// Navigate Function using Push
void _navigate(BuildContext context) {
Navigator.push(
context,
MaterialPageRoute(
builder: (context) => SomePage(args: args,)// Add the page that we want to navigate to
),
);
}import 'package:flutter/material.dart';
// Import all of the pages that we want to navigate to
// ...............
// In your MaterialApp widget, add the routes parameter
MaterialApp(
// Add the routes parameter
routes: {
// Add all of the pages that we want to navigate to
// ...............
"/somePage": (context) => SomePage(args: args),// Add the page that we want to navigate to
"/someOtherPage": (context) => SomeOtherPage(args: args),// Add the page that we want to navigate to
},
);Now we can use these named routes to navigate to a new page.
// Navigate Function using Named Routes
void _navigate(BuildContext context) {
  Navigator.pushNamed(
    context,
    '/somePage',// Add the name of the page that we want to navigate to
  );
}In this project, you will continue on your previous profile page and create 4 main pages for your new social media app. The pages you select are up to you, but they should be related to a social media app. You can use the navigation method of your choice (Material page route or Named routes).
- The app must have a bottom navigation bar.
- The app must have a home page, search page, notifications page, and profile page.
- The app must have some inner page that uses the navigation method of your choice. (Material page route or Named routes)
- The app structure should be clean and easy to understand.
- The app should be well documented.
- The readme file should contain a brief description of the project and a screenshot of the app.
- Use a package from pub.dev to create a stylized bottom navigation bar
- Use a Hero widget to create a transition between pages
- The app should be pushed to Github and a pull request should be created. You can check how to push your code to Github in section 2.1.2 Add Changes.
- The pull request title should be in the following format:
<your-name> - <project-name>. You can check how to make a pull request in section 2.1.5. Create a pull request. - The pull request description should contain the following:
- A brief description of the project.
- A screenshot of the app.