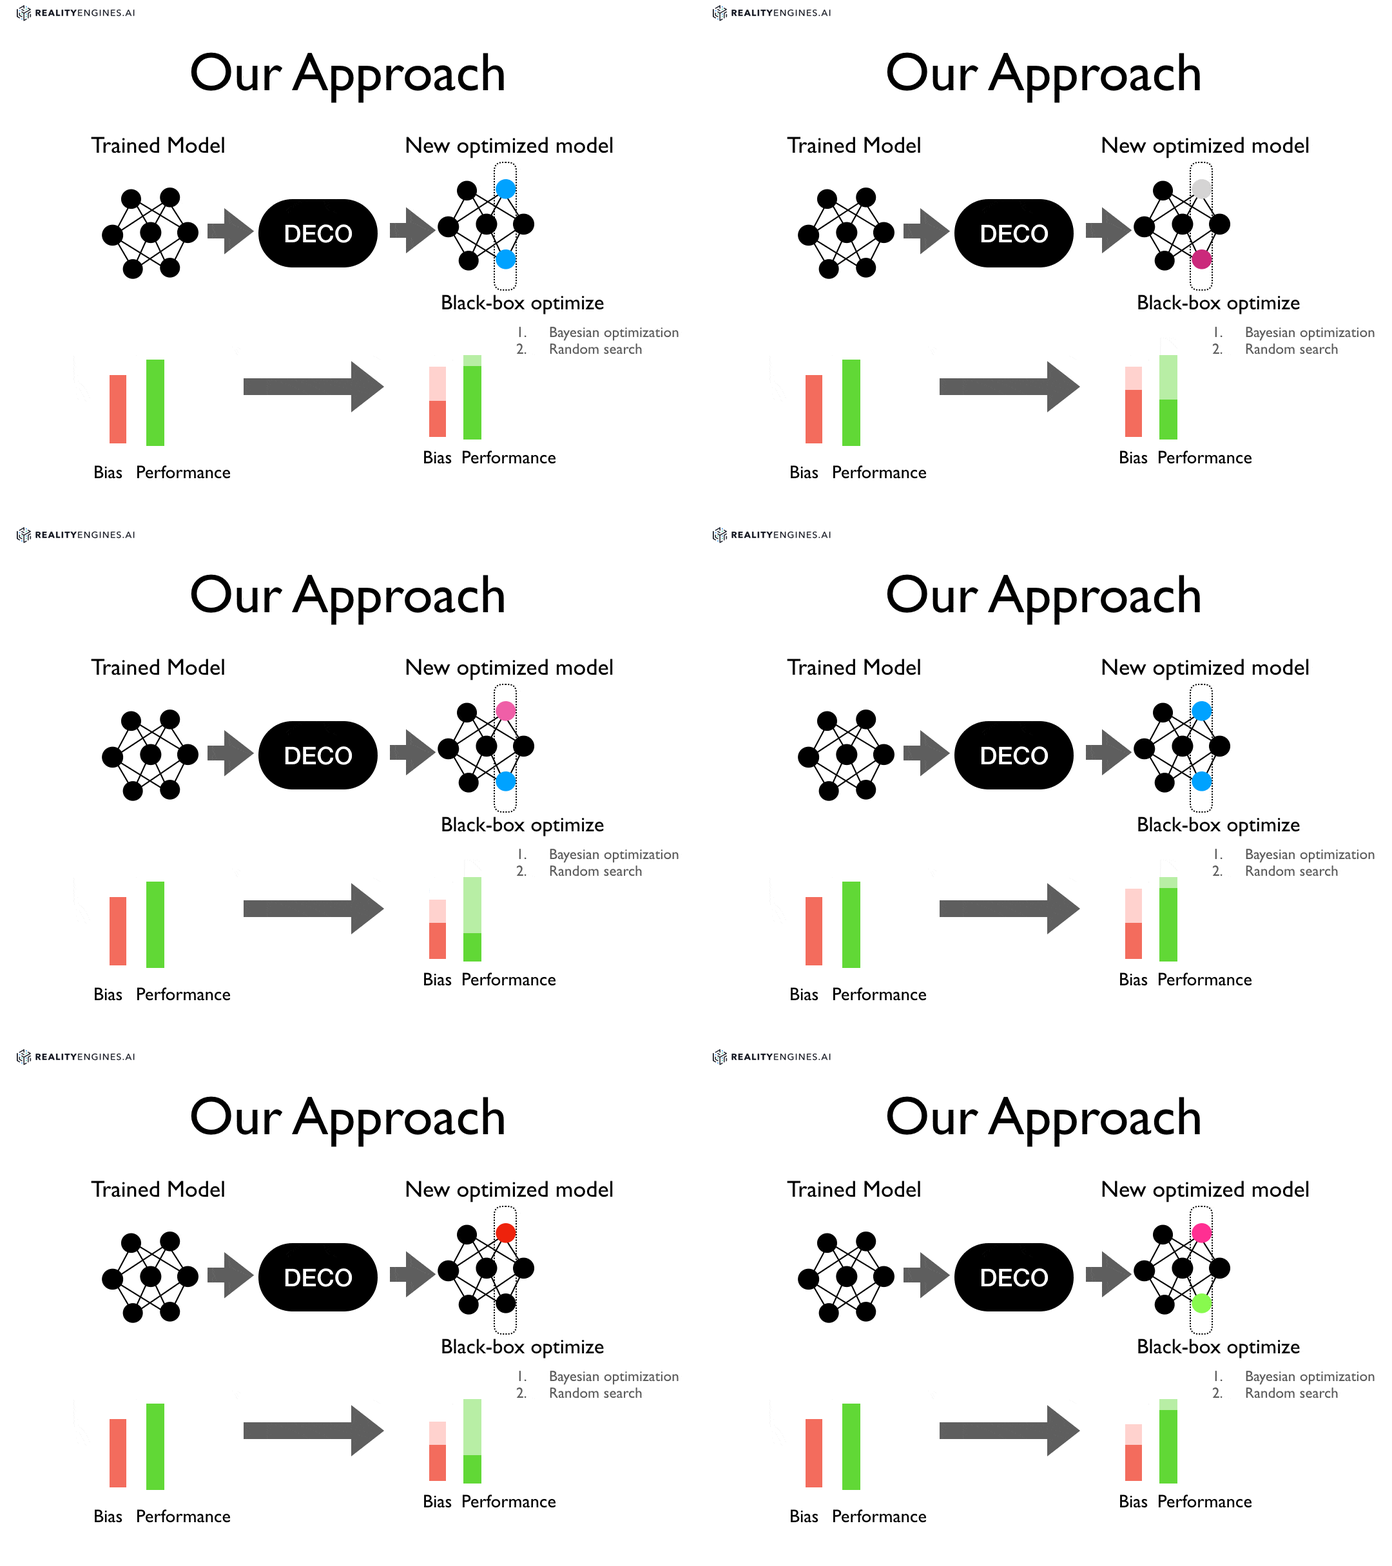
Deco is a new approach for reducing bias.
In our approach, we treat debiasing as an optimization problem and apply optimization procedures to parts of an already trained machine learning model. For instance, given a trained neural network, we apply optimization to set the weights on one or more layers of the network such that the weights reduce some combination of bias measures without sacrificing performance.
In order to set up the necessary environment:
- create an environment
decowith the help of conda,conda env create -f environment.yaml - activate the new environment with
conda activate deco - install
decowith:python setup.py install # or `develop`
Optional and needed only once after git clone:
-
install several pre-commit git hooks with:
pre-commit installand checkout the configuration under
.pre-commit-config.yaml. The-n, --no-verifyflag ofgit commitcan be used to deactivate pre-commit hooks temporarily. -
install nbstripout git hooks to remove the output cells of committed notebooks with:
nbstripout --install --attributes notebooks/.gitattributesThis is useful to avoid large diffs due to plots in your notebooks. A simple
nbstripout --uninstallwill revert these changes.
Then take a look into the scripts and notebooks folders.
- Always keep your abstract (unpinned) dependencies updated in
environment.yamland eventually insetup.cfgif you want to ship and install your package viapiplater on. - Create concrete dependencies as
environment.lock.yamlfor the exact reproduction of your environment with:For multi-OS development, consider usingconda env export -n deco -f environment.lock.yaml--no-buildsduring the export. - Update your current environment with respect to a new
environment.lock.yamlusing:conda env update -f environment.lock.yaml --prune
├── AUTHORS.rst             <- List of developers and maintainers.
├── CHANGELOG.rst           <- Changelog to keep track of new features and fixes.
├── LICENSE.txt             <- License as chosen on the command-line.
├── README.md               <- The top-level README for developers.
├── configs                 <- Directory for configurations of model & application.
├── data
│   ├── external            <- Data from third party sources.
│   ├── interim             <- Intermediate data that has been transformed.
│   ├── processed           <- The final, canonical data sets for modeling.
│   └── raw                 <- The original, immutable data dump.
├── docs                    <- Directory for Sphinx documentation in rst or md.
├── environment.yaml        <- The conda environment file for reproducibility.
├── models                  <- Trained and serialized models, model predictions,
│                              or model summaries.
├── notebooks               <- Jupyter notebooks. Naming convention is a number (for
│                              ordering), the creator's initials and a description,
│                              e.g. `1.0-fw-initial-data-exploration`.
├── references              <- Data dictionaries, manuals, and all other materials.
├── reports                 <- Generated analysis as HTML, PDF, LaTeX, etc.
│   └── figures             <- Generated plots and figures for reports.
├── scripts                 <- Analysis and production scripts which import the
│                              actual PYTHON_PKG, e.g. train_model.
├── setup.cfg               <- Declarative configuration of your project.
├── setup.py                <- Use `python setup.py develop` to install for development or
|                              or create a distribution with `python setup.py bdist_wheel`.
├── src
│   └── deco                <- Actual Python package where the main functionality goes.
├── tests                   <- Unit tests which can be run with `py.test`.
├── .coveragerc             <- Configuration for coverage reports of unit tests.
├── .isort.cfg              <- Configuration for git hook that sorts imports.
└── .pre-commit-config.yaml <- Configuration of pre-commit git hooks.
This project has been set up using PyScaffold 3.2.3 and the dsproject extension 0.4. For details and usage information on PyScaffold see https://pyscaffold.org/.
