ARChES Tutorial
ARChES workflow provides a framework that can be used for dosage compensation (DC) analysis for any given set of species. There are several published DC analyses work on various species [1-6]. Each DC analyses has a unique workflow to suit the needs of species involved. However, these multiple analyses provide as much ambiguity as information for starting a DC analysis on a new set of species. This DCP workflow aims to be the starting point for any DC analyses.
Please note that several conda environments used in this tutorial takes about ~7.5GB The complete tutorial takes about ~10GB of disk space. The entire tutorial takes about ~3 hours on an Intel(R) Xeon(R) CPU E5520 @2.27GHz processor with 16 cores and 64 GB RAM and it takes about ~6 hours on a Xeon E5-2690 [email protected] processor with 24 cores and 64 GB RAM available at TACC to complete the workflow.
Note: The graphs (report.html) generated in the latest version of the workflow are not interactive.
-
Download conda for your operating system and walk through the installation steps as given here. Installation instruction for Linux is given below:
-
conda
# Download conda with python 3.7 wget https://repo.anaconda.com/miniconda/Miniconda3-py37_4.8.3-Linux-x86_64.sh # Install Conda bash Miniconda3-py37_4.8.3-Linux-x86_64.sh- Please make sure to type "yes" to initialize conda to your path during installation. This will add
condato your$PATH. If needed, you can change the prefix of conda's installation location. - The workflow was tested in python
3.7and conda version4.8.3. - If conda is installed properly you should see
(base)before the username on the terminal.
- Please make sure to type "yes" to initialize conda to your path during installation. This will add
-
conda
-
Once conda is installed and is in the
$PATH, install snakemake.-
snakemake
- This is a conda env and can be installed as follows.
 # Install mamba to solve all snakemake Dependencies
 conda install -c conda-forge mamba
 # create/install a snakemake environment
 mamba create -c conda-forge -c bioconda -n snakemake snakemake
- This create a snakemake environment where
snakemakeand all of its dependencies are installed. - The snakemake workflow was created and tested in
5.19.3. - To check if snakemake is installed properly, activate the environment and type
snakemake --versionas follows.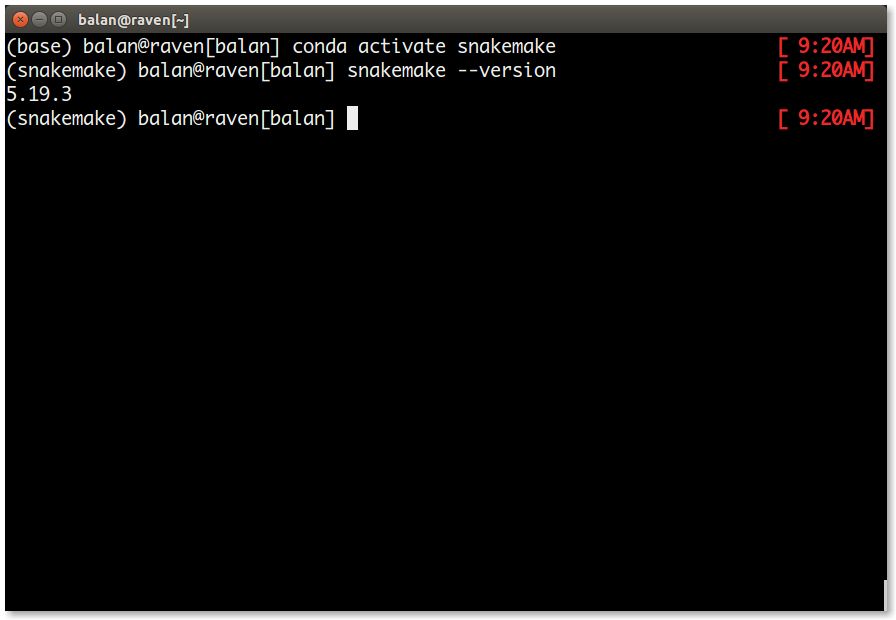
-
snakemake
Once the installation is complete, download the repository and test the workflow as follows.
# Download the repository
git clone https://github.com/rameshbalan/ARChES.git
# change the working directory to ARChES
cd ARChES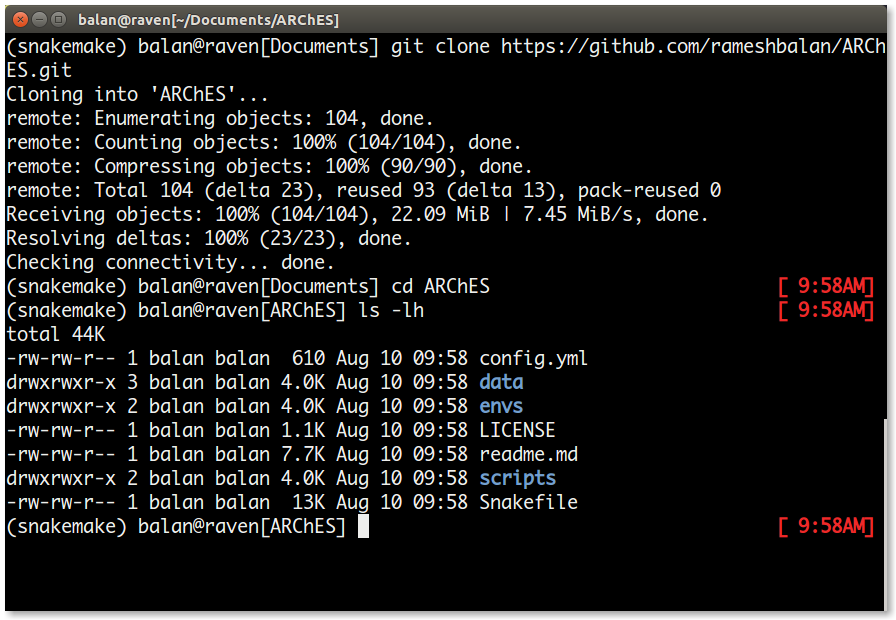
The directories and their contents are as follows:
| S. No | File/Directory | Purpose |
|---|---|---|
| 1. | config.yml | This is the only file that the user modifies for the dcp analyses. |
| 2. | data/ | holds the sequence data, tree file in nexus format and samples file of each species for DE using salmon. |
| 3. | envs/ | houses the different conda environment yaml files for different software programs. |
| 4. | LICENSE | MIT LICENSE file for the workflow. |
| 5. | readme.md | github repo readme file. |
| 6. | scripts/ | houses the python, bash and Rmarkdown scripts used in the workflow. |
| 7. | Snakefile | the driver file of the entire workflow. |
For the purpose of this tutorial, the config.yml is configured and the data directory holds sample data from five different beetle species. T_conf samples in the data is the species with the Neo-X.
For analyses with a different dataset, replace the data directory with your data. Please have all your sequence files, samples and tree in a single directory.
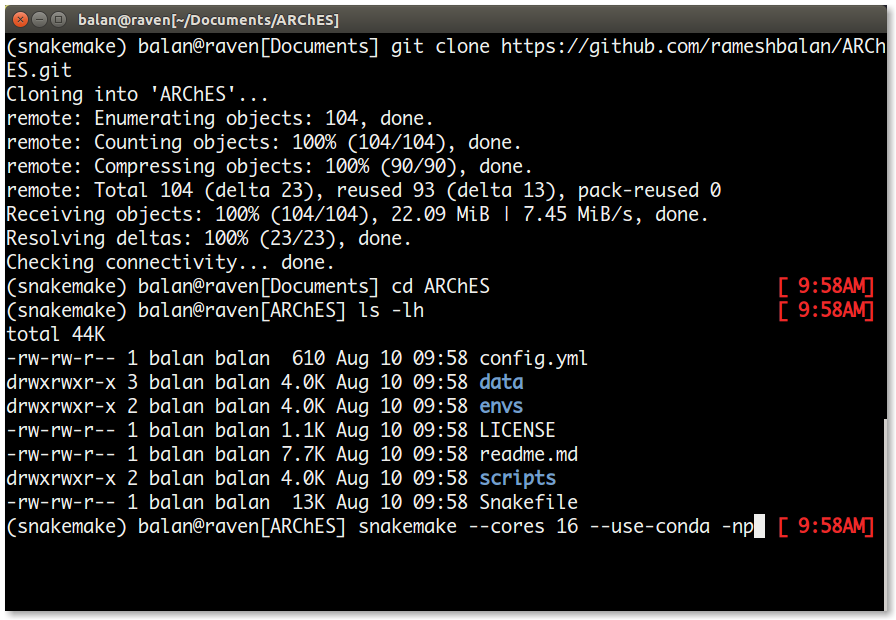
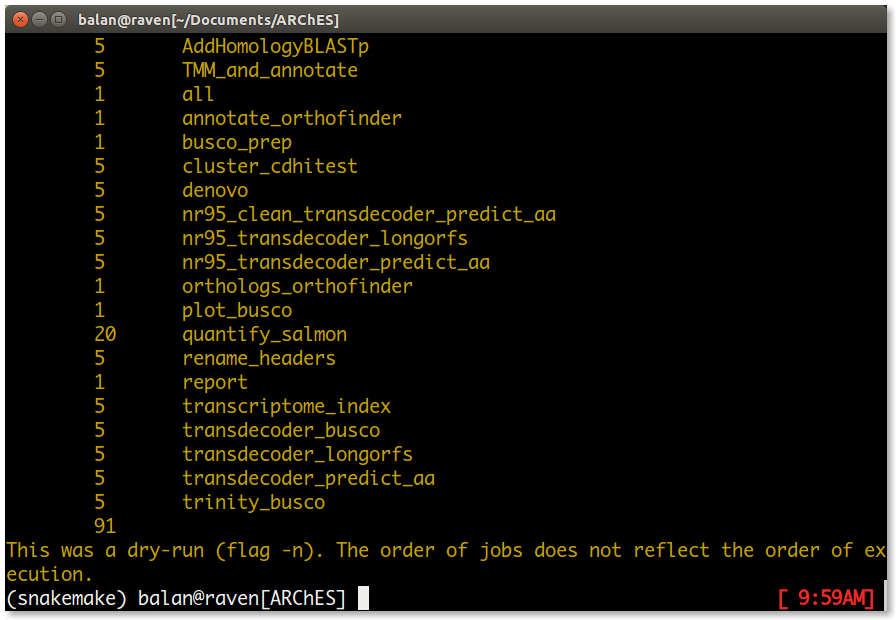
Test the number of jobs for the workflow as follows.
snakemake --cores 16 --use-conda -np| S.No | Flag | Purpose |
|---|---|---|
| 1. | --cores | Number of available cores for the analyses |
| 2. | --use-conda | Flag to make use of different conda environments specific to each analyses/rule in the workflow |
| 3. | -n | Flag to Dry-Run |
| 4. | -p | Flag to print the dry-run output to the terminal |
If everything looks good, run the workflow as follows.
snakemake --cores 16 --use-condaOnce the run is complete, the directory structure is as follows.

| S.No | File/Directory | Content |
|---|---|---|
| 1. | logs/ | This directory contains a log file for each job in the workflow. Note: Some log files may be empty unless an error occours in that job. |
| 2. | report.html | The overall results file. This file has the graph comparing the expression Neo-X genes vs its ancestral state. Note: The graphs are interactive and may load slowly in browsers |
| 3. | results/ | This directory has all the important results file for each rule. |
| 4. | tmp/ | This directory is created by cd-hit during the clustering process. |
| 5. | tmp_dir/ | This directory has all the temporary files / ancillary results files. Note: If you happen to encounter an error in the report rule, please move the all the contents from tmp_dir to the dcp/ directory. |
The results directory has the output/a copy of the output from each job. The directory list is as follows.
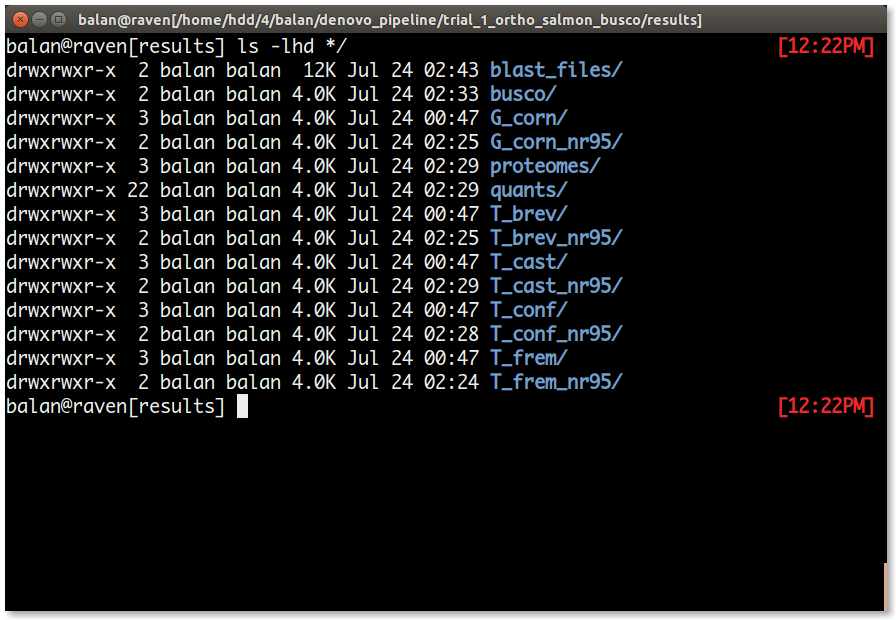
| S.No | Directory | Content |
|---|---|---|
| 1. | blast_files/ | This directory contains a blast output file for each common orthogroups blasted against the reference protein database. |
| 2. | busco/ | This directory contains two short busco summary file for each species. A summary file after trinity assembly and another one after clustering and predicting the coding sequences and protein (rule nr95_clear_transdecoder_predict_aa). Using this directory is the BUSCO summary graph is generated. |
| 3. | proteomes/ | This directory has the (nr95_transdecoder) predicted protein sequence file that is used for Orthofinder. The orthofinder results are inside this directory. |
| 4. | quants/ | This directory houses a directory for each sample in your analyses and has the expression estimates from salmon |
| 5. | [species_name] | This directory has the trinity output files and the renamed initial de novo transcriptome assembly. In the tutorial, the directories are named G_corn, T_brev, T_cast, T_conf, T_frem. |
| 6. | [species_name]_nr95 | This directory is created after indexing the processed transcriptome of each species by salmon. In the tutorial, the directories are named G_corn_nr95, T_brev_nr95, T_cast_nr95, T_conf_nr95, T_frem_nr95. |
The files list in the results is as follows.

| S.No | File | Content |
|---|---|---|
| 1. | blastp_[species_name].outfmt6 | This file is created by blasting each predicted protein sequence file from the 1st transdecoder_longorfs rule. |
| 2. | [species_name]_nr95.fasta | This file has the clustered transcriptome from cluster_cdhitest rule. |
| 3. | [species_name]_nr95.fasta.clstr | This is a summary file about the clustered transcriptome from cluster_cdhitest rule. |
| 4. | [species_name]_nr95.fasta.transdecoder.cds | This is the processed transcriptome that can be used for any other downstream analyses. In this tutorial, this file is used by salmon for transcriptome indexing |
| 5. | [species_name]_TMM.txt | This file has the TMM normalized expression results for all samples in a species. |
| 6. | [species_name]_TMM_ann.txt | To the [species_name]_TMM.txt, using the annotated_blast_file.txt, chromosome name, number and other annotation information is added to this file for each species. |
| 7. | [species_name]_TMM_ann_out.png | This graph provides an understanding of dosage balance in each species. |
| 8. | annotated_blast_file.txt | Refer 6. |
| 9. | all_species_df_R.txt | This file is the source file for the ARChES graphs in the report.html file. This tab-separated file can be used to verify if the weights added to each species is appropriate among other things. |