Learn more about Remix Stacks.
npx create-remix --template gig409/supa-ver-stack
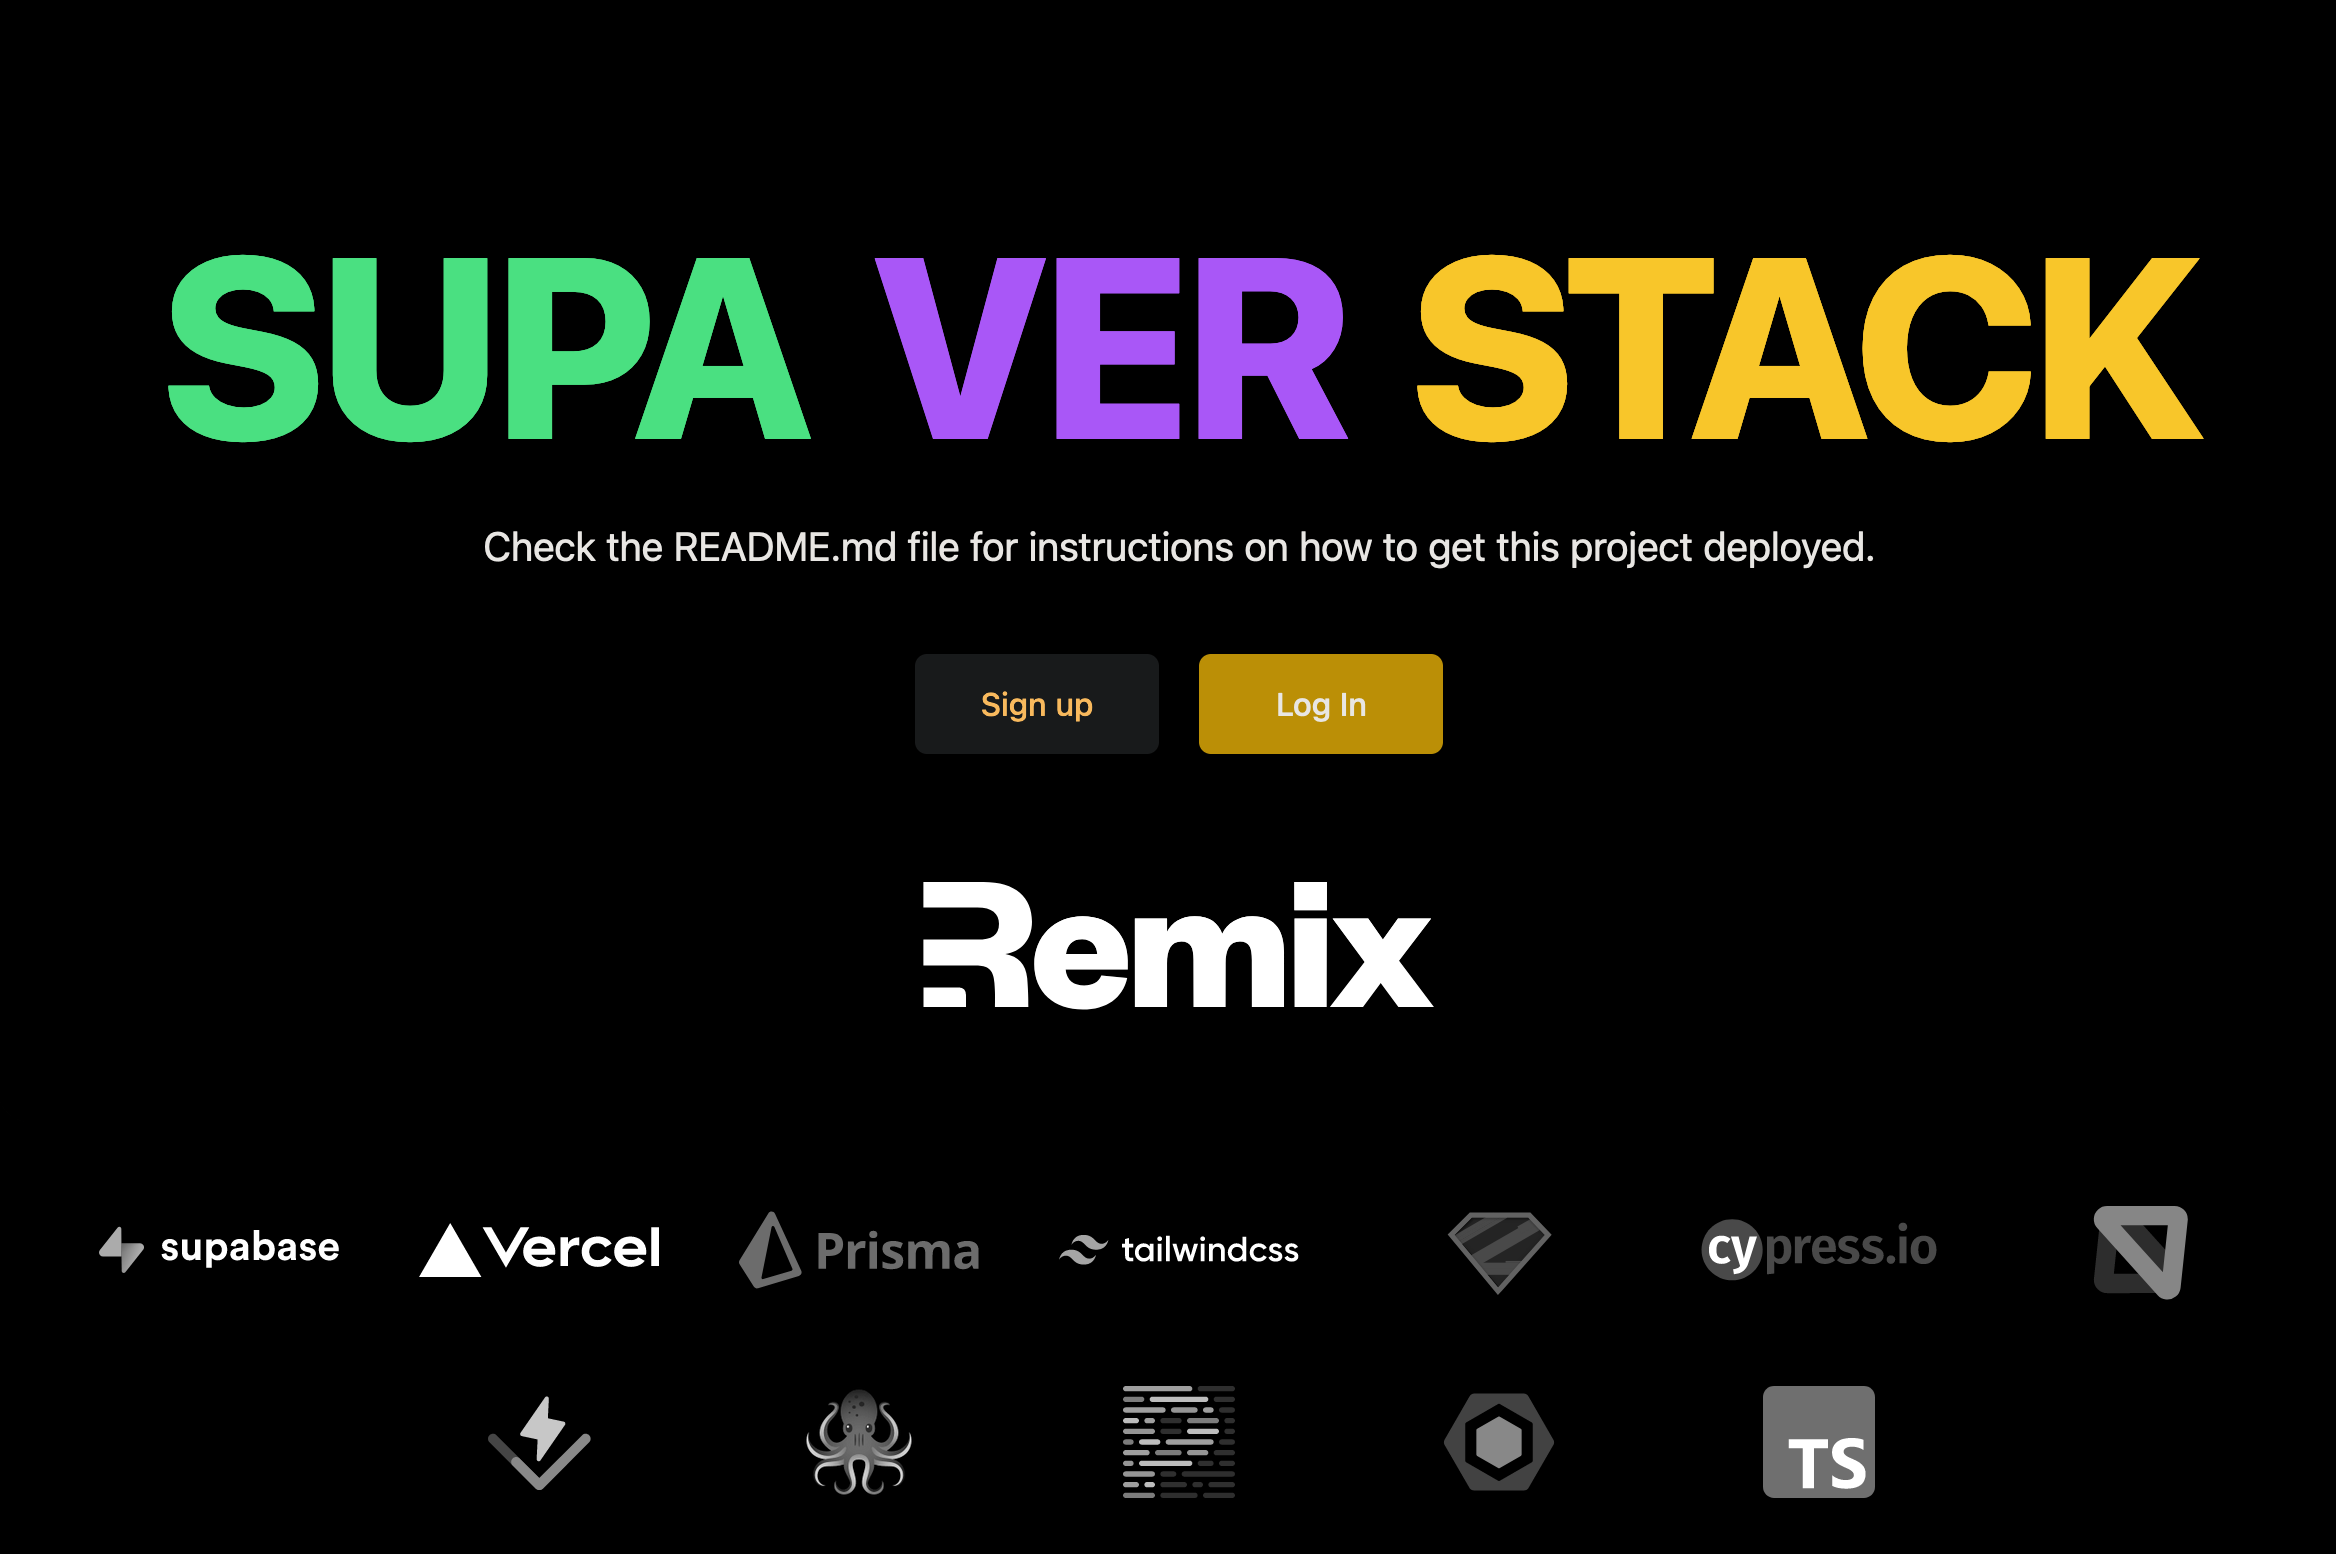
- Vercel app deployment with Docker
- Production-ready Supabase Database
- Email/Password Authentication with cookie-based sessions
- NEW : Magic Link login 🥳
- Database ORM with Prisma
- Forms Schema (client and server sides !) validation with Remix Params Helper
- Styling with Tailwind
- End-to-end testing with Cypress
- Local third party request mocking with MSW
- Unit testing with Vitest and Testing Library
- Code formatting with Prettier
- Linting with ESLint
- Static Types with TypeScript
Not a fan of bits of the stack? Fork it, change it, and use npx create-remix --template your/repo! Make it your own.
-
Download and run Docker Desktop
Note: Needed to create a shadow database for prisma
Note: Shadow database is local and run by
docker-compose.yml -
Create a Supabase Database (Free tiers gives you 2 databases)
Note: Only one for playing around with Supabase or 2 for
stagingandproductionNote: Used all your free tiers ? Also works with Supabase CLI and local self-hosting
Note: Create a strong database password, but prefer a passphrase, it'll be more easy to use in connection string (no need to escape special char)
example : my_strong_passphrase
-
Go to https://app.supabase.io/project/{PROJECT}/settings/api to find your secrets
-
"Project API keys"
-
Add your
SUPABASE_URL,SERVER_URL,SUPABASE_SERVICE_ROLE(akaservice_rolesecret),SUPABASE_ANON_PUBLIC(akaanonpublic) andDATABASE_URLin the.envfileNote:
SERVER_URLis your localhost on dev. It'll work for magic link login
DATABASE_URL="postgres://postgres:{STAGING_POSTGRES_PASSWORD}@db.{STAGING_YOUR_INSTANCE_NAME}.supabase.co:5432/postgres"
SHADOW_DATABASE_URL="postgresql://postgres:postgres@localhost:12345/postgres"
SUPABASE_ANON_PUBLIC="{ANON_PUBLIC}"
SUPABASE_SERVICE_ROLE="{SERVICE_ROLE}"
SUPABASE_URL="https://{STAGING_YOUR_INSTANCE_NAME}.supabase.co"
SESSION_SECRET="super-duper-s3cret"
SERVER_URL="http://localhost:3000"
-
Start Shadow database (Docker needs some time at initial run)
npm run shadow-db:setup
-
Wait until you see
supabase-shadow_1 | PostgreSQL init process complete; ready for start up.in console output -
You can now
ctrl+cto kill process -
Initial setup:
npm run setup
-
Start dev server:
npm run dev
This starts your app in development mode, rebuilding assets on file changes.
The database seed script creates a new user with some data you can use to get started:
- Email:
hello@supabase.com - Password:
supabase
This is a pretty simple note-taking app, but it's a good example of how you can build a full stack app with Prisma, Supabase and Remix. The main functionality is creating users, logging in and out (handling access and refresh tokens + refresh on expire), and creating and deleting notes.
- auth ./app/services/auth.server.ts
- user sessions, and verifying them ./app/services/session.server.ts
- creating, and deleting notes ./app/models/note.server.ts
-
Create a new GitHub Repository, and then add it as the remote for your project. Do not push your app yet!
git remote add origin <ORIGIN_URL>
-
Integrate repo with Vercel
//TODO 👉 You have to add some env secrets for cypress. 👈
Add a SESSION_SECRET, SUPABASE_URL, SUPABASE_SERVICE_ROLE,SUPABASE_ANON_PUBLIC, SERVER_URL and DATABASE_URL to your repo secrets
We use Cypress for our End-to-End tests in this project. You'll find those in the cypress directory. As you make changes, add to an existing file or create a new file in the cypress/e2e directory to test your changes.
We use @testing-library/cypress for selecting elements on the page semantically.
To run these tests in development, complete your .env and run npm run test:e2e:dev which will start the dev server for the app as well as the Cypress client. Make sure the database is running in docker as described above.
We also have a utility to auto-delete the user at the end of your test. Just make sure to add this in each test file:
afterEach(() => {
  cy.cleanupUser()
})
That way, we can keep your test db clean and keep your tests isolated from one another.
For lower level tests of utilities and individual components, we use vitest. We have DOM-specific assertion helpers via @testing-library/jest-dom.
This project uses TypeScript. It's recommended to get TypeScript set up for your editor to get a really great in-editor experience with type checking and auto-complete. To run type checking across the whole project, run npm run typecheck.
This project uses ESLint for linting. That is configured in .eslintrc.js.
We use Prettier for auto-formatting in this project. It's recommended to install an editor plugin (like the VSCode Prettier plugin) to get auto-formatting on save. There's also a npm run format script you can run to format all files in the project.
CC BY-NC-SA 4.0