Quake Game
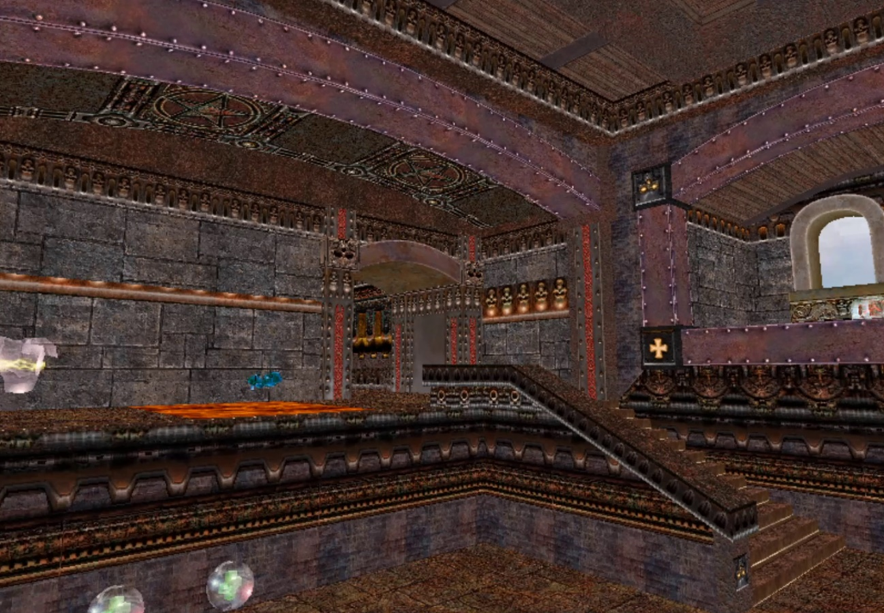
The game is a third-person shooter simplified version of the Quake III Arena which has been developed for educational purpose. In this game, a player moves around a real-time 3D virtual world with a familiar mixture of gothic and technological architecture viewed from a third-person perspective. The game mode consists on a duel against an AI agent which has equal strength and abilities than the player avatar and the main goal is to score points by killing or fragging the opponent. This can be accomplished by shooting the enemy using the available weapons while navigating and collecting items such as ammunitions, healths, armors, weapons and powerups throughout the map which are meant to aid during the combat. A typical duel match gameplay requires of map knowledge to read opponents and figure out when to pressure, keep distance or retreat altogether while timing the needed items to control the map. After a player has been fragged, that is the player’s health points has reached zero, the game can continue by respawning the player in a new position with health points restored, but without any weapons or power-ups previously gathered.
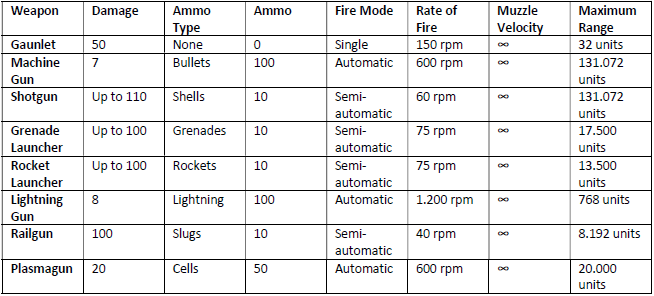
The player needs weapons to defend himself or to attack an enemy, and they can be picked up at different locations in the level. It is important to understand the strength and weakness of each weapon, and knowing in which circumstance to use them is what it makes the difference on the player performance.
-
Rocket Launcher. It is one of the most lethal weapons in the game. It fires rockets that inflict around 100 points of damage on impact. When the rocket explodes near a player it will still inflict splash damage. Despite of its power and effectiveness, its ammo is limited and the rocket can harm the player who fired it as well.
-
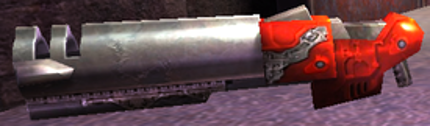
Machine Gun. It is the most effective default weapon. Its automatic fire inflicts between 5 and 7 points of damage per bullet. The machine gun has a quite high rate of fire and is pretty accurate at long-range distance. It is usually used to preserve the ammo of the other weapons so that anyone can kill a weaker enemy without wasting valuable ammo.
-
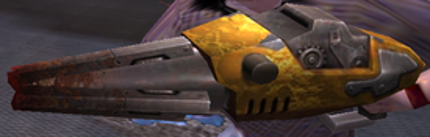
Gauntlet. It is a circular-saw melee weapon with a spinning blade that can be accessed by default. The weapon doesn’t require any ammunition and is meant for close combat. It can inflict 50 points of damage when successful hit a close enemy and can usually kill opponents in less than 3 strikes.
-
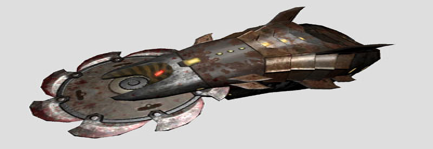
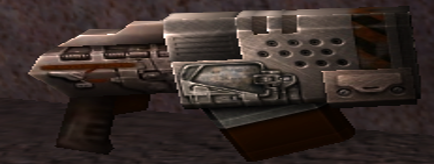
Grenade Launcher. It fires grenades that bounce around for about three seconds before they explode. Each grenade can inflict up to 100 points of damage, thus inflict splash damage when the enemy is within range. The Grenade Launcher is more of a utility for close range area denial. Littering the floor with grenades on a retreat can be very helpful when trying to escape from an enemy, and is lethal in a closed-combat situation.
-
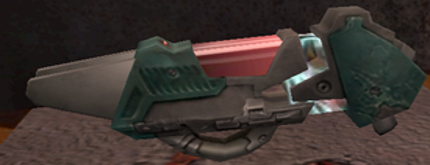
Lightning Gun. It fires a powerful stream of lightning at a target that inflicts about 80 points of damage for each second a player is hit by the beam. The beam eats up ammo very fast, and is limited in range so distant enemies can get away unharmed. This highly precise weapon is very popular due to its attack rate that can quickly deplete an enemy’s health.
-
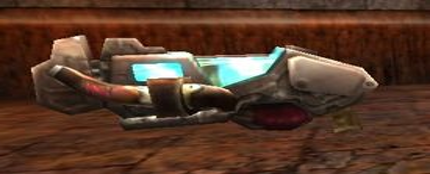
Plasma Gun. It fires slow bursts of blue iron plasma. Each plasma inflicts approximately 20 points of damage, and the impact can generate a very small amount of splash damage. Despite of being a difficult weapon to handle, it can become very effective at close distance since it is very hard for the enemies to avoid a burst of plasma pulses.
-
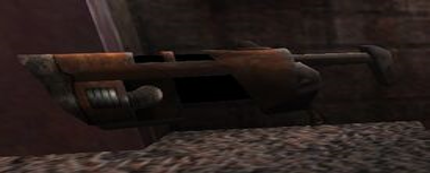
Railgun. It is the most powerful instant hit weapon. A slug that inflicts 100 points of damage on a direct hit is ejected at an extremely high speed, however the rate of fire is rather low. The railgun is very accurate even over large distances and is a popular weapon that fires a slug in a straight line like a sniper rifle.
-
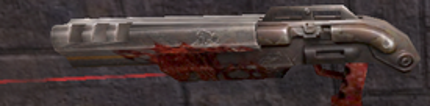
Shotgun. It is a very lethal weapon at close range. Though the weapon appears double-barreled, it only uses one shell of ammunition per discharge with a spread of 11 pellets. Each pellet inflicts approximately 10 points of damage. The pellets disperse in a spread pattern, which makes the weapon less effective at anything above mid-range, but at point-blank can frag an enemy instantly.
There are different types of items along the map such as armor, ammo, and health that the player will need for surviving or increasing the advantage. When the player picks any item from the environment, the item will disappear for a certain amount of time and the player’s internal status will change depending on the picked item.
-
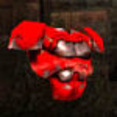
The Red Armor gives a player 100 armor points when picked up, with a maximum of 200. It absorbs 2/3 of an attack, it can be stacked with Yellow Armor, and the spawn timer is 25 seconds by default.
-
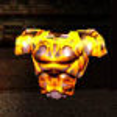
The Yellow Armor grants a player 50 armor points when picked up, with a maximum of 200. It absorbs 2/3 of an attack, it can be stacked with Red Armor and the spawn timer is 25 seconds by default.
-
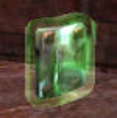
The Armor Shard Armor grants the player 5 Armor points. Armor Shards are best used to repair damaged Armor; especially powerful armor such as Red Armor.
-
The Megahealth. It is a powerup that grants the user 100 health up to max health points of 200. Its default spawn timer is 35 seconds.

-
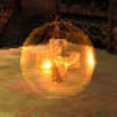
50 health. This item adds 50 to the player’s heath. This item can only be picked up when the player’s health is below 100.
-
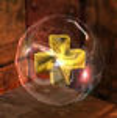
25 health. This item adds 25 to the player’s heath. This item can only be picked up when the player’s health is below 100.
-
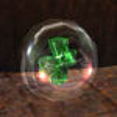
5 health. The player can pick up as many of these health items as can be found. Each green health will add 5 to the player’s health.
-
Ammo

There are structural elements which don’t have any effect on the player status but are used to access different areas of the map.
-
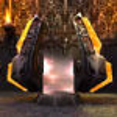
Teleporter. These portals will teleport you all over the map. Handy for getting to certain spots in the map quickly.
-
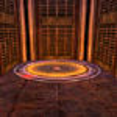
Jump Pads. When the avatar run onto one of these pads, it will be quickly launched upward in order to reach higher parts of the level.
At the moment, there is only one map available called Blood Run which consists on three main areas connected primarily by a long, T-shaped corridor on the lower level. There is a high degree of connectivity in this level with two teleporters and two jump pads that connect different areas and allows the combat to take place across the full breadth of the map.
The central vault is the most valued and iconic location on the map. Most notable for a precarious jump from the upper level to the Red Armor alcove, the player risks falling to the lower level or becoming pinned down on the armor shelf. The Shotgun can be found below the high pillar area at the top of the widespread stairway. A teleport, 50 Health and some ammunition around the corner in the lower level which connects directly to the upper level. At the base of the Vault spawn the Railgun and some minor 5-Armors.
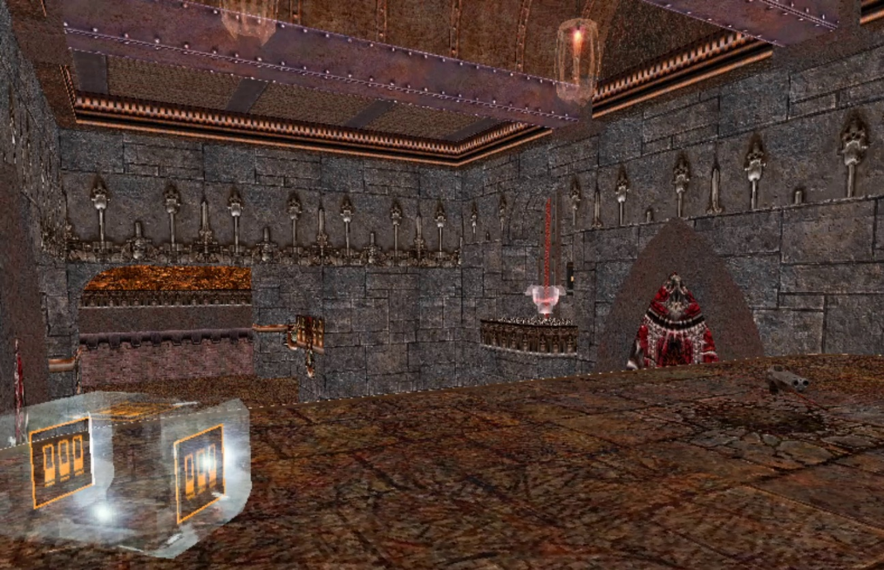
The narrow passageway through the main Hall has the Mega Health sitting in the center and some ammunition along the way. One end of the hall has the Lightning Gun and a bounce pad that escapes towards the upper level, while the other leads you to the base of the Rocket Launcher area.
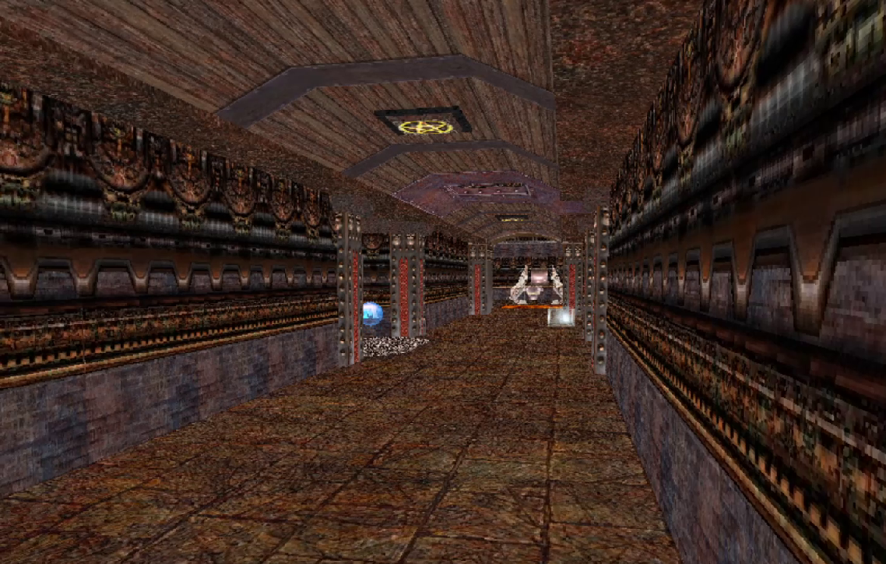
The area to the right exiting the main room contains a Rocket Launcher on the upper level. The room also contains a Yellow Armor on the lower level, two staircases, a teleporter that lead back to the central Vault, and few 5 Healths lined up. The area has a tactical importance for trapping the enemies off guard as they gear up and try to secure the important weapon.
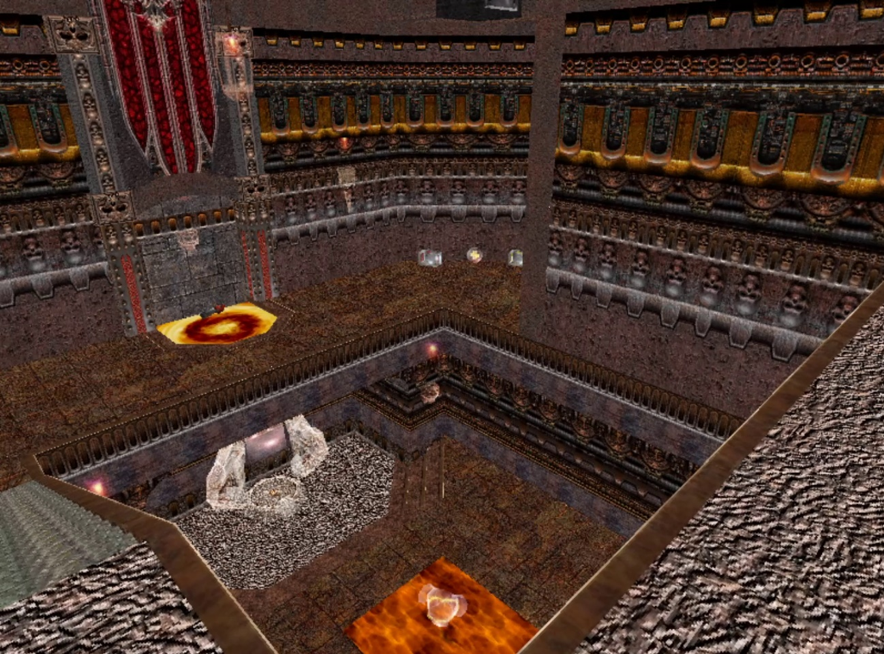
The 3-way room is located behind the center area, right across the long bounce pad. This final room is a small and tight space perfect for catching the enemy off guard since it has three different exits; two take the player quickly to the Vault, while the third drops the player down into the Mega Health Hall. The Plasma Gun and Armor Shards are placed in the near middle of the room.