Prerequisites
- Unity 2020.3.23f1
- Vuforia Engine 10.5 from here (Add Vuforia Engine to a Unity Project)
- Register with Vuforia as a developer and get your license key
Setting up Vuforia Engine with Unity
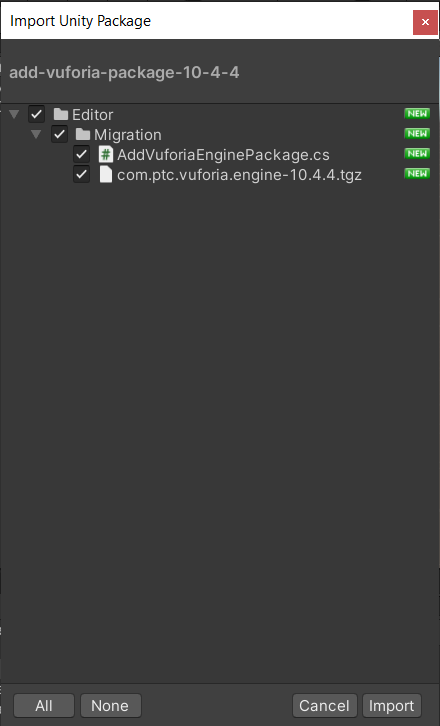
- Grab the latest vuforia upgrade package from the link above
- Drag and drop the downloaded package into your asset window and it should prompt an import window. Click Import.
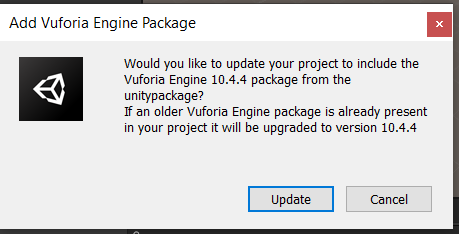
- Unity will ask if you want to always have the updated vuforia engine. Click Update.
Setting up a Vuforia Enabled Scene
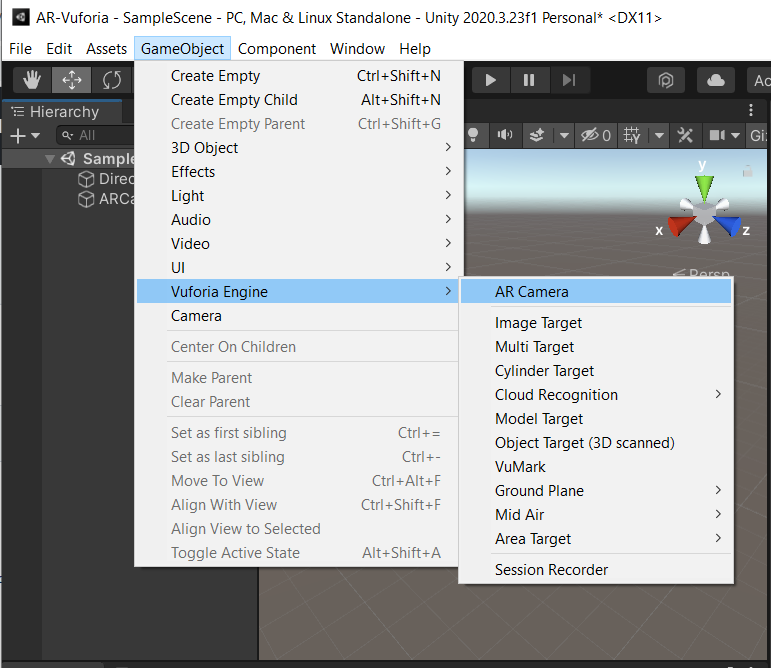
- Vuforia needs its own camera setup to work. Lets first delete the Main Camera gameobject from the scene Hierarchy and add a Vuforia Camera by going to Gameobject -> Vuforia Engine -> AR Camera.
- Once that’s done we need to configure our project with an app license key provided by vuforia. You can generate this license key by signing up with Vuforia as a developer. A guide on how to do that can be found here.
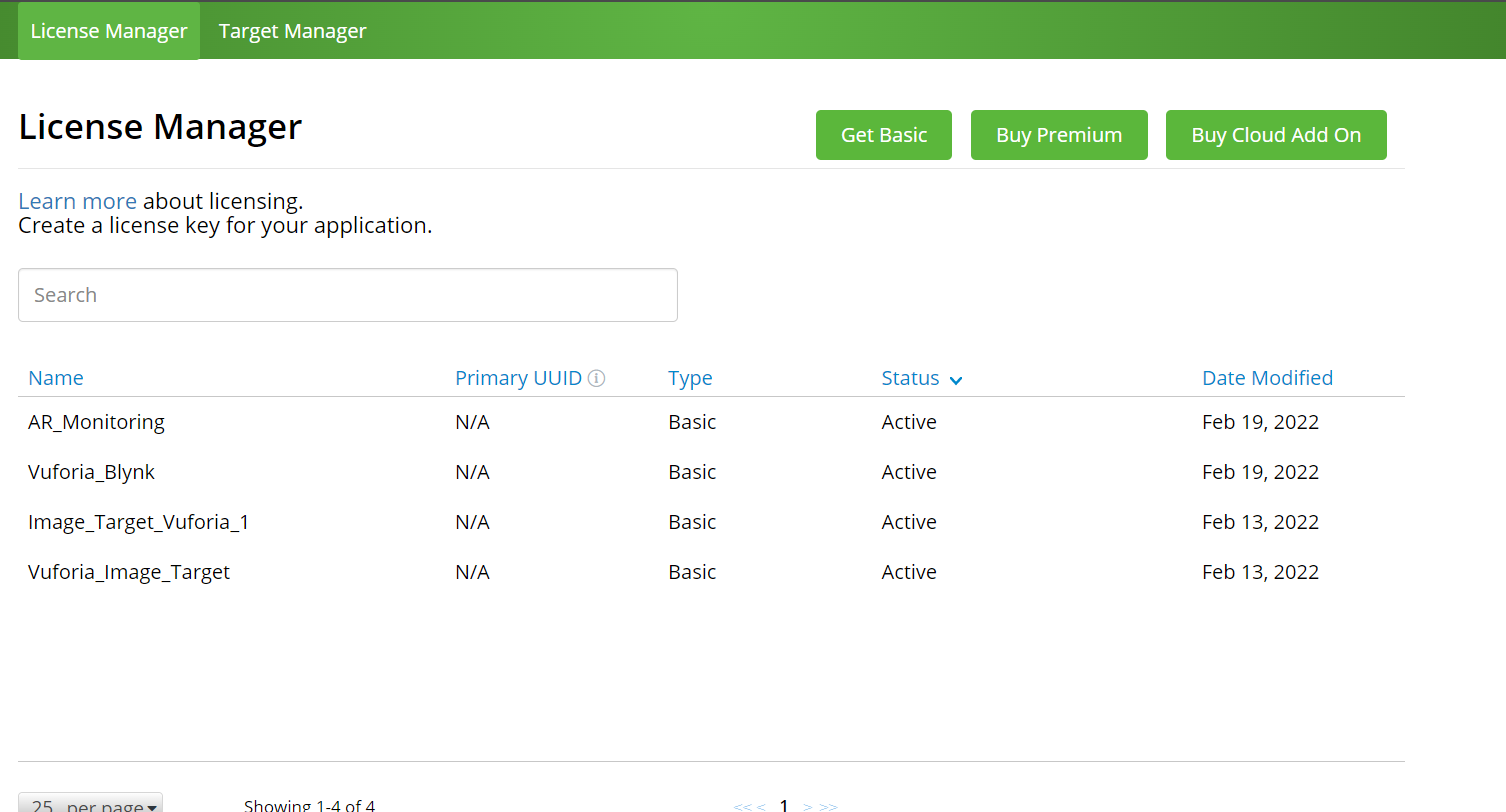
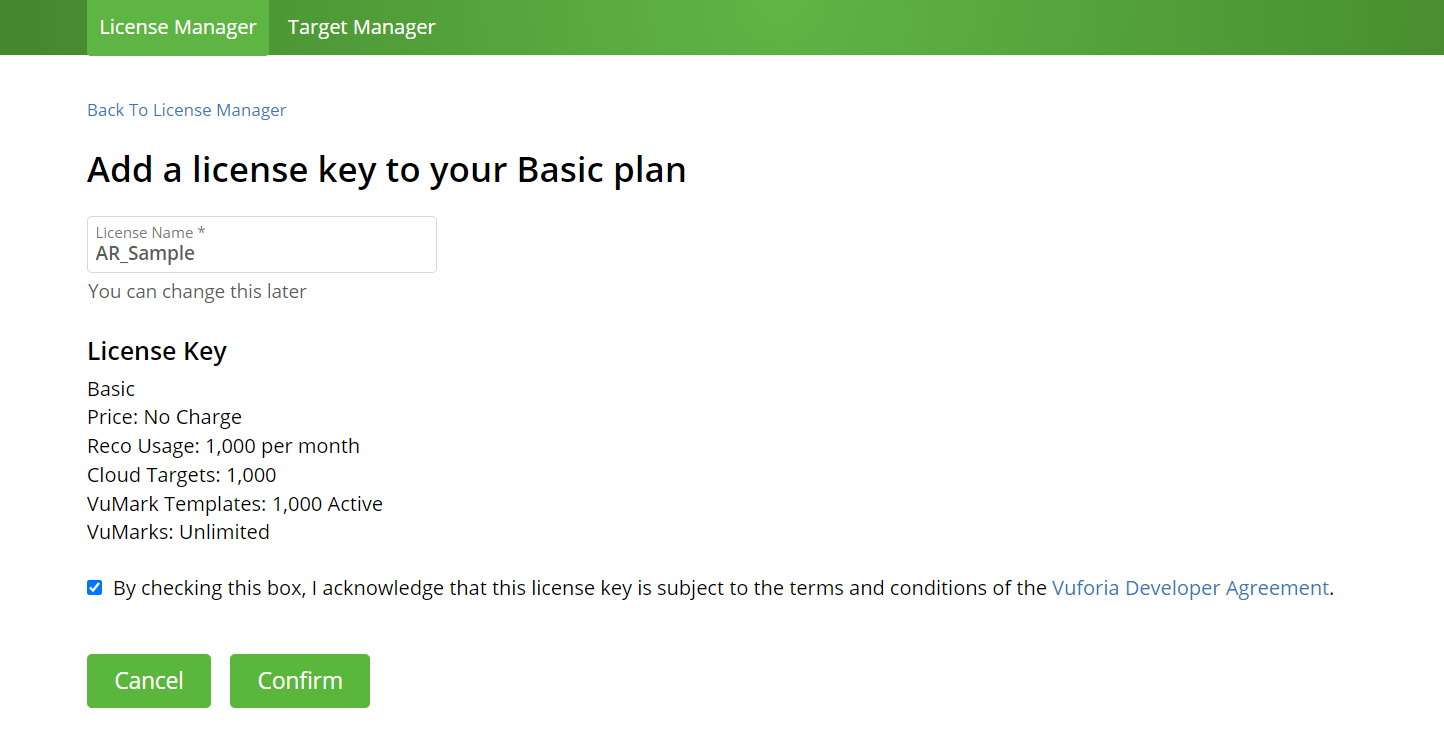
- Once you are registered, go to the License Manager tab at the developer portal page(developer.vuforia.com) and Get Basic. Development keys are free.
- Name your key and confirm.
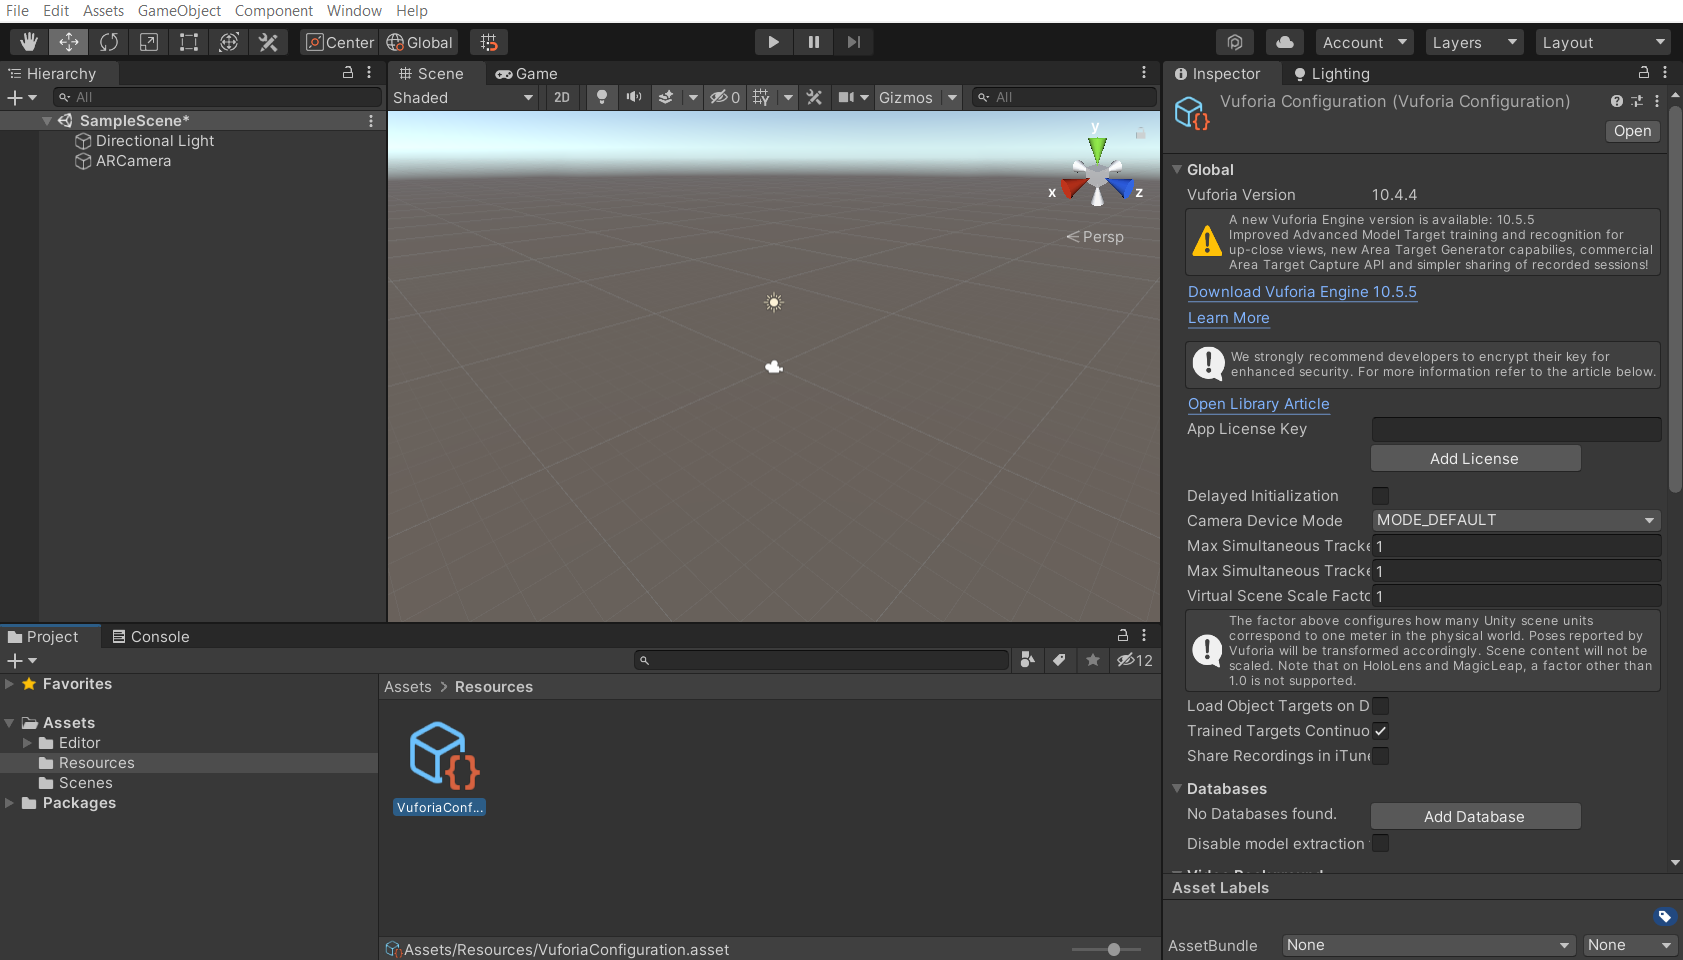
- Copy the key. We will then paste this key in our Vuforia Configuration which can be found under Assets/Resources/VuforiaConfiguration in the project window. Paste it under the App License Key field.
Creating Image Targets and Databases
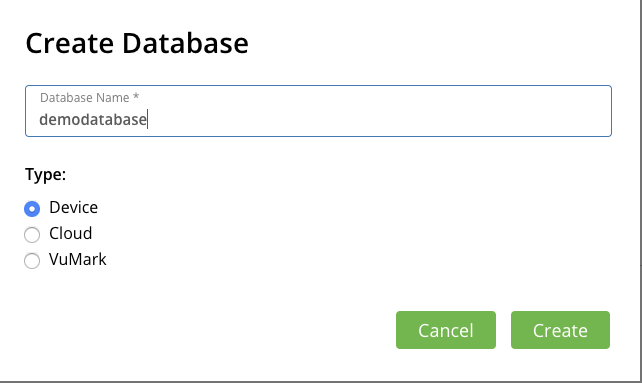
- Databases and targets have to be created from the Vuforia developer portal. Navigate to the Target Manager on the portal website and create a new Database. Name it and select the type as Device.
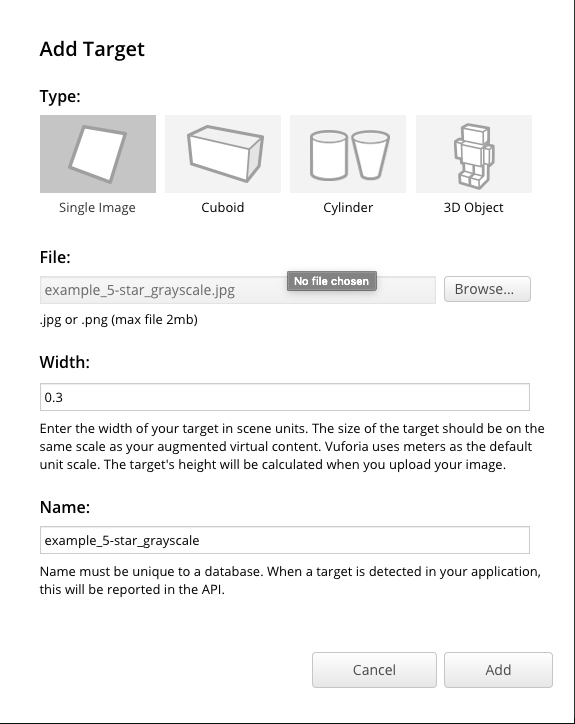
- Once created open it select Add Target
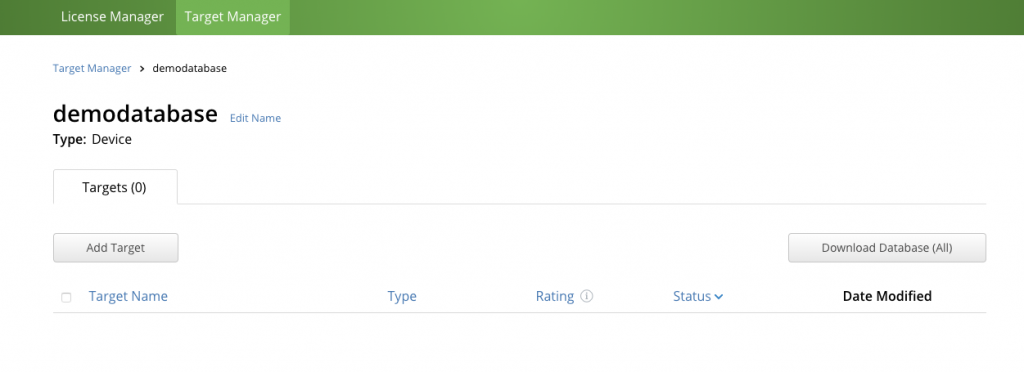
- Set the type to Single Image and browse and upload your image. You can also use the demo Image I used from here. Set the width to 0.3 which defines the size of the selected image in Unity Scene Units. Finally, click Add
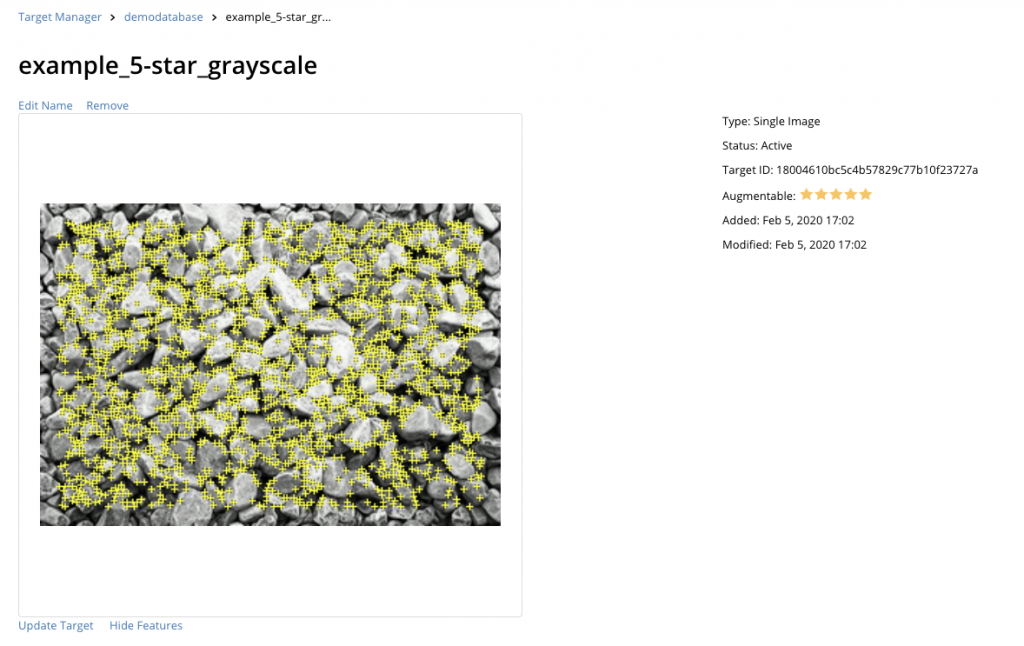
- Vuforia will then analyze the image and show the detected features in the selected image. More the features, the better the identification and tracking
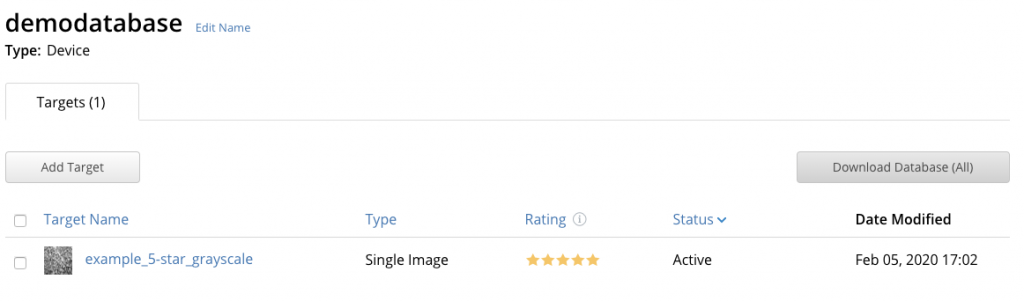
- Back on the selected database page, select the Database and click on Download Database
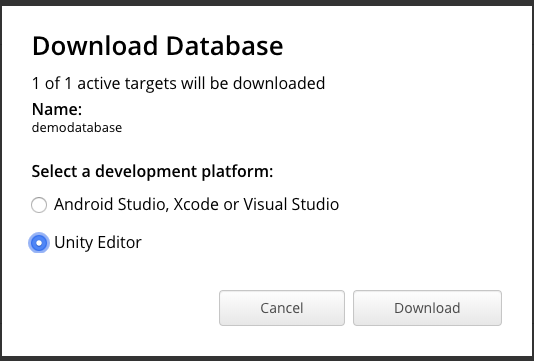
- It will ask for the development platform. Select Unity Editor and click on Download.
Importing Databases into the Project
- Once you have downloaded the selected Database, drag and drop into the Unity Asset Store and it should open an import window and click on Import.
Configuring Scene with Image Targets
- To create a new Image Target go to Gameobject -> Vuforia Engine -> Image.
- This will create a new gameobject in the Hierarchy. Select it and it should have an Image Target Behaviour component attached to it. Set its type to From Database, Database to demodatabase (the one we just created on the developer portal), and Image target to the Image name we uploaded, generated and imported into our project.
- Now to spawn an object or anything else on the detected Image, we basically create the object and make it a child of the Image Target gameobject. Vuforia will disable this on start and enable/track this once the parent Image target has been identified.
Building and Running the Application
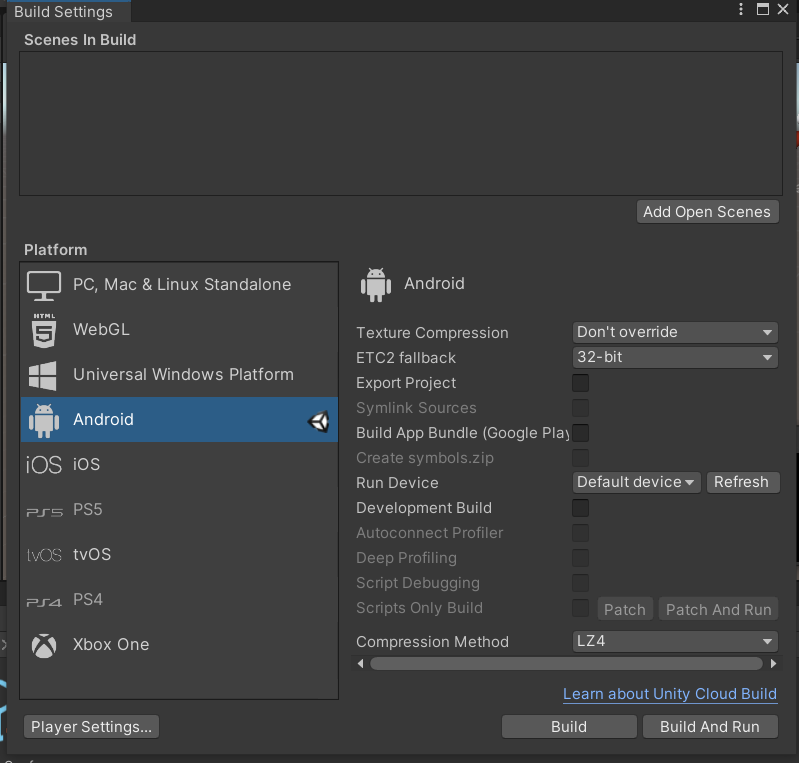
- Before we build out and run the application we need to configure our player settings. Go to File -> Build Settings -> Add Open Scenes, this should add your main scene to the build.
- Once App is built, please check with your mobile.