Tutorial_Mac ArduinoProMicro
Tutorial - Mac - Arduino Uno R3 and Pro Micro
This section will walk you through the entire process of setting up your Arduino or Pro Micro on a Mac computer.
At this time, the HexGenerator program on Windows is not yet available for Mac or Linux.
Follow the hardware guide for the "Basic Hardware" section:
- Install homebrew.
- Run
brew tap osx-cross/avrto install AVR. - If the above doesn't work, try running
brew install avr-gccas well.
Download the latest version of our Arduino programs from the main page.
(The link should look like something like PASwShNativePrograms-yyyymmdd.zip)
If you get a virus or malware warning, ignore it. These are known false positives. If you don't trust us, the source code is in this repo.
Once you have downloaded the package, unzip to somewhere you can access later.
This step isn't needed for the TurboA example here, but is for nearly every other program.
- Navigate into the
NativeProgramsfolder. - Open
TurboAwith a text editor.
Normally you will see a bunch of options that can configured. But TurboA has nothing.
- After you have made your changes, save the file.
See the documentation for the respective program for a description of all the options.
- Open Terminal
- Type
bash(with a trailing space!) Do not hit enter after entering this. - Drag from finder the "00-FlashUnix.sh" script into the Terminal Window.
- Press enter.
Once you run the script, it will prompt you for:
- The board type. Enter
ArduinoUnoRProMicrodepending on your board. - Which program to compile and load. For this tutorial, enter
TurboA.
It will automatically build the program and flash it to your device.
[Insert screenshot]
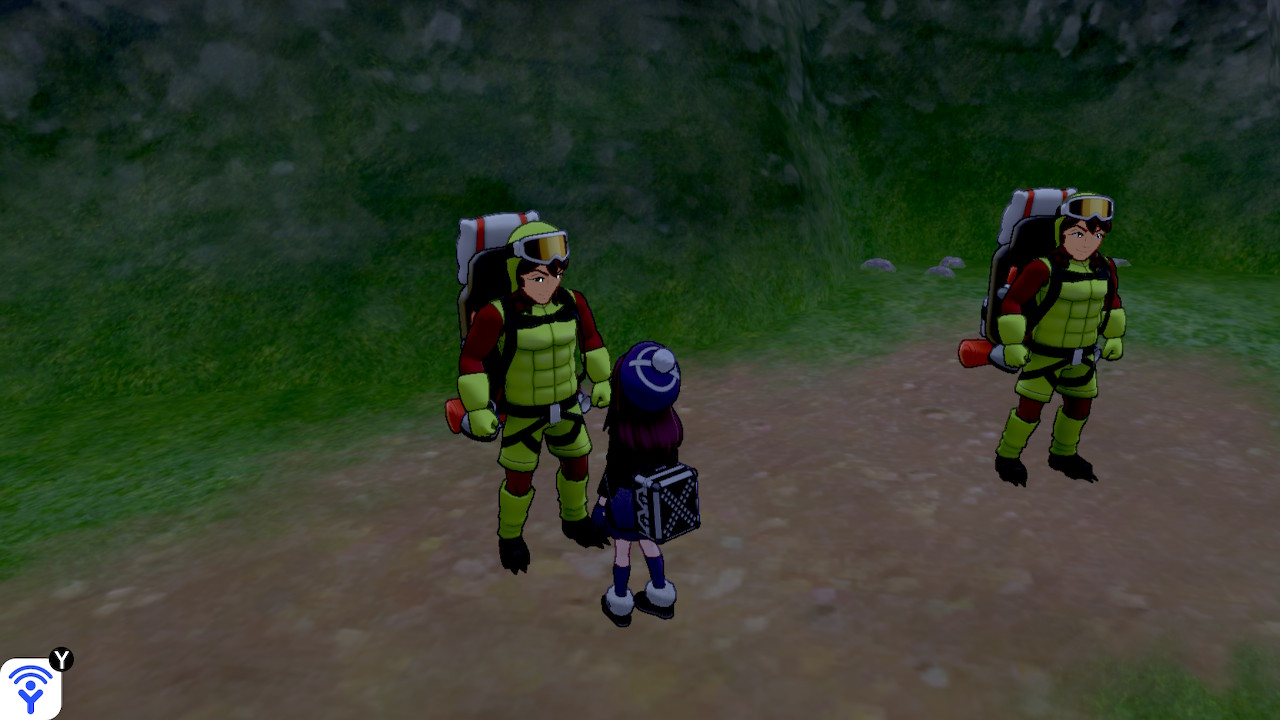
- On your Switch, enter the game and navigate to somewhere you want to mash A in front of (such as the digging duo).
- Navigate to the grip menu without closing the game. This disconnects all controllers from the Switch so that the Pro Micro can take over.
- Plug the Pro Micro into your Switch (or the dock that's attached to it).
The program should now begin running. It will flash its light for a few seconds, then it will connect to the Switch and navigate its way back into the game. After a brief pause, it will start mashing A.
Usage Notes:
- To stop the program, simply unplug the Pro Micro at any time.
- Do not change video output or mess with the HDMI. These can cause the program to Switch to freeze for multiple seconds and break the program. If you want turn off the TV, do it before you start the program.
You now know how to run TurboA - the most basic of the programs. You can choose any of the other programs and repeat steps 4-6.
It is important to read the manual for a program before you use it. Each program has a different set of instructions and startup conditions. You can find the manual for a program by clicking on the "Online Documentation" link.
Not yet available for Mac. Stay tuned.
Discord Server:
