
|
This repository contains the software used in the The course is available at this address: The documentation is available at this address: |
-
This installation procedure assumes that you have basic knowledge about shell manipulation.
-
Also, it assumes that you have already created a virtual environment where to install PyRat. If not, please do this first as described in the official documentation.
-
Finally, we will test PyRat installation using Visual Studio Code (VSCode), as this is the main tool we use in the associated course. Please make sure it is already installed, or install it from the official website. Note that you can use a different tool if you want, but we just provide indications for that one here.
Installation of the PyRat software can be done directly using pip.
To do so, follow steps:
- Open a terminal.
- Activate your virtual environment (change
path_to_venvto the actual path):- Linux:
source path_to_venv/bin/activate. - MacOS:
source path_to_venv/bin/activate". - Windows (cmd):
path_to_venv\Scripts\activate.bat. - Windows (PowerShell):
path_to_venv\Scripts\Activate.ps1.
- Linux:
- Install PyRat through
pipas follows:pip install pyrat-game.
You should see something like this:
Downloading pyrat_game-6.0.0-py3-none-any.whl (4.2 MB)
   ━━━━━━━━━━━━━━━━━━━━━━━━━━━━━━━━━━━━━━━━ 4.2/4.2 MB 9.6 MB/s eta 0:00:00
Installing collected packages: pyrat-game
Successfully installed pyrat-game-6.0.0
We are now going to create a workspace for PyRat.
This is a directory that contains minimal working examples to get started.
To do so, follow these steps:
- Open a terminal, and navigate (use the
cdcommand) to the directory where you want to create your PyRat workspace. - If not already activated, activate your virtual environment where PyRat is installed (see above).
- Run the following command:
- Linux:
python3 -c "import pyrat; pyrat.init_workspace()" - MacOS:
python3 -c "import pyrat; pyrat.init_workspace()" - Windows (cmd):
python -c "import pyrat; pyrat.init_workspace()" - Windows (PowerShell):
python -c "import pyrat; pyrat.init_workspace()"
- Linux:
You should see something like this:
Workspace created in /path/to/pyrat_workspace`
Workspace added to Python path
Your workspace is ready! You can now start coding your players and run games.
You should have a new directory called pyrat_workspace in the directory where you ran the command.
Now, we are going to verify that PyRat works properly.
To do so, follow these steps:
- Open VSCode, and add your
pyrat_workspacedirectory in your VSCode workspace. - Open the file
sample_game.pyin directorypyrat_workspace/games/. - Make sure VSCode is using your virtual environment where PyRat is installed.
- Run
sample_game.py.
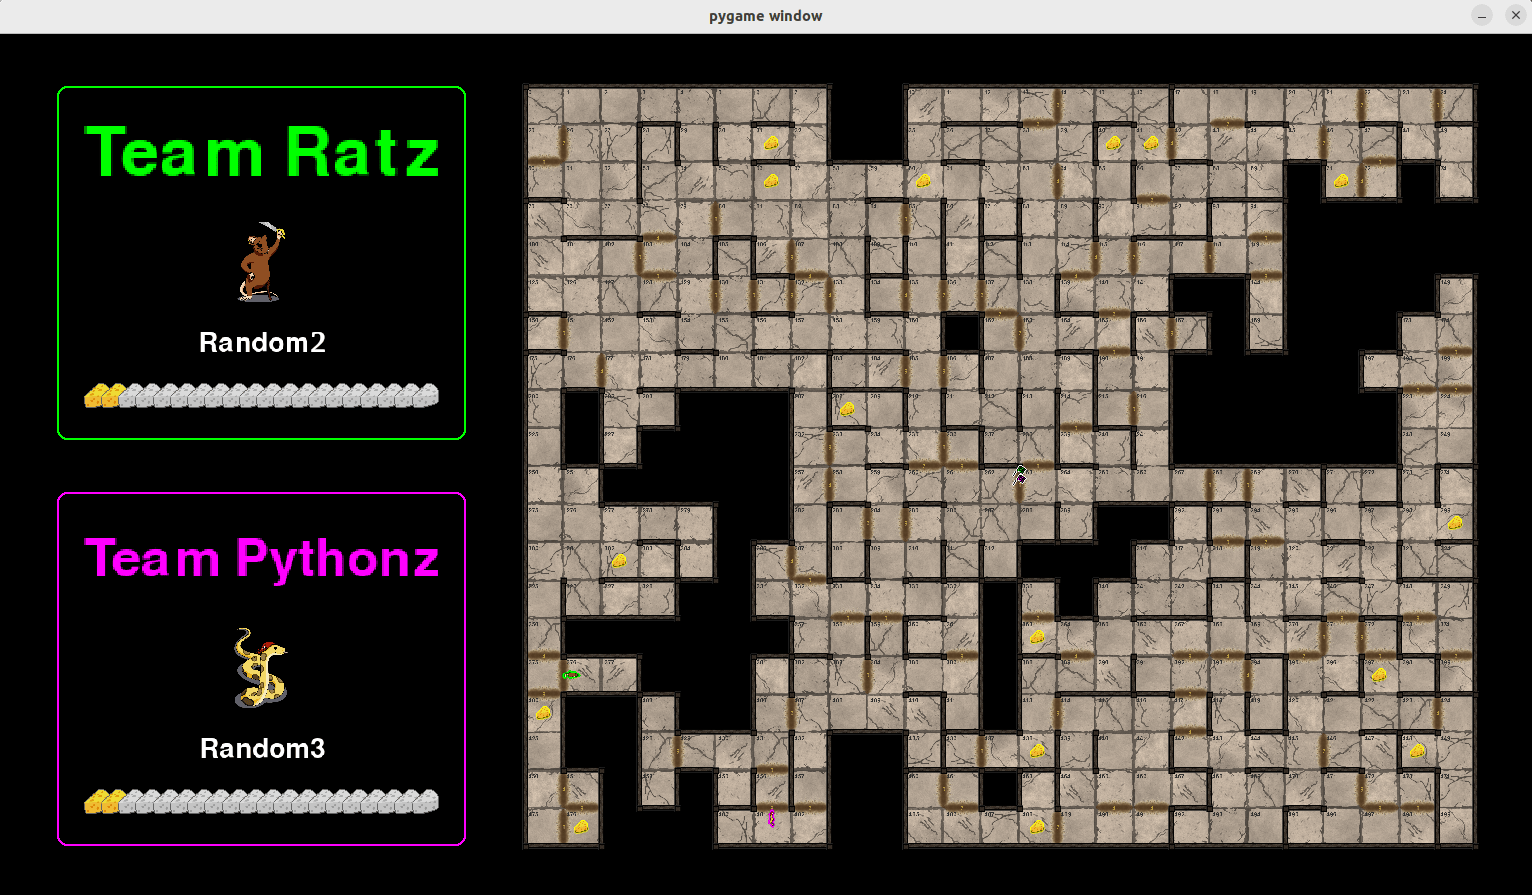
You should see something like this:
-
In case of a problem, please check the existing GitHub issues first.
-
If the problem persists, you can add an issue of your own.
-
For students at IMT Atlantique, you can also ask your questions on the Discord server of the course.
-
Finally, you can contact Bastien Pasdeloup directly.