![]()
SneaX is a financial application that allows user to invest in SneaX, which are sneakers. The user can purchase SneaXs and add them to their watchlist. This full stack application is inspired by Robinhood.
- live link: SneaX
Here are the main technologies used to built this application.
- Backend: Python, Flask, WTForms, SQLAlchemy, PostgreSQL
- Frontend: Javascript, React/Redux, CSS3
This is the splash page.
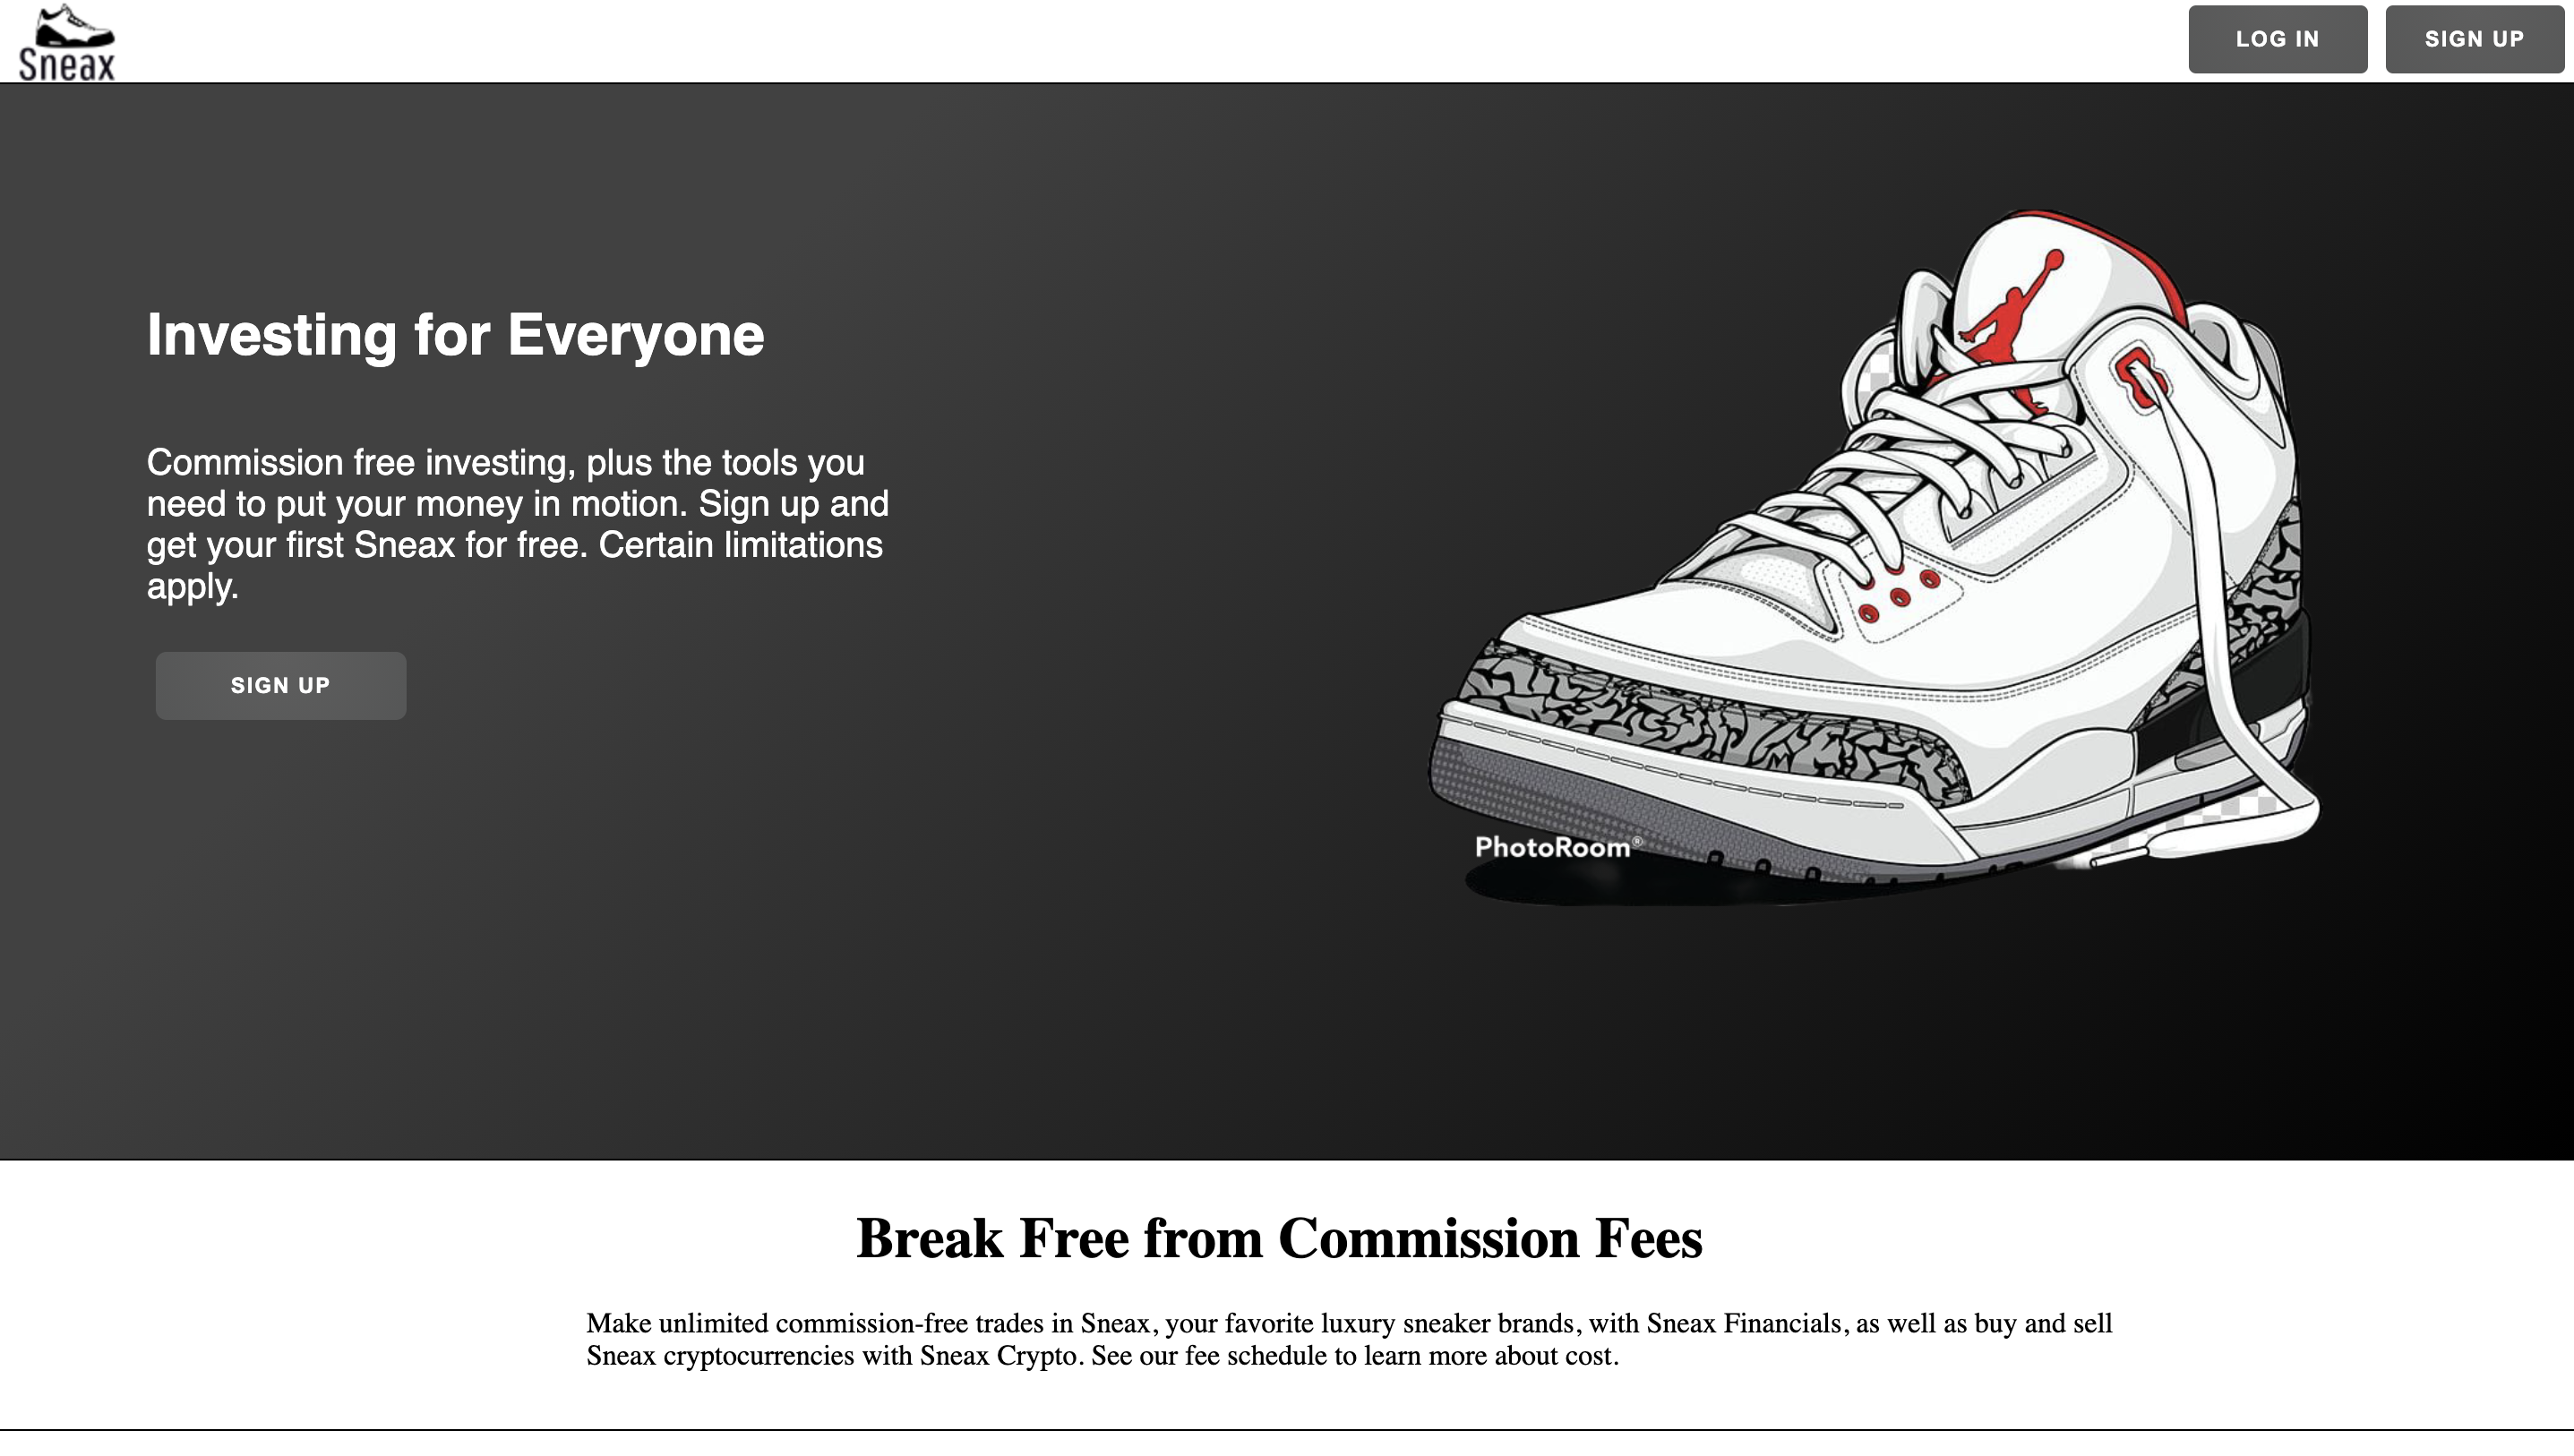
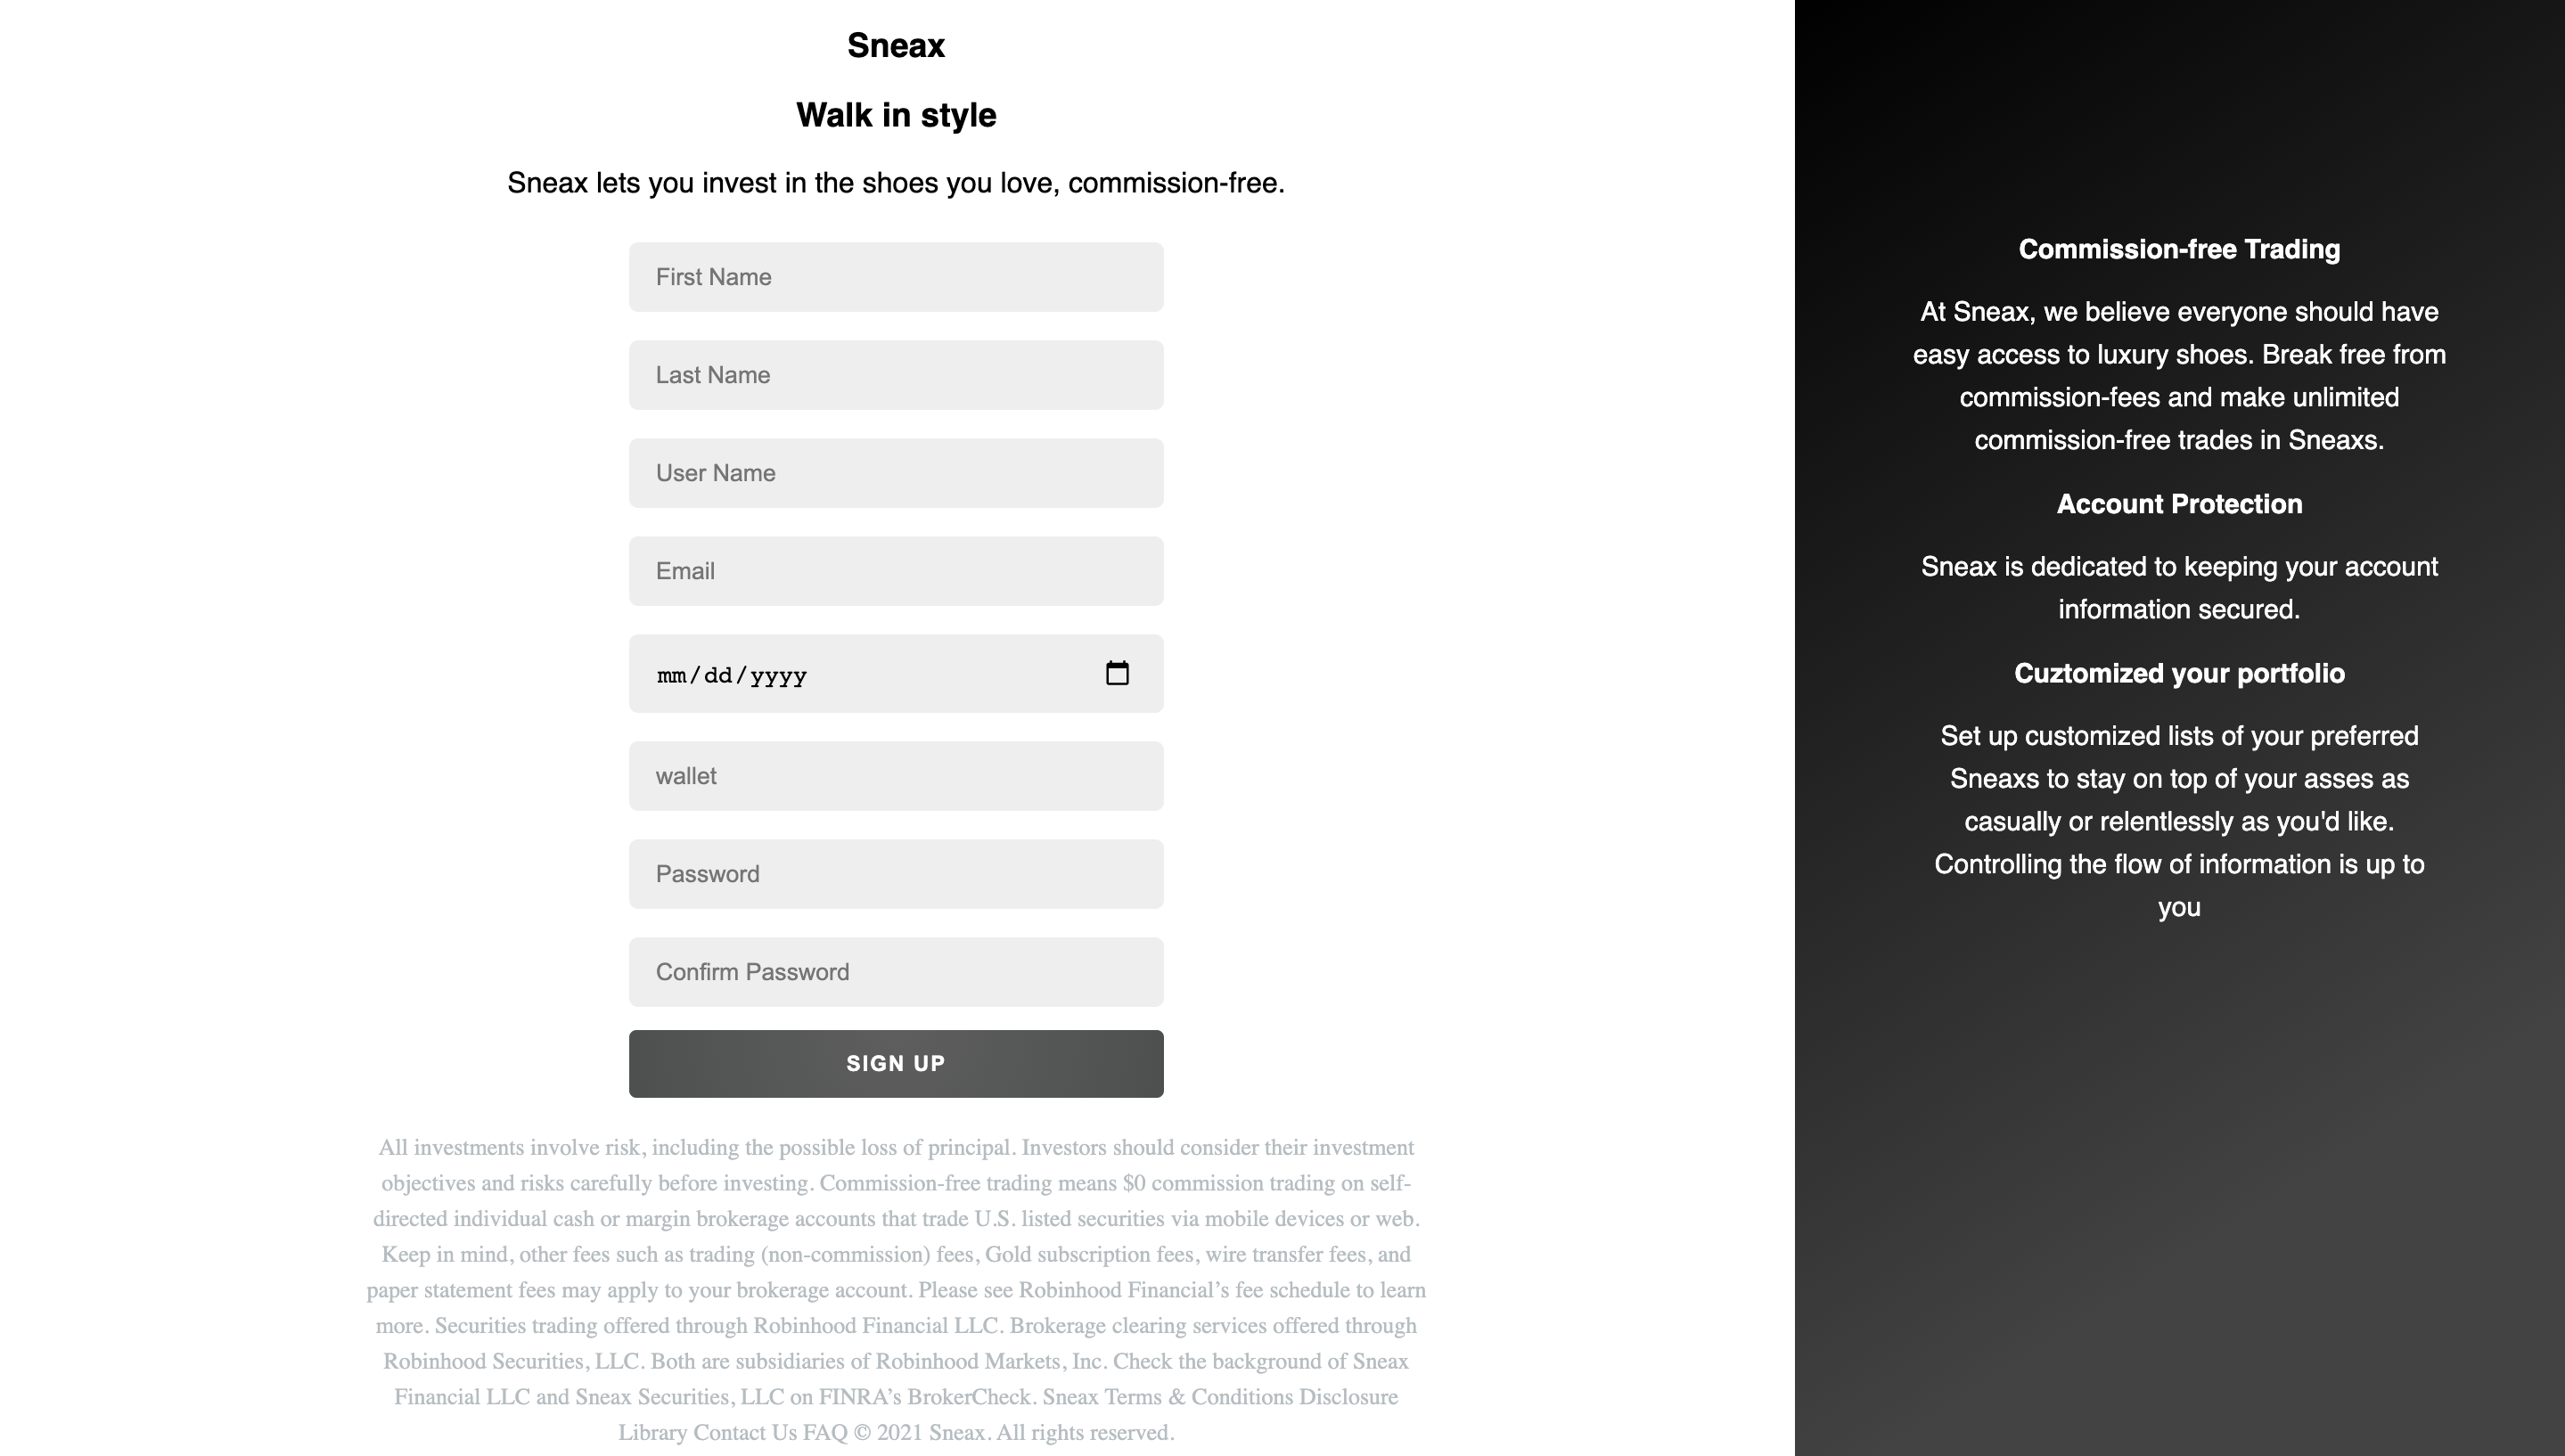
New user can sign up by filling out the sign up form. If user do not want to sign up, they can go to login and sign in as demo.
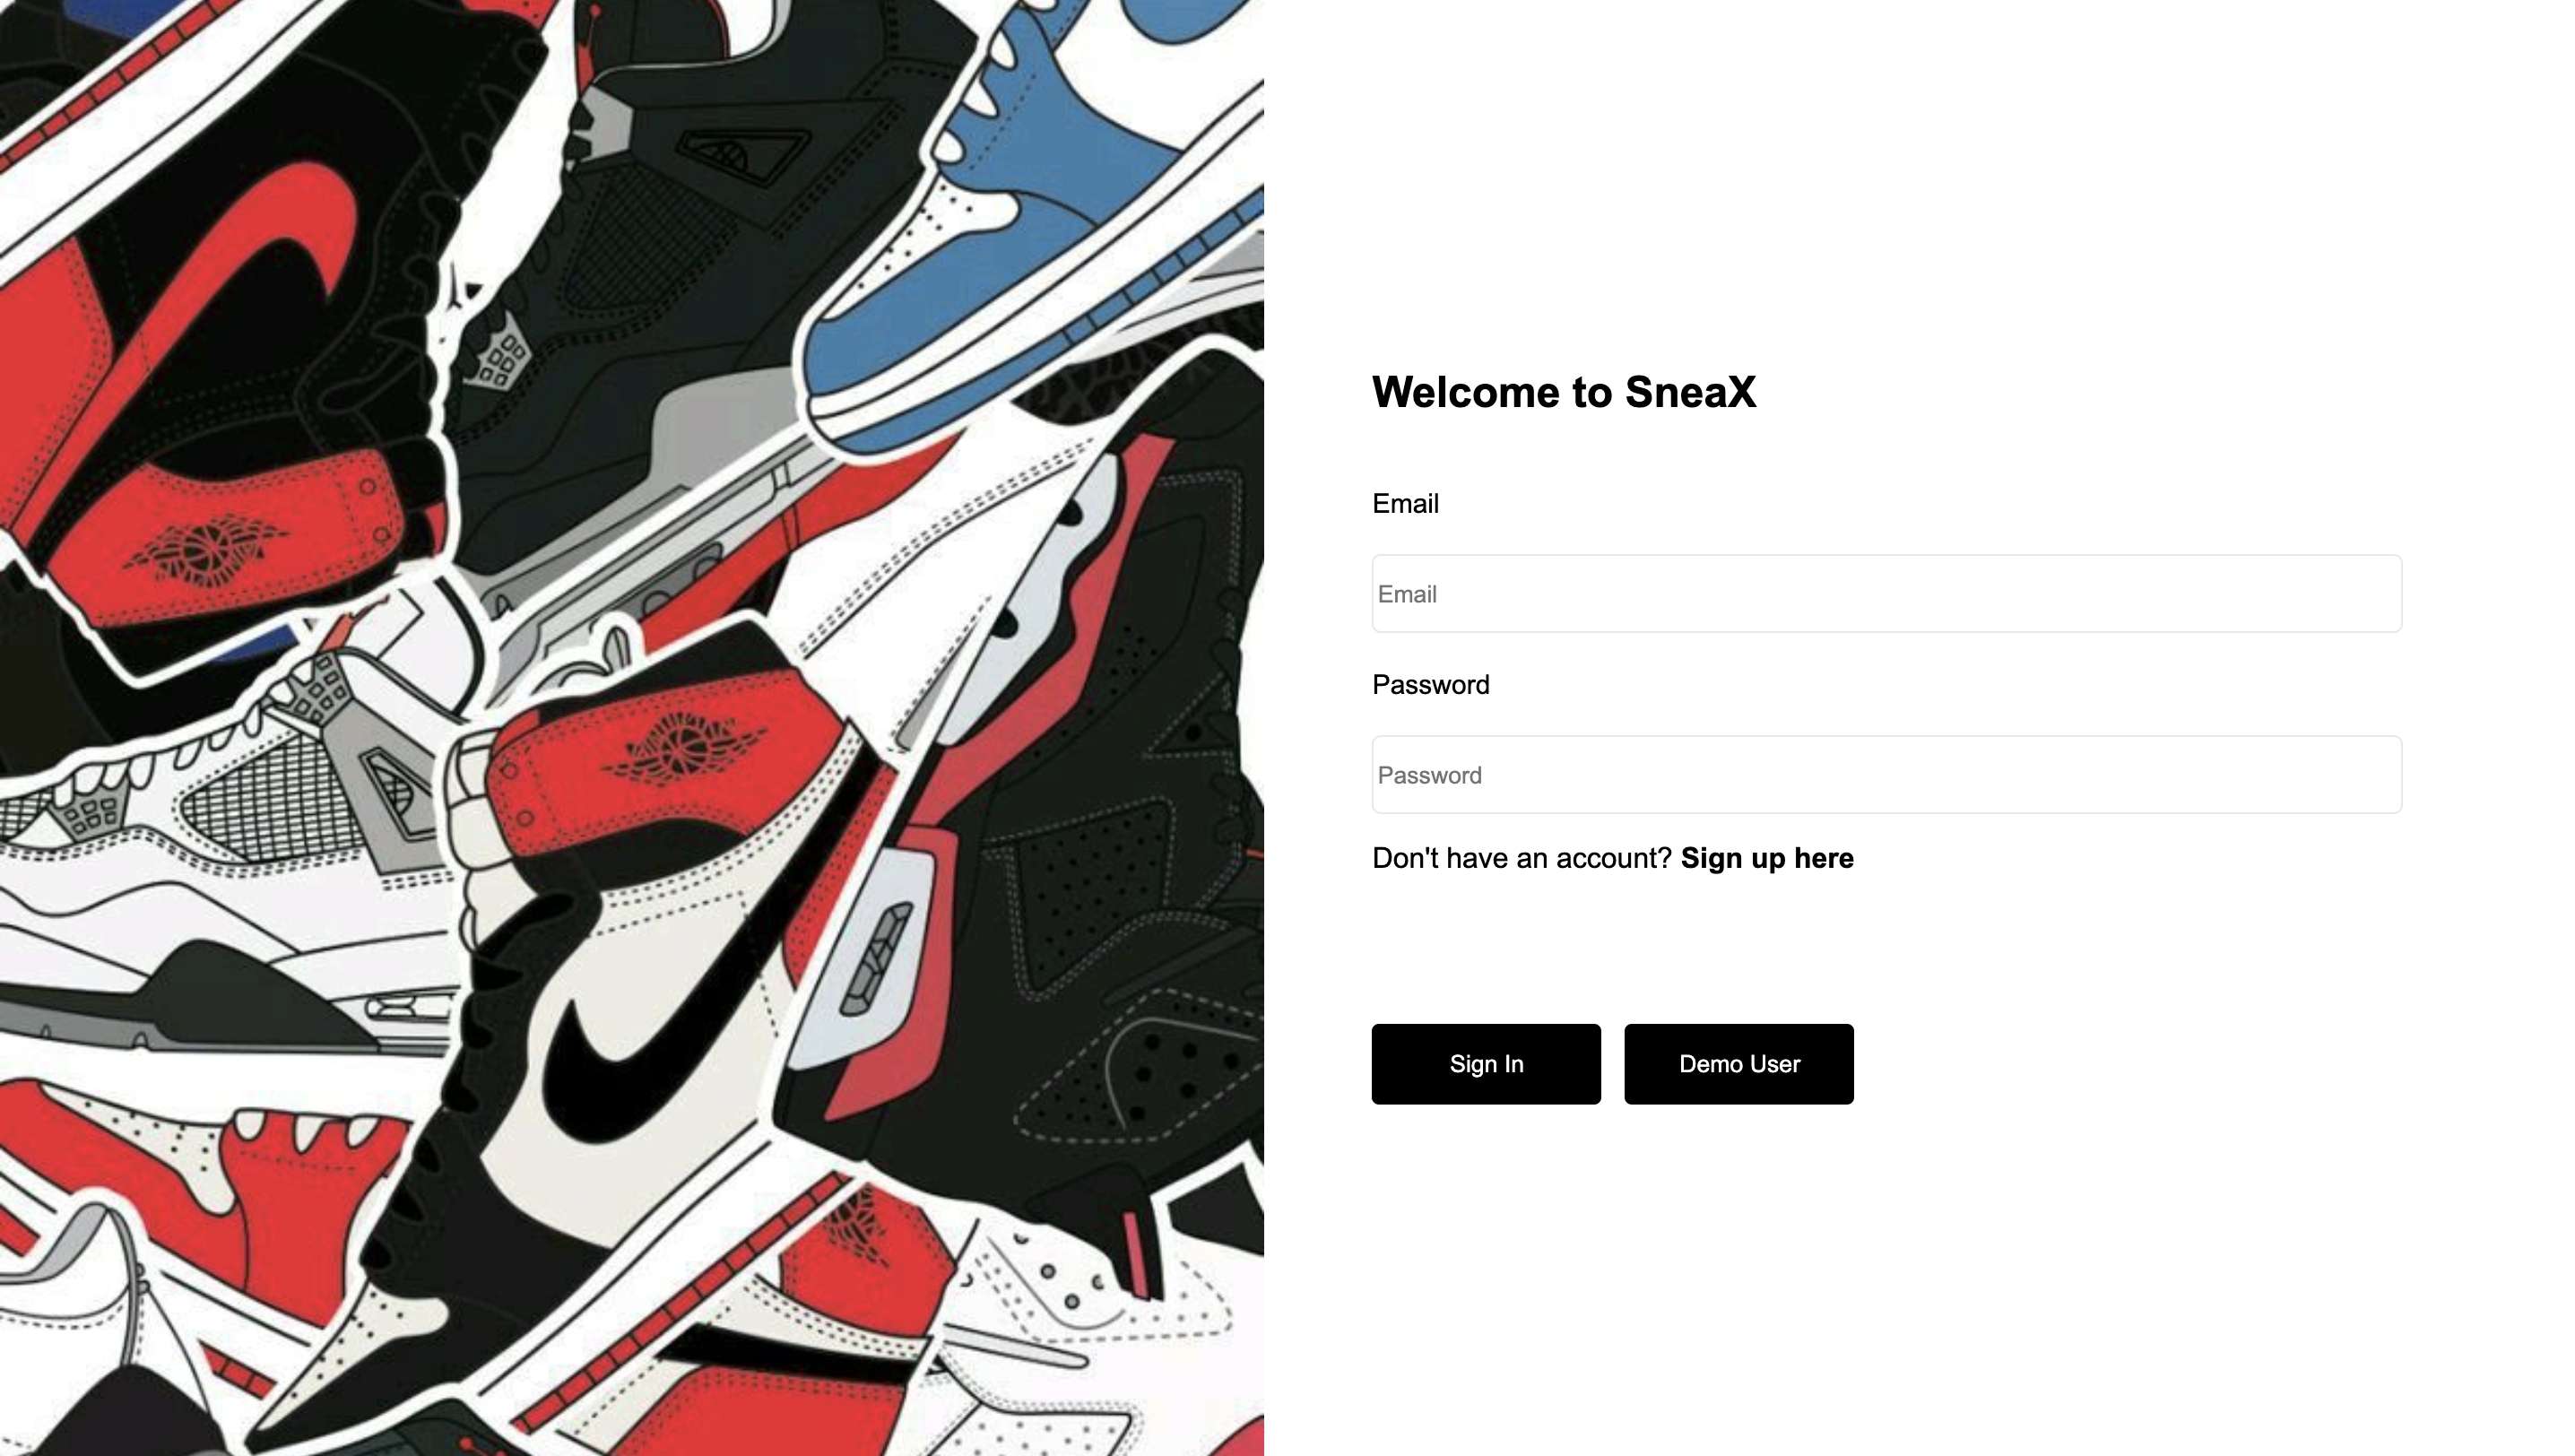
Returning user can log in by filling out the log in form.
Once logged in or signed up, user is redirected to the dashboard. In this page, user can view their investments. The graph represents the performance of the account. On the right side, user can view their shares they have purchased and their watchlist.
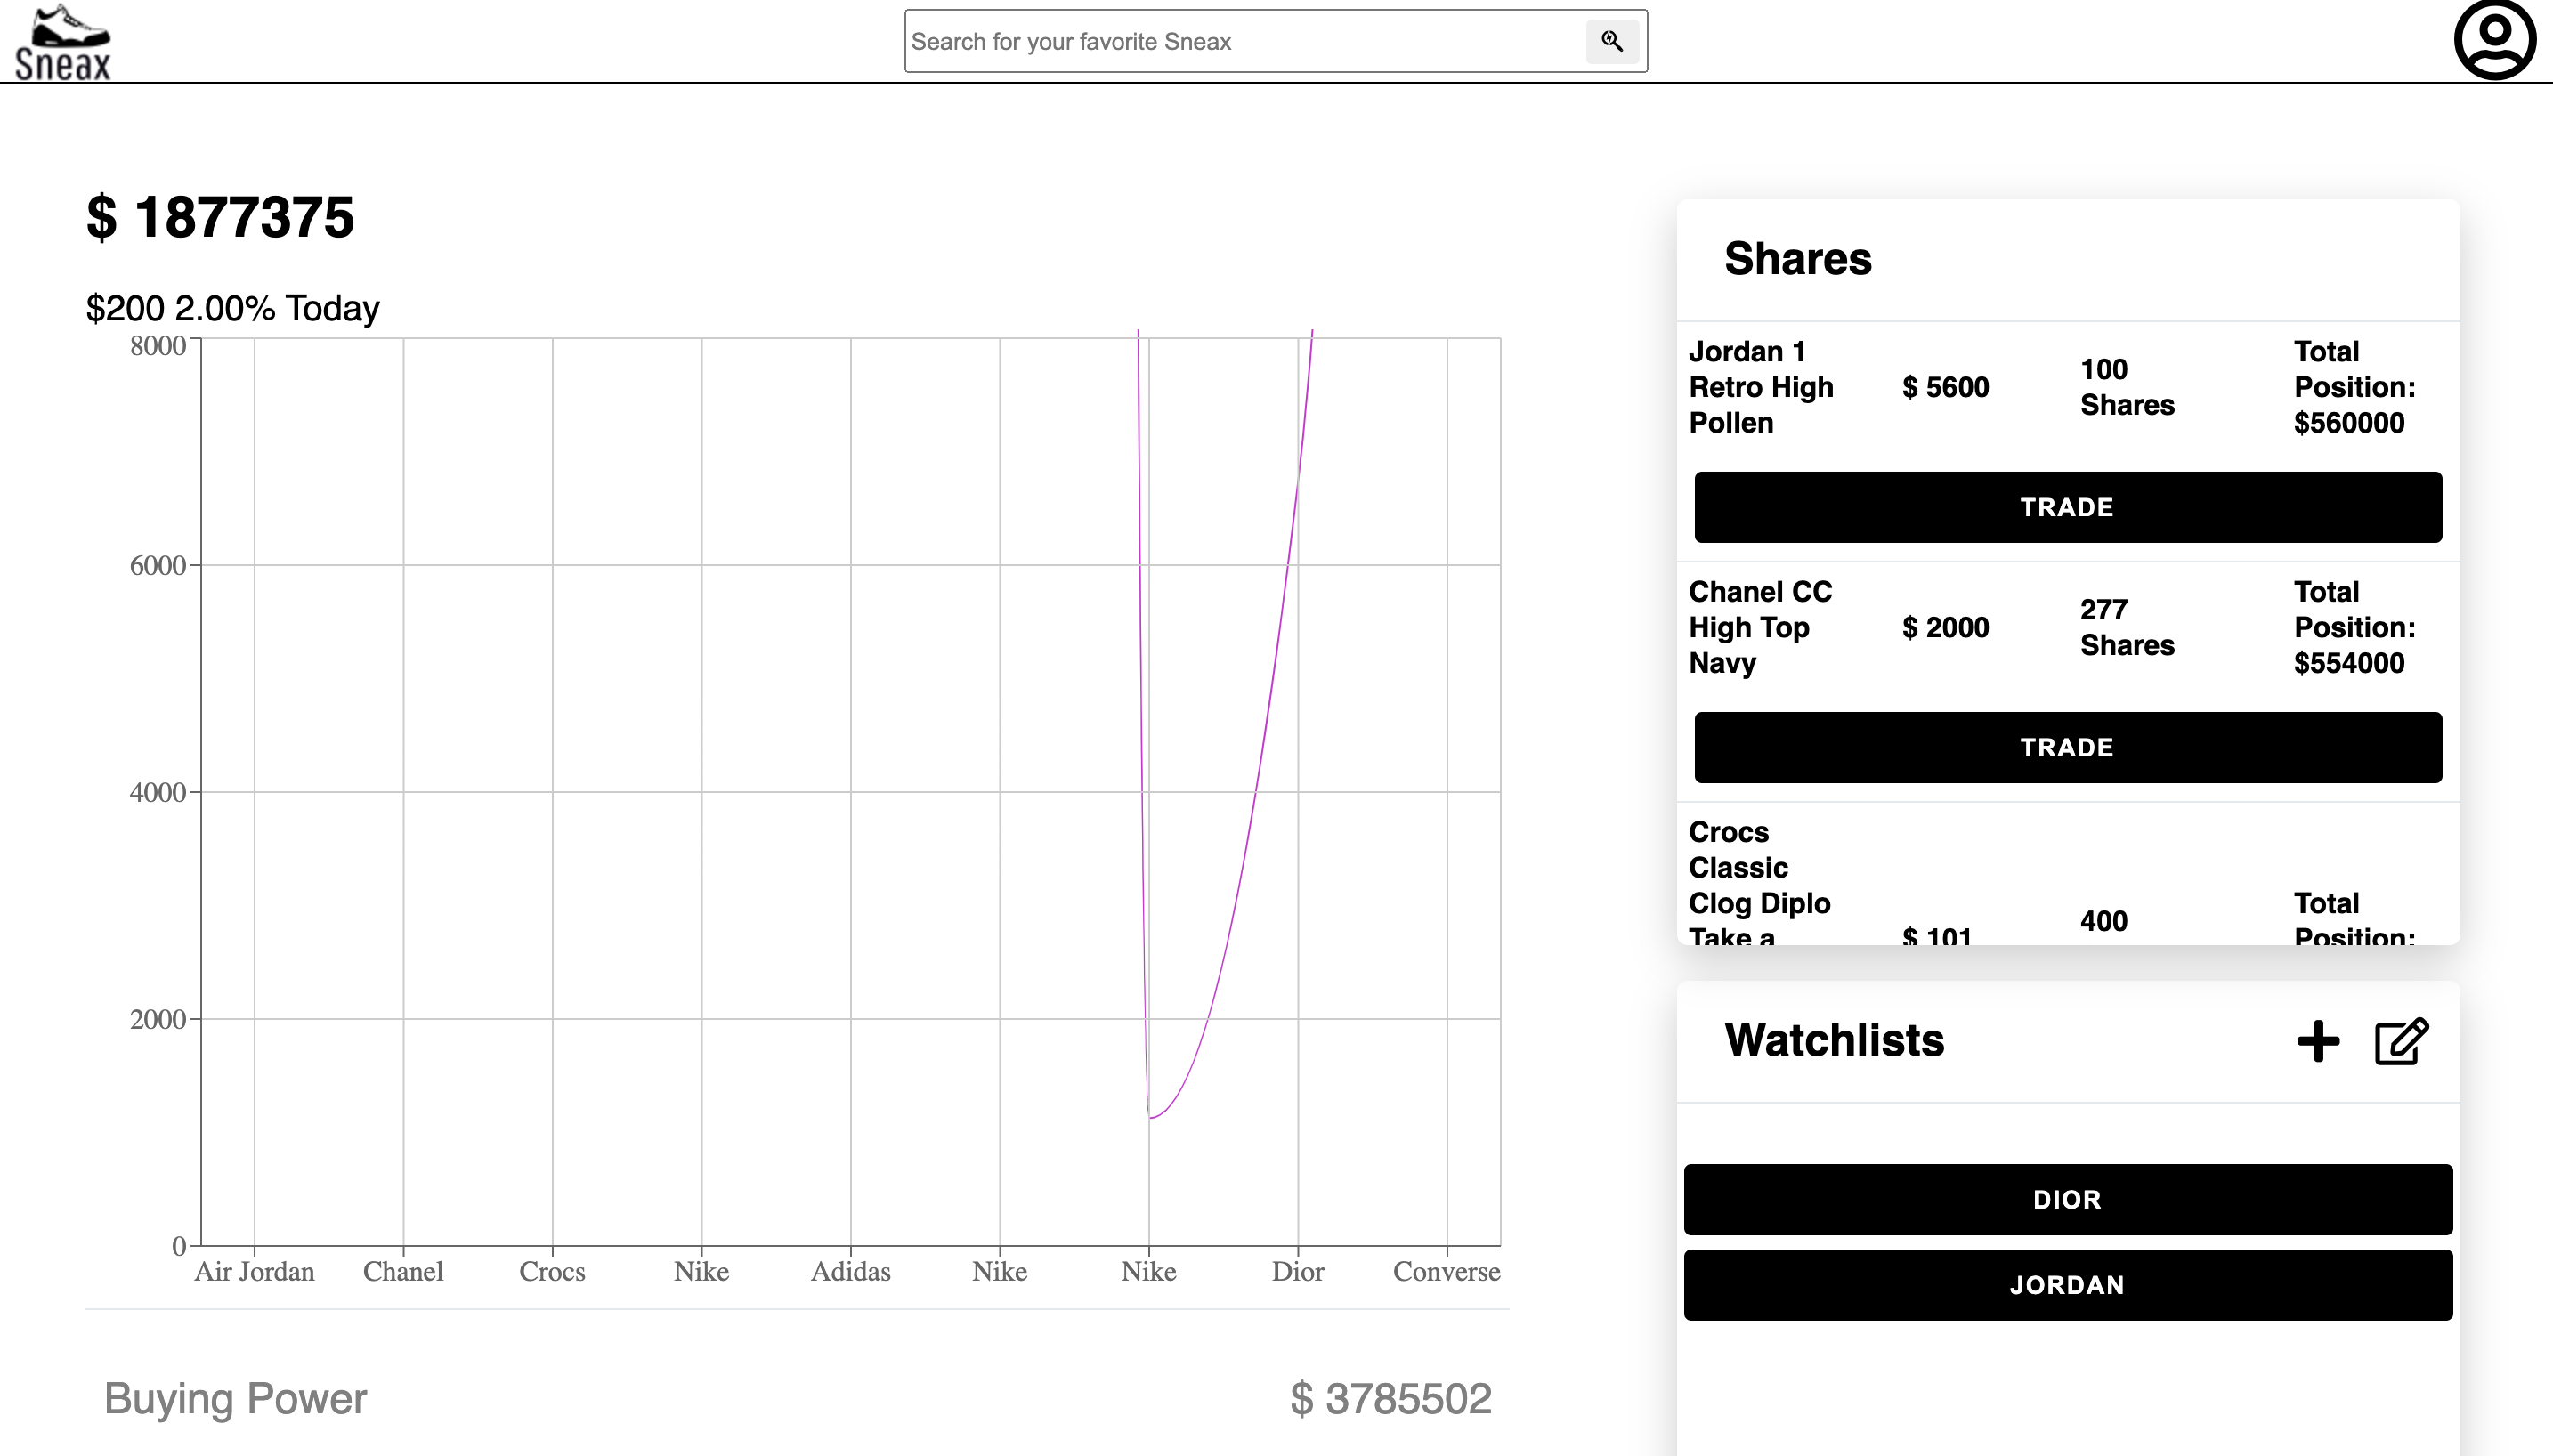
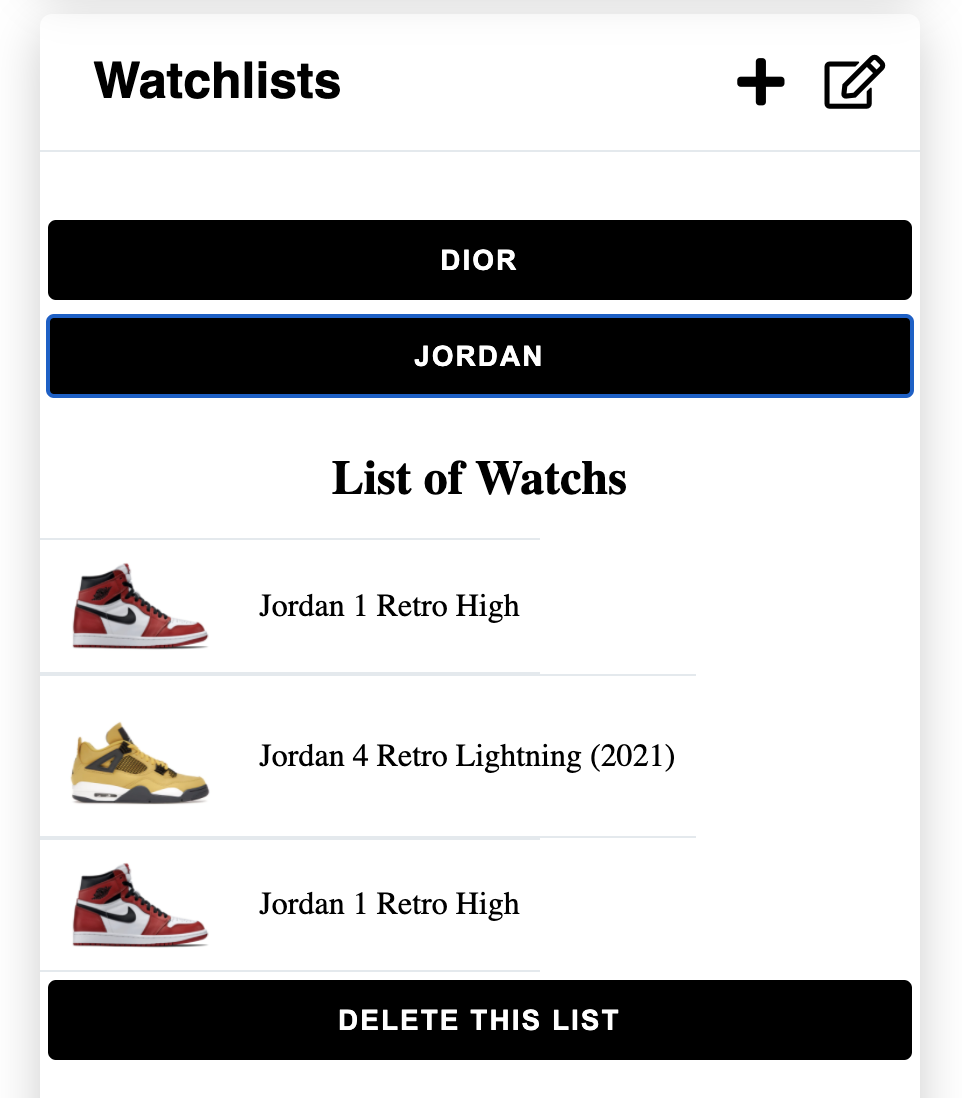
Close up of the watchlist.
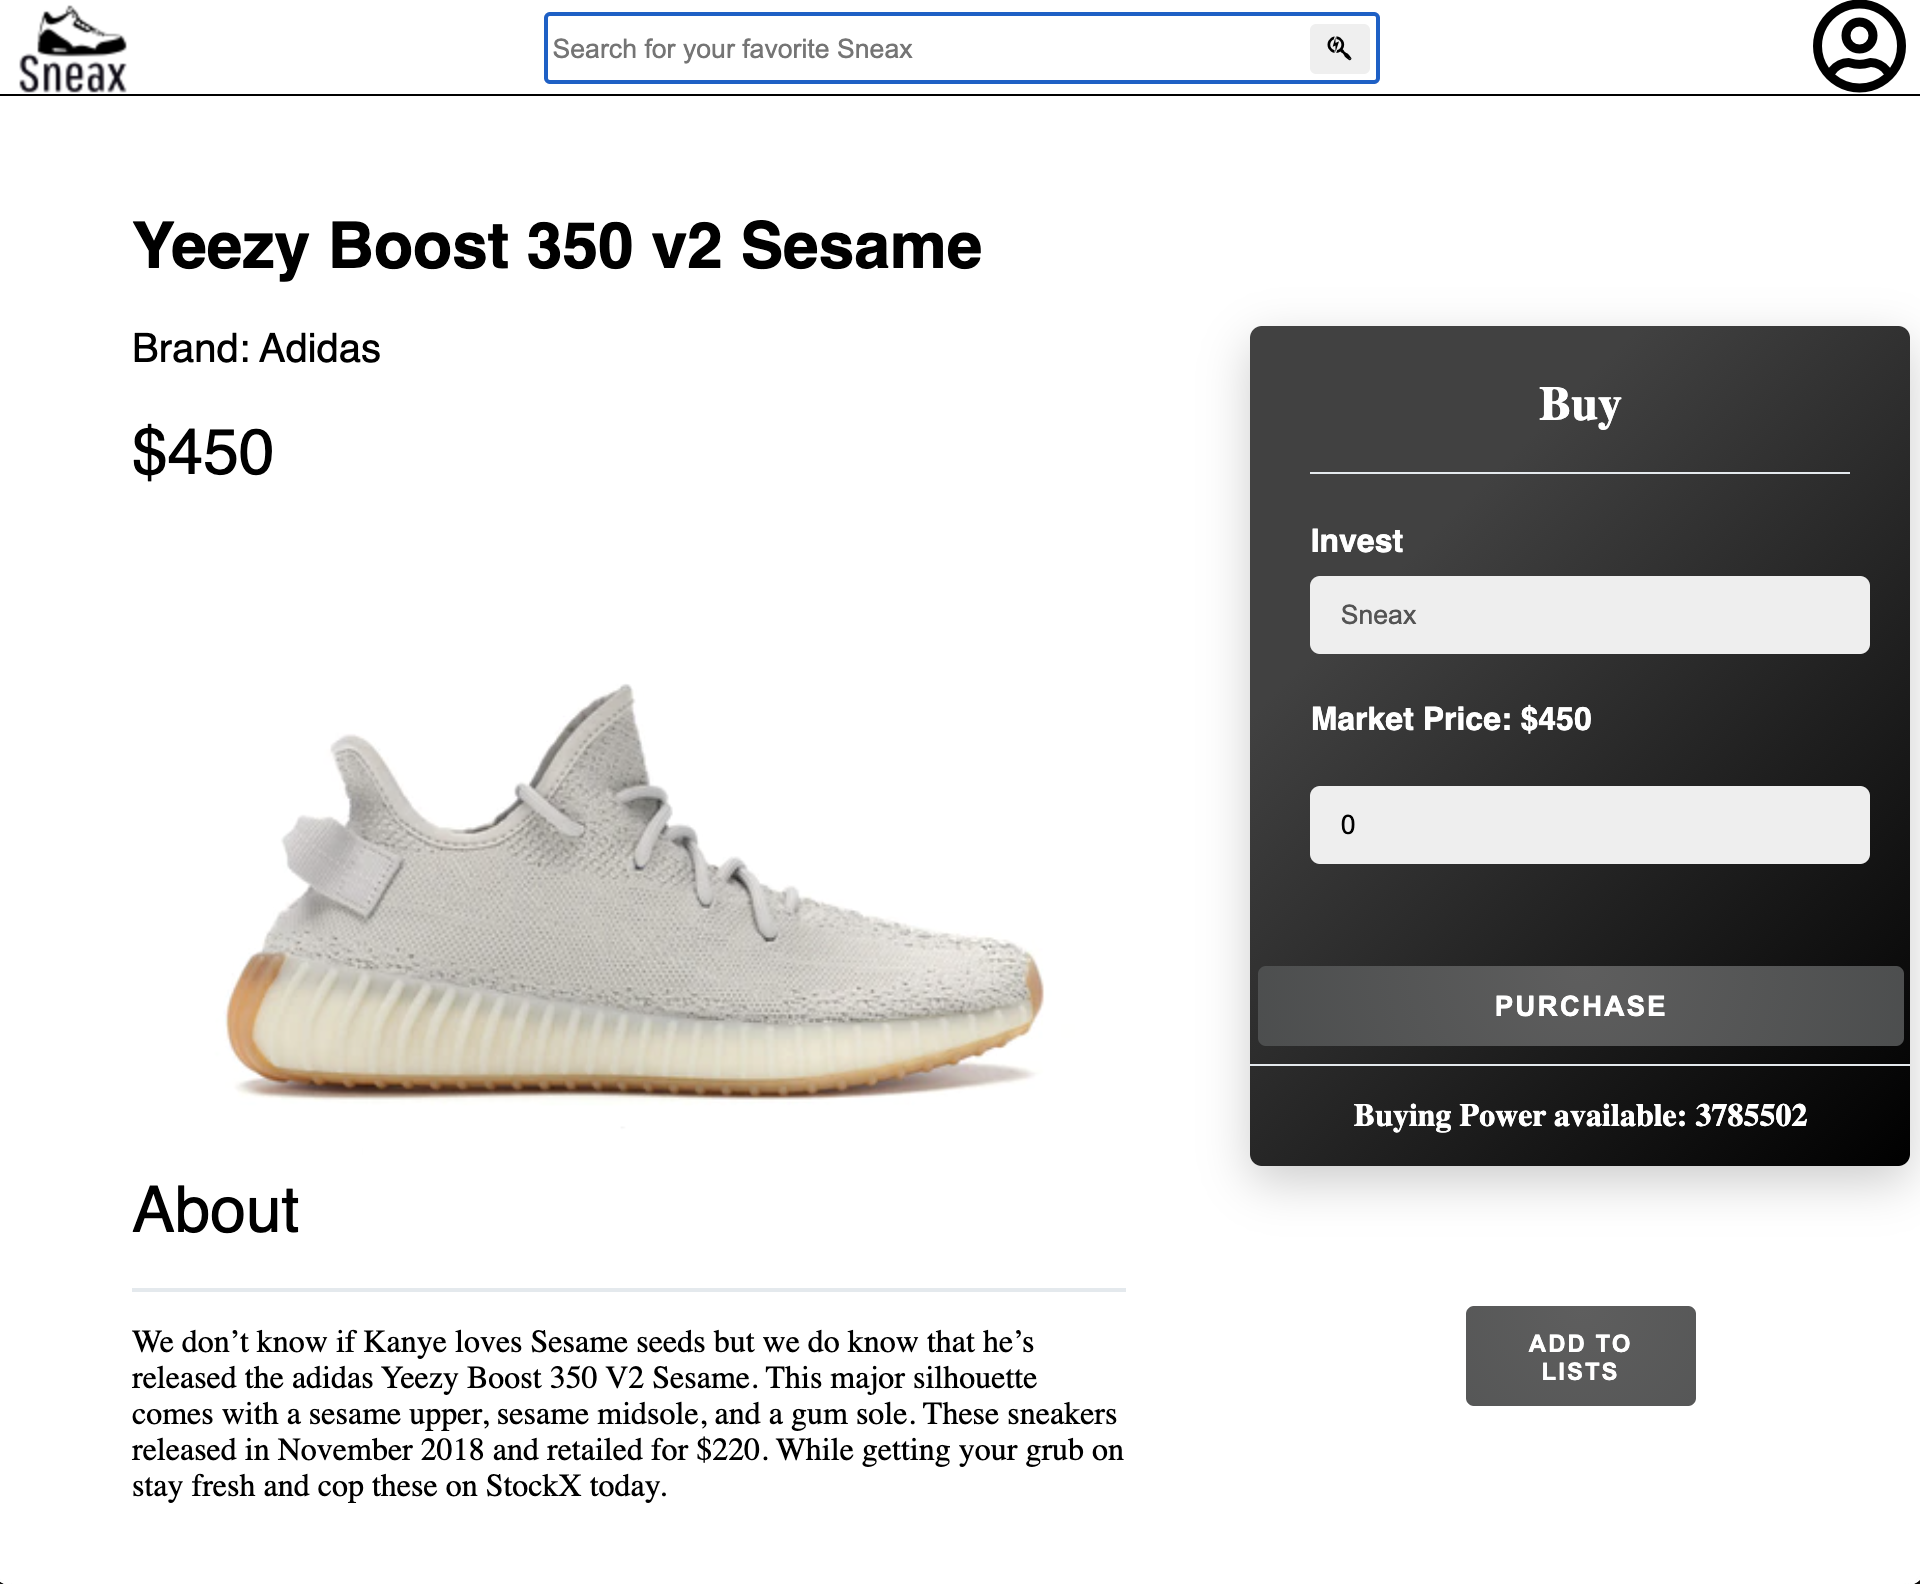
User can purchase shares of SneaXs. The user can search up the SneaX on the search bar.

Once the users select the Sneax, it will take the user to the detail page of that SneaX. In the detail page, the left side shows the detail of the SneaX. User can purchase the SneaX by filling out the form on the right side. User can add it to the watchlist by clicking on add to watchlist. If SneaXs is already purchased, user can go back to the dashboard and update their purchased SneaX there.
This is the starter for the Flask React project.
-
Clone this repository (only this branch)
git clone https://github.com/appacademy-starters/python-project-starter.git
-
Install dependencies
pipenv install --dev -r dev-requirements.txt && pipenv install -r requirements.txt -
Create a .env file based on the example with proper settings for your development environment
-
Setup your PostgreSQL user, password and database and make sure it matches your .env file
-
Get into your pipenv, migrate your database, seed your database, and run your flask app
pipenv shell
flask db upgrade
flask seed all
flask run
-
To run the React App in development, checkout the README inside the
react-appdirectory.
IMPORTANT! If you add any python dependencies to your pipfiles, you'll need to regenerate your requirements.txt before deployment. You can do this by running:
pipenv lock -r > requirements.txtALSO IMPORTANT! psycopg2-binary MUST remain a dev dependency because you can't install it on apline-linux. There is a layer in the Dockerfile that will install psycopg2 (not binary) for us.
-
Before you deploy, don't forget to run the following command in order to ensure that your production environment has all of your up-to-date dependencies. You only have to run this command when you have installed new Python packages since your last deployment, but if you aren't sure, it won't hurt to run it again.
pipenv lock -r > requirements.txt -
Create a new project on Heroku
-
Under Resources click "Find more add-ons" and add the add on called "Heroku Postgres"
-
Install the Heroku CLI
-
Run
heroku login
-
Login to the heroku container registry
heroku container:login
-
Update the
REACT_APP_BASE_URLvariable in the Dockerfile. This should be the full URL of your Heroku app: i.e. "https://flask-react-aa.herokuapp.com" -
Push your docker container to heroku from the root directory of your project. (If you are using an M1 mac, follow these steps below instead, then continue on to step 9.) This will build the Dockerfile and push the image to your heroku container registry.
heroku container:push web -a {NAME_OF_HEROKU_APP} -
Release your docker container to heroku
heroku container:release web -a {NAME_OF_HEROKU_APP} -
set up your database
heroku run -a {NAME_OF_HEROKU_APP} flask db upgrade heroku run -a {NAME_OF_HEROKU_APP} flask seed all -
Under Settings find "Config Vars" and add any additional/secret .env variables.
-
profit
(Replaces Step 8)
-
Build image with linux platform for heroku servers. Replace {NAME_OF_HEROKU_APP} with your own tag:
docker buildx build --platform linux/amd64 -t {NAME_OF_HEROKU_APP} . -
Tag your app with the url for your apps registry. Make sure to use the name of your Heroku app in the url and tag name:
docker tag {NAME_OF_HEROKU_APP} registry.heroku.com/{NAME_OF_HEROKU_APP}/web -
Use docker to push the image to the Heroku container registry:
docker push registry.heroku.com/{NAME_OF_HEROKU_APP}/web