//destination scene이 나타나기 전 미리 필요한 작업을 수행하기위해 준비해주는 단계
override func prepare(for segue: UIStoryboardSegue, sender: Any?){

    let destination = segue.destination
    let button = sender as! UIButton
    destination.title = button.titleLabel?.text
    //데이터가 전달되어 destination scene의 네비게이션 바 '타이틀' 설정

}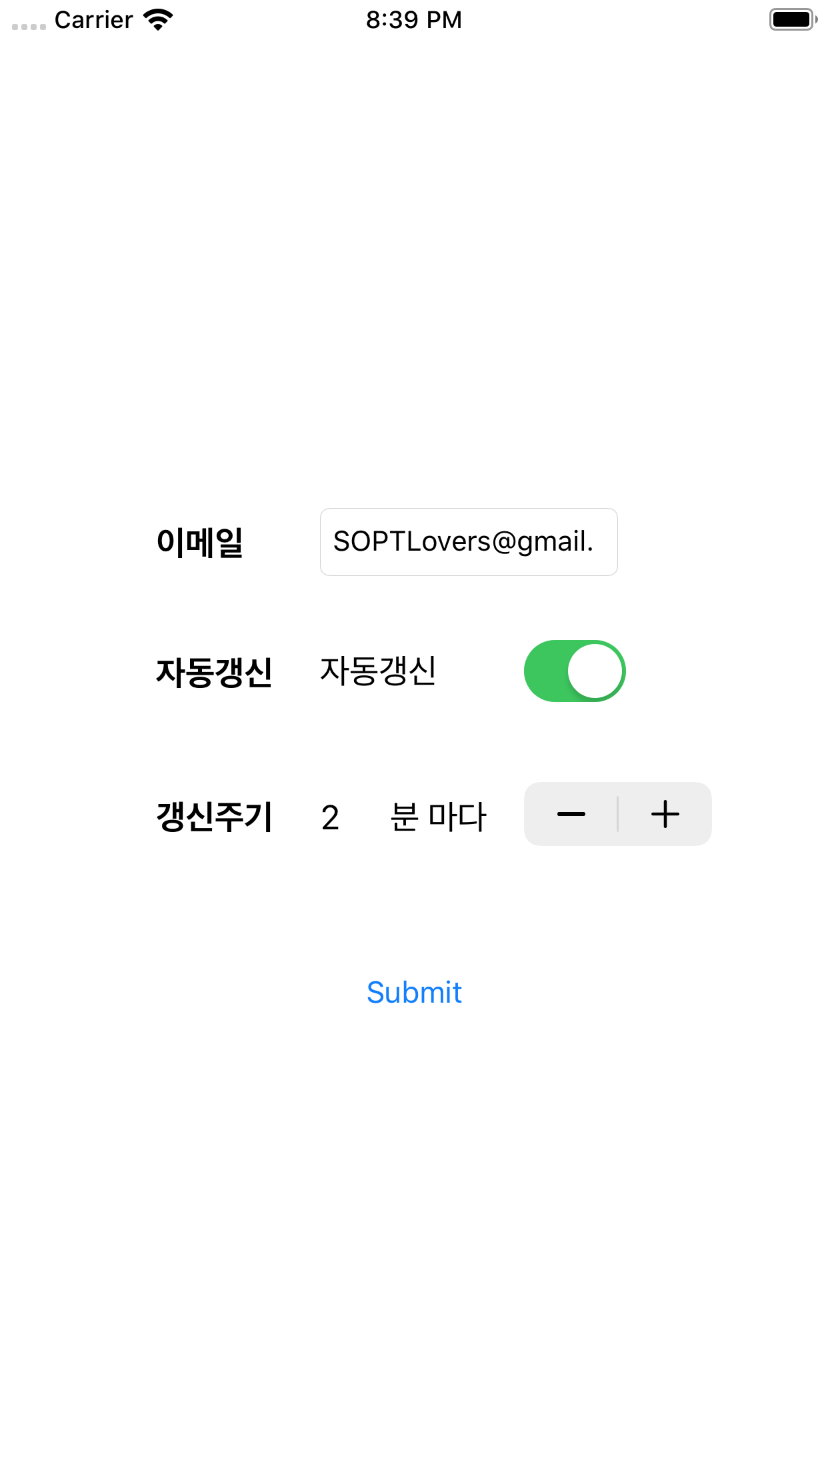
@IBAction func onSubmit(_ sender: Any) {

    //(withIdentifier: "Next viewcontroller의 storyboard ID")
    guard let rvc = self.storyboard?.instantiateViewController(withIdentifier: "RVC") as? ViewController_result
        else {
            return
        }

    rvc.paramEmail = self.email.text!
    rvc.paramUpdate = self.isUpdate.isOn
    rvc.paramInterval = self.interval.value

    //코드로 뷰간의 present연결(이때,스토리보드에선 뷰간 연결해주면 안됨)
    self.present(rvc,animated: true)

} //이전 viewcontroller에서 넘겨준 데이터 어떤형식으로 받을지 선언
var paramEmail: String = ""
var paramUpdate: Bool = false
var paramInterval: Double = 0
//코드로 Back Action(이때,스토리보드에선 뷰간 연결해주면 안됨)
@IBAction func onBack(_ sender: Any) {
self.dismiss(animated: true)
}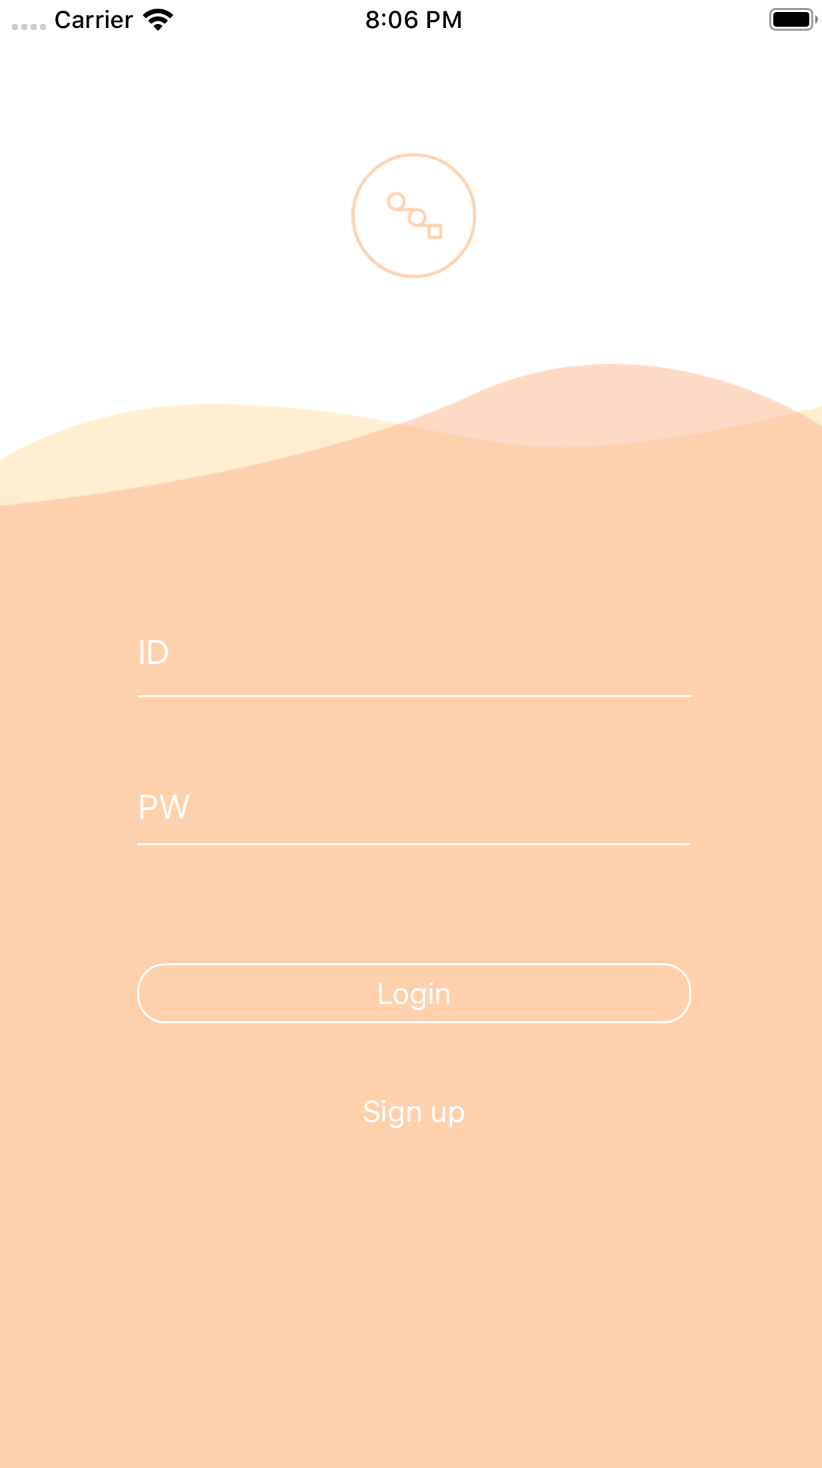
// 로그인 뷰의 모든 AutoLayout을 잡고 StackView의 'Center Y축을' @IBOutlet으로 선언해서 키보드 제스처에 따라 높이를 제어
@IBOutlet weak var stackViewCenterY: NSLayoutConstraint!
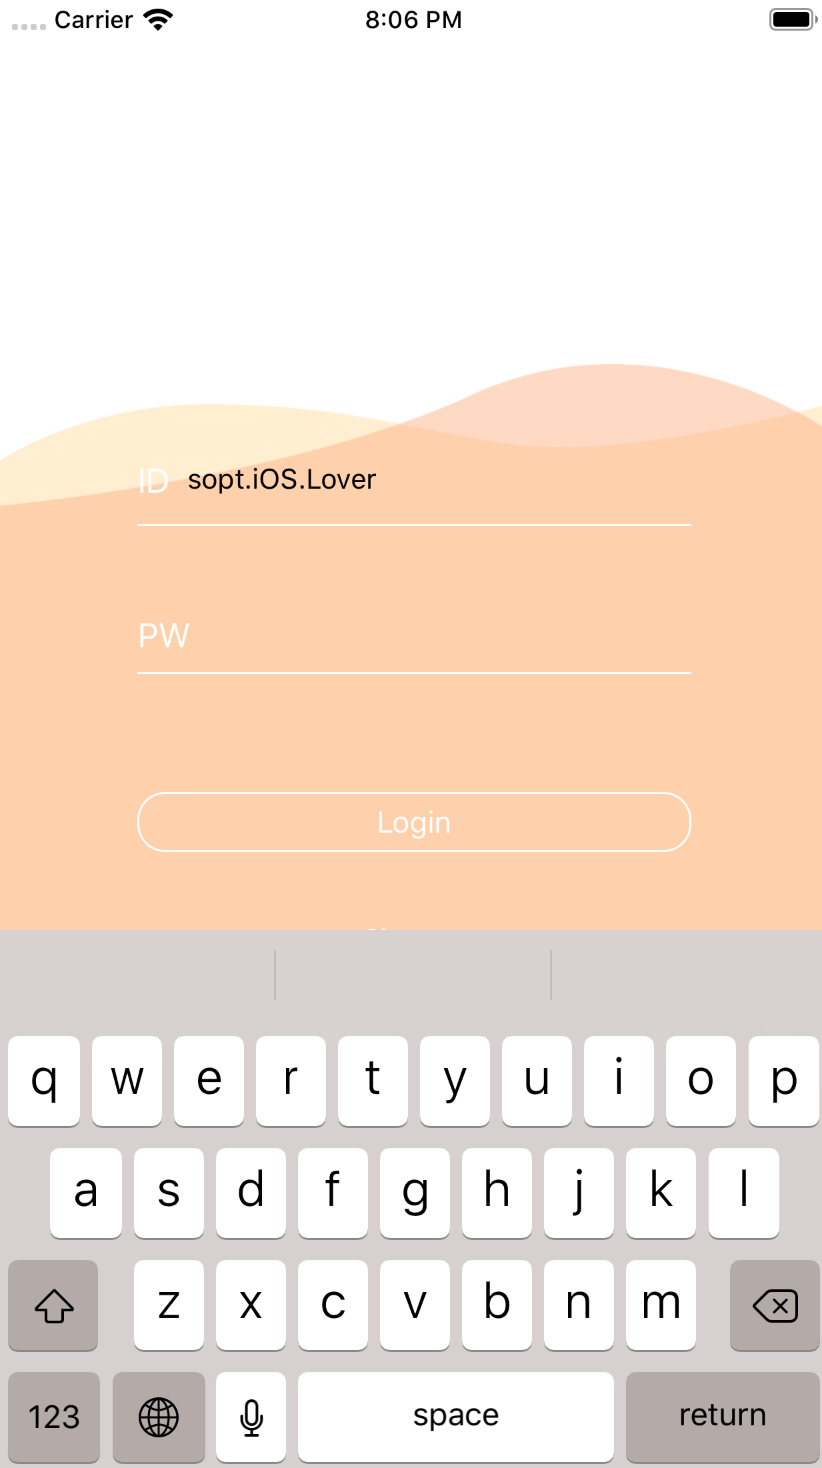
// animation 함수
// 최종 결과물로 보여줄 상태만 선언해주면 애니메이션은 알아서 동작
// duration은 간격
UIView.animate(withDuration: duration, delay: 0.0, options: .init(rawValue: curve), animations: {
self.logoImgView.alpha = 0
// +로 갈수록 y값이 내려가고 -로 갈수록 y값이 올라간다.
self.stackViewCenterY.constant = -keyboardHeight/2 + 125
})
//스택뷰 CenterY 잡아와서 constant 계산
import UIKit

class Roundingbutton: UIButton {
    required init?(coder aDecoder: NSCoder) {
        super.init(coder: aDecoder)!

        //값이 커질수록 둥글
        self.layer.cornerRadius = 0.5 * self.bounds.size.width
        //버튼 배경색
        //self.backgroundColor = UIColor(red: 255/255, green: 255/255, blue: 255/255, alpha: 1)
        //버튼의 textcolor
        //self.tintColor = UIColor.white
        //버튼의 외곽선컬러
        //self.layer.borderColor =
        //버튼의 외곽선두께: 값이 커질수록 두꺼움
        //self.layer.borderWidth =

    }
}