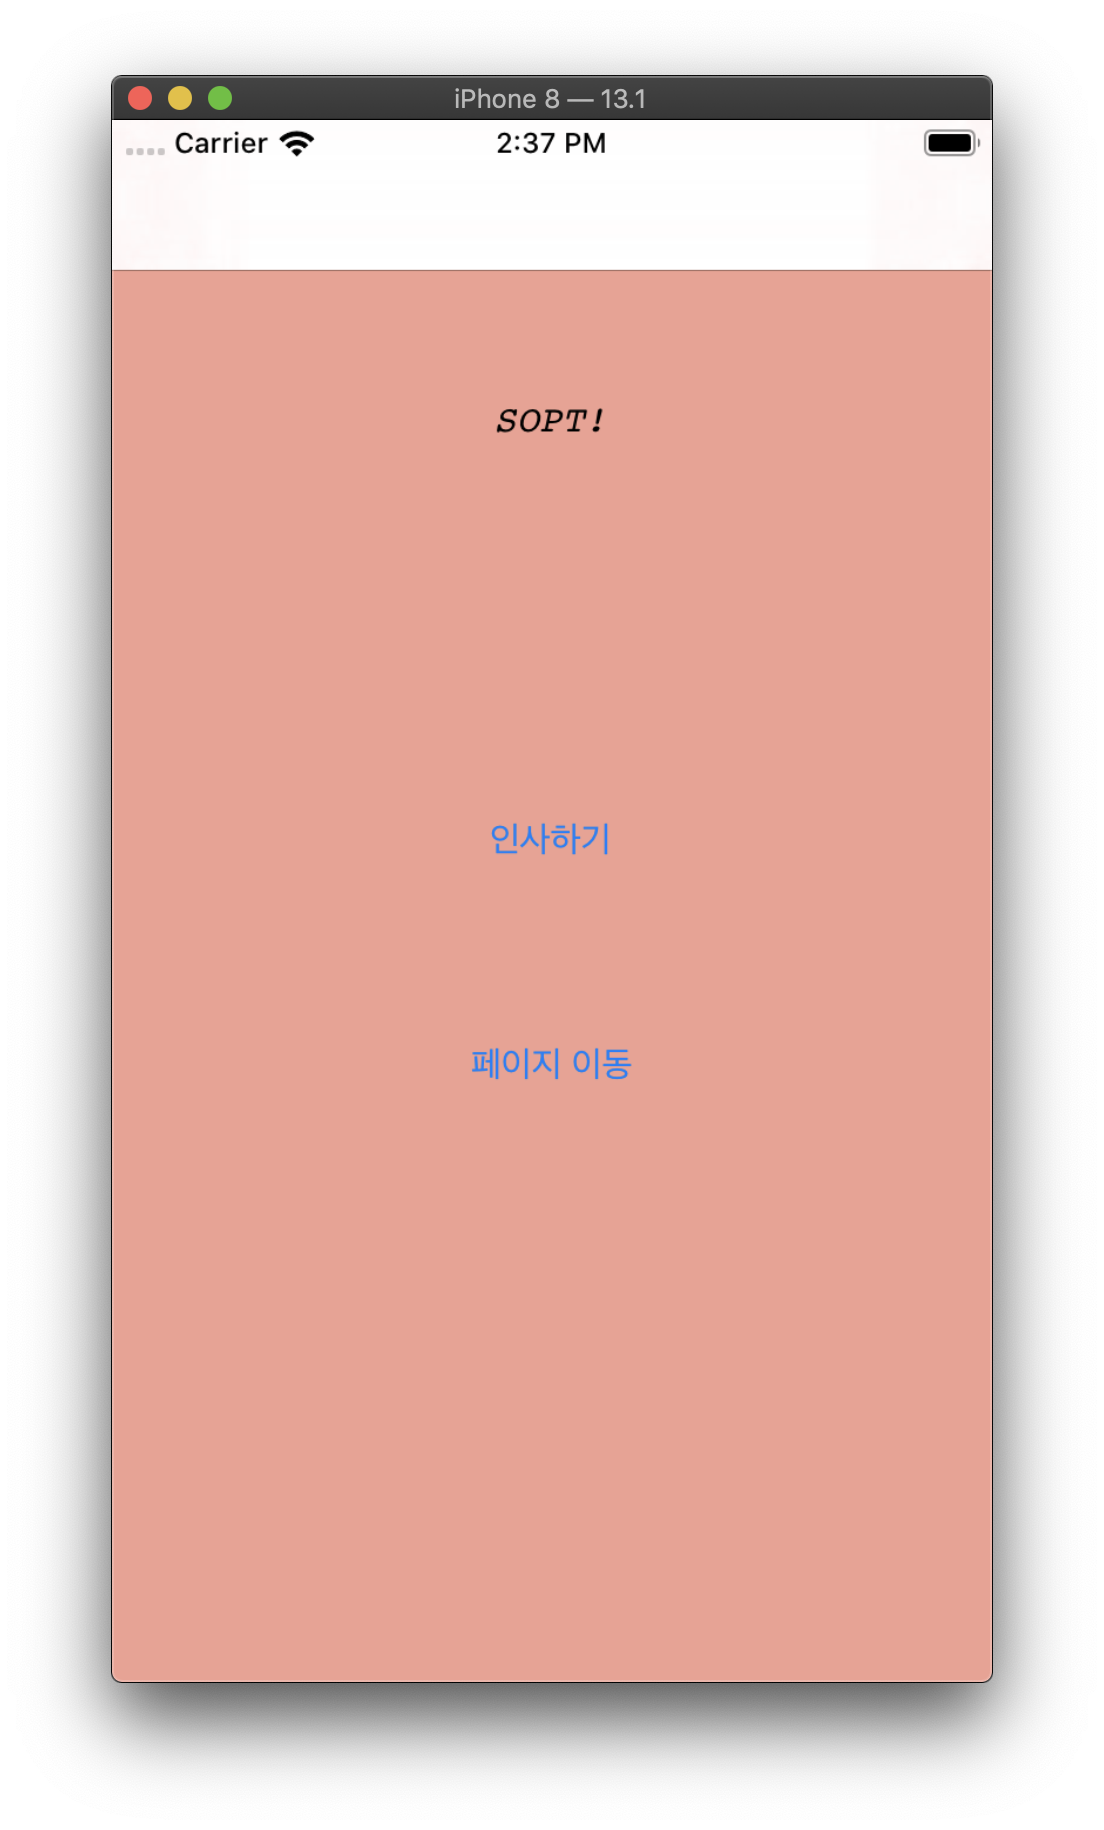
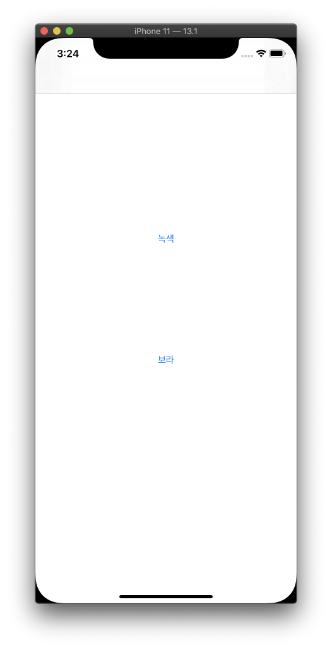
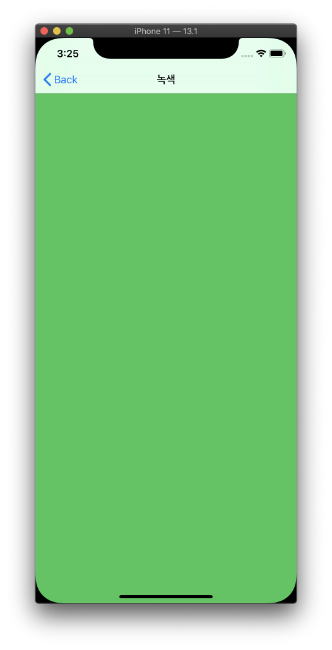
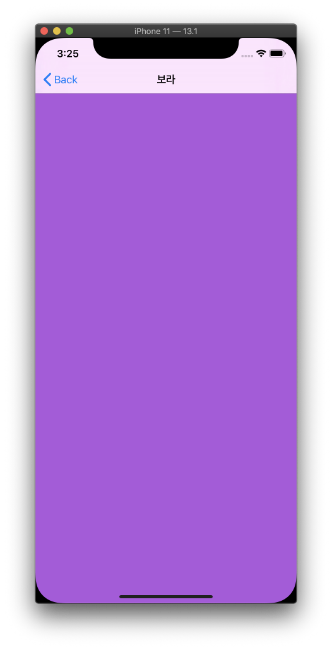
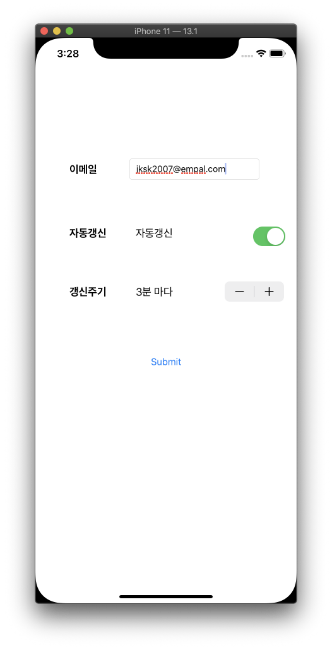
- practice using button for moving page
- Autolayout
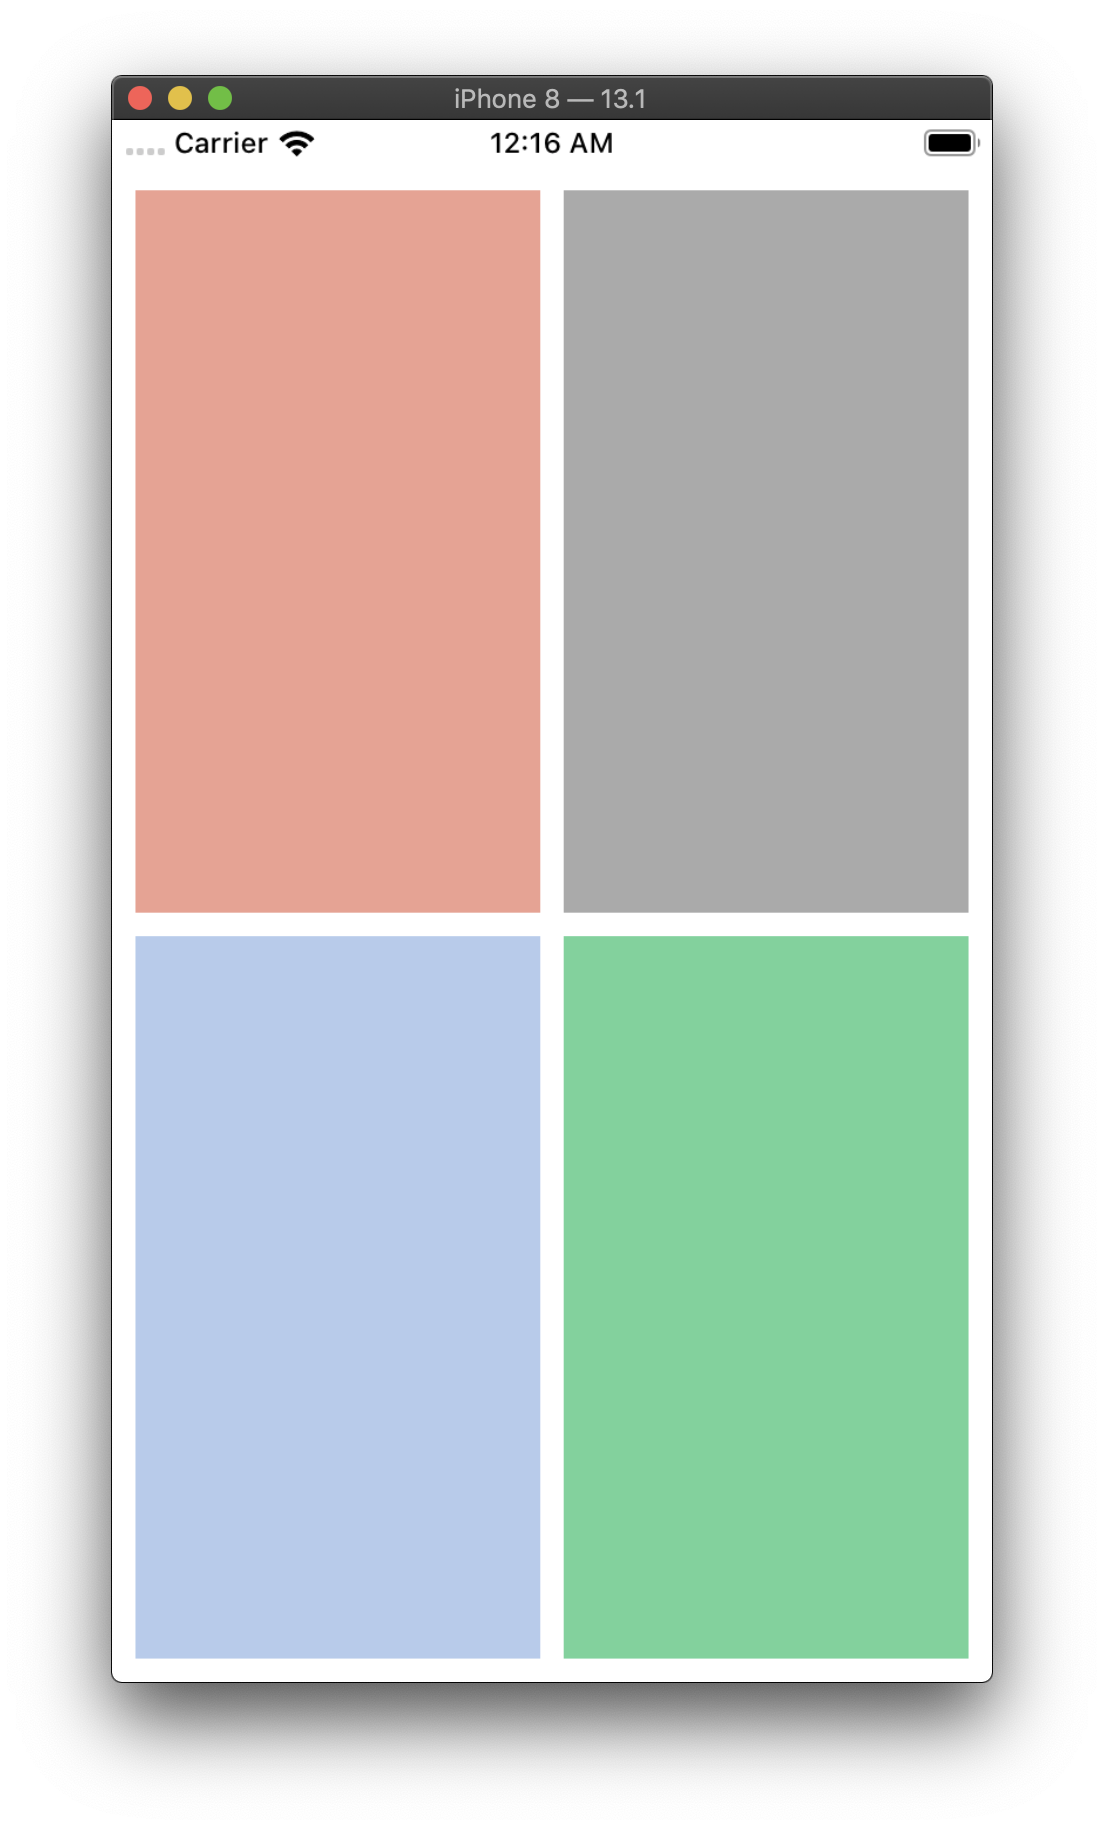
- practice Autolayout
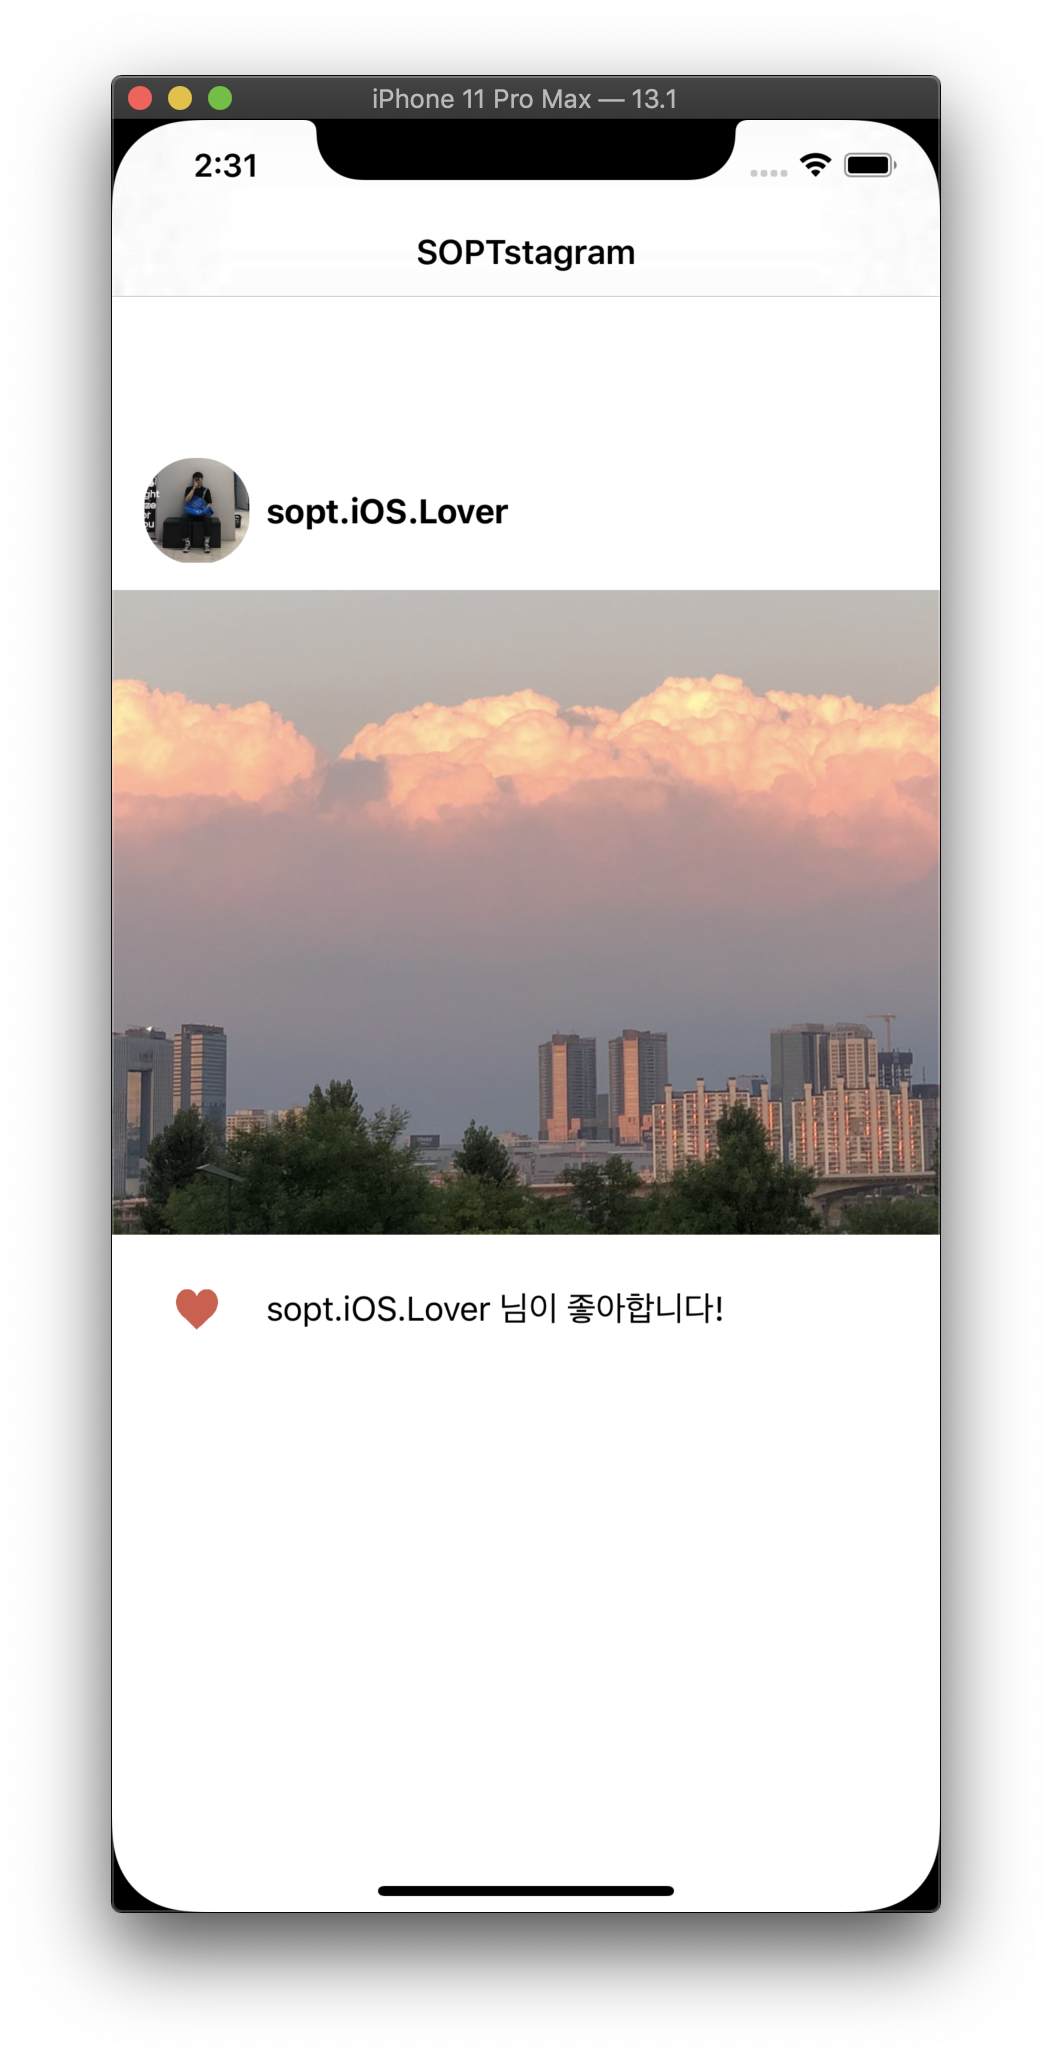
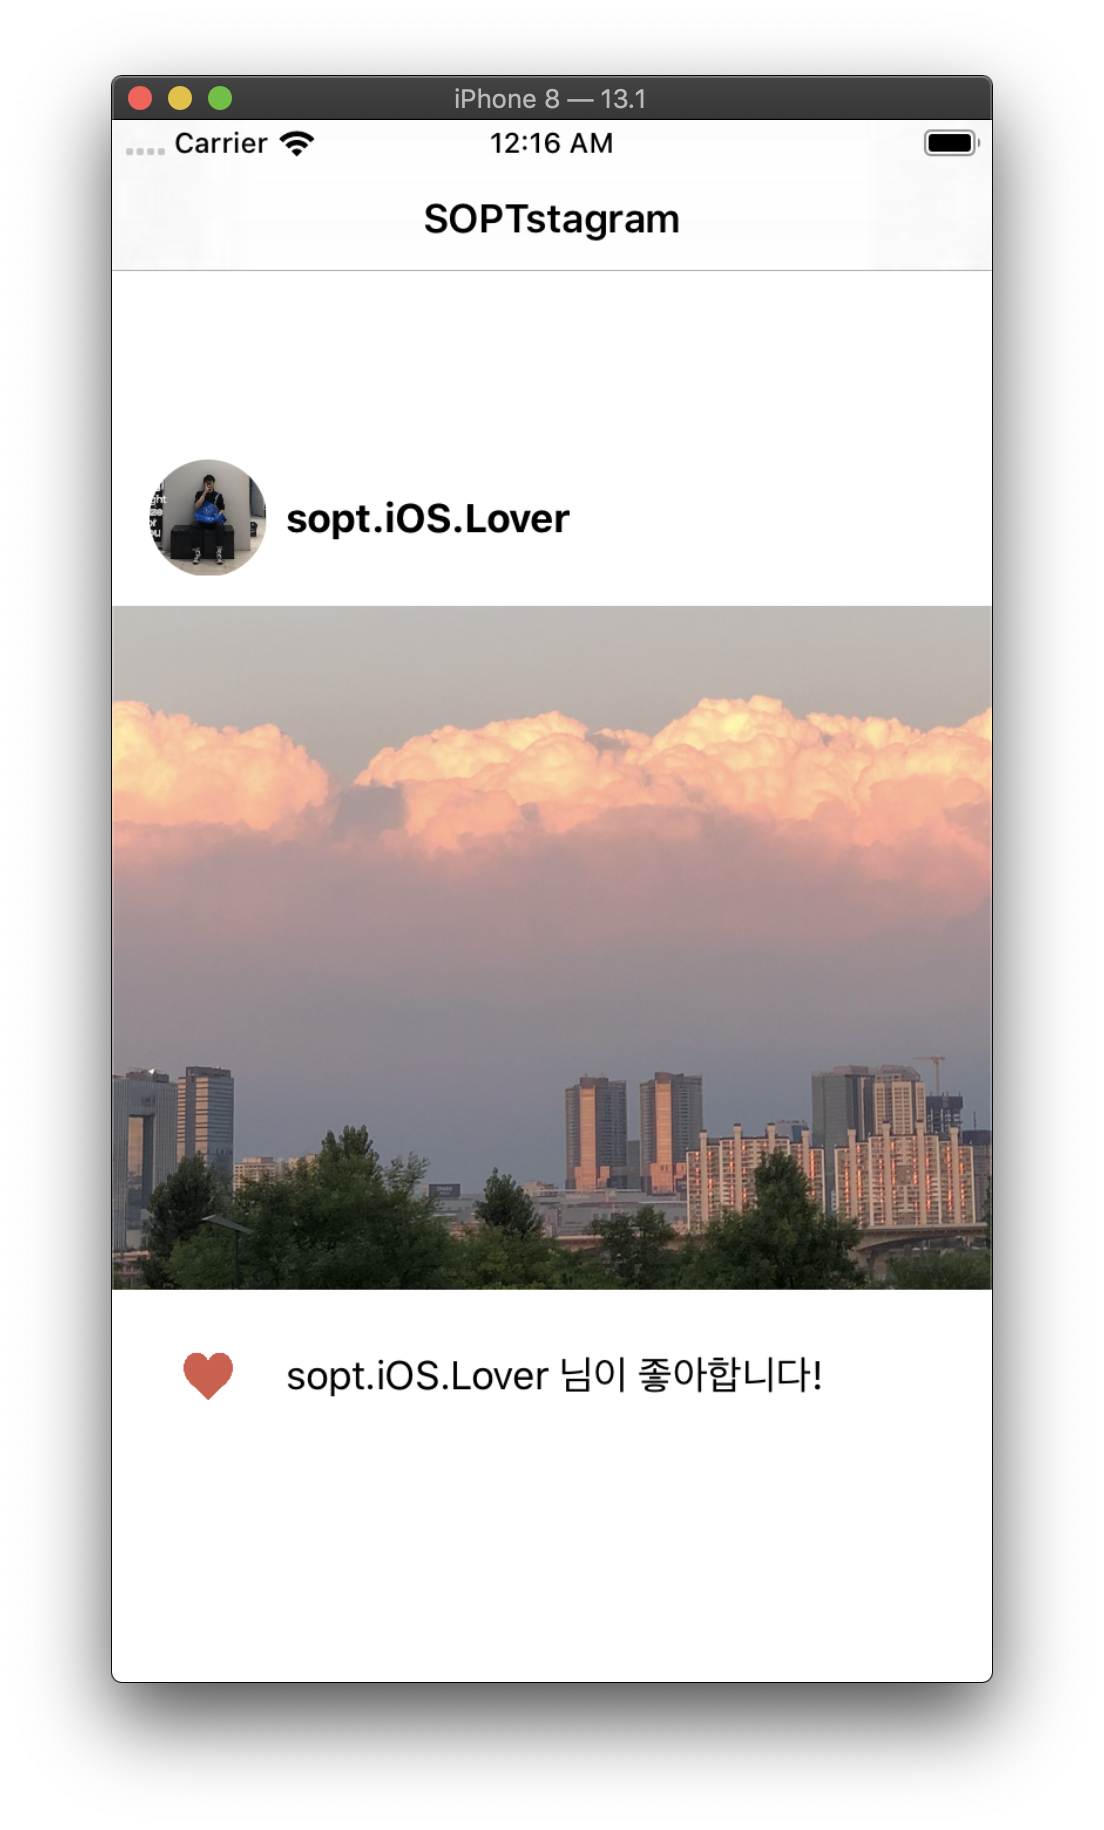
- Rounding ImageView
- Button Click event
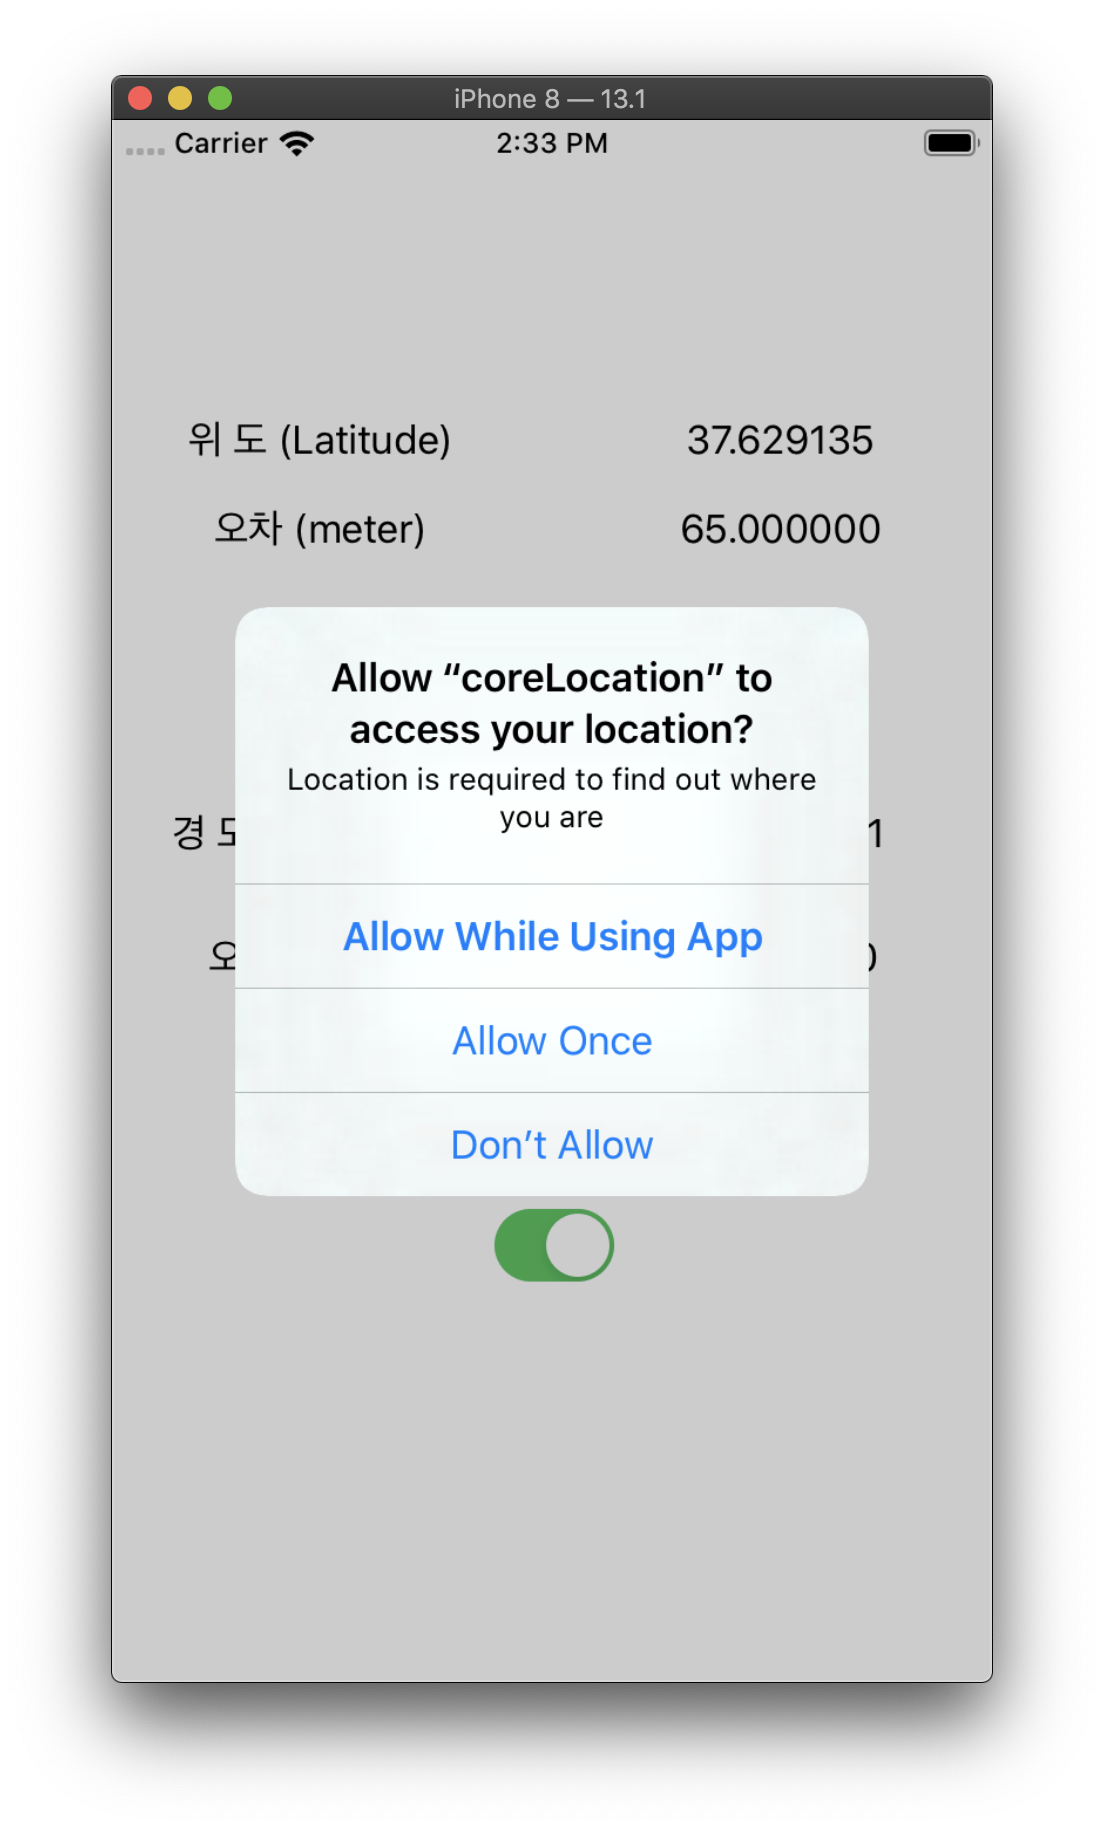
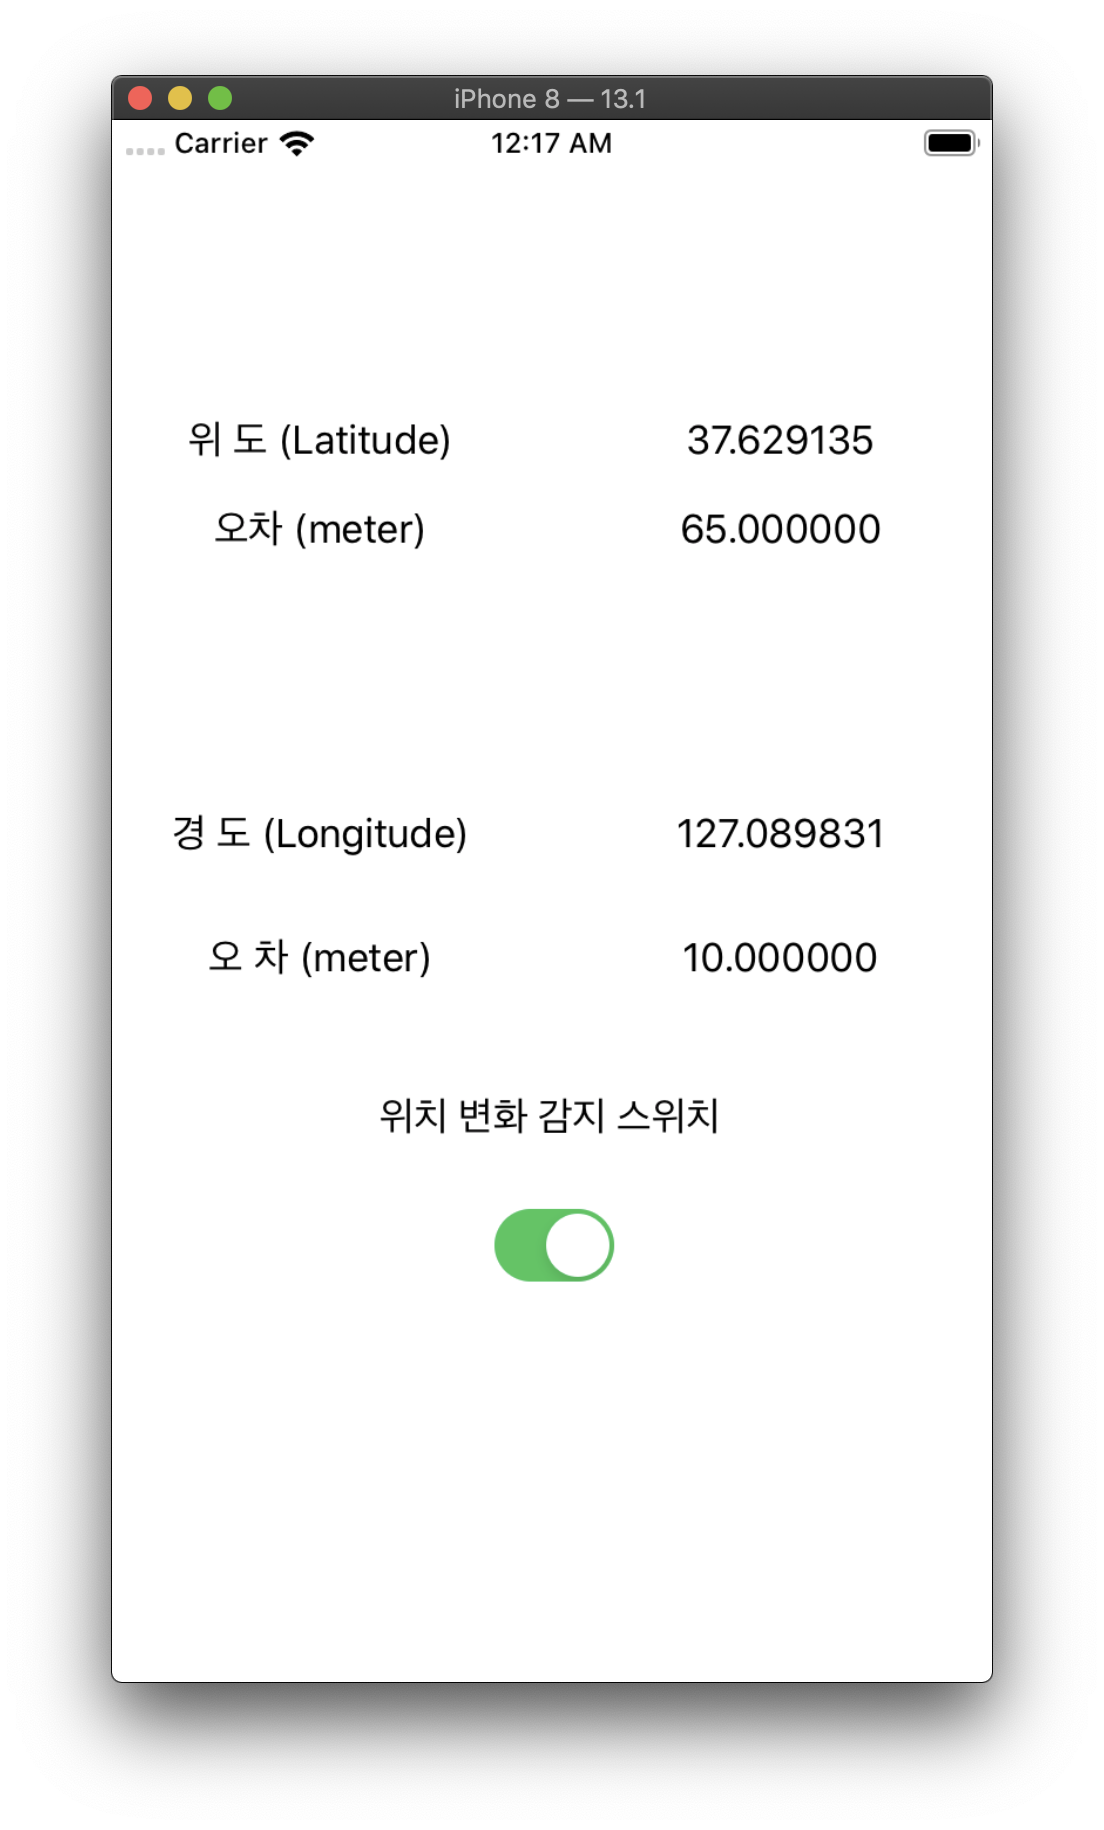
- CoreLocation
- Info.plist에서 Location 접근요청
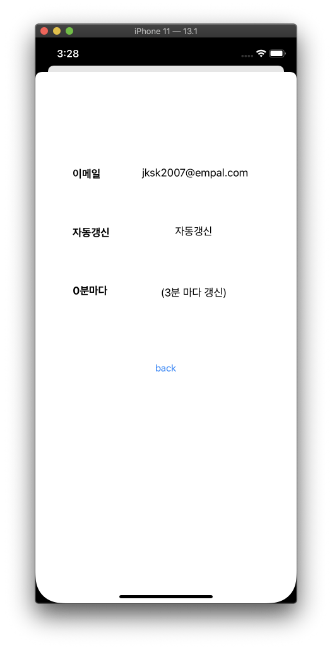
- Data_Send
 override func prepare(for segue: UIStoryboardSegue, sender: Any?) {

        let destination = segue.destination
   //세그에 대한 목적지
        let button = sender as! UIButton
   // 센더에 대한 옵셔널 강제 해제.(어차피 버튼이니까 강제로 해제해줘도 괜찮다)
        destination.title = button.titleLabel?.text
   //데이터가 전달된 다음 화면의 네비게이션 바 설정

}-
Stepper
- counting 되는값은 Value 프로퍼티로 접근 가능.
- Stepper.Value의 리턴 값은 Double.
- 또한 Stepper의 Minimum, Maximum, Step을 직접 설정할 수 있다.
-
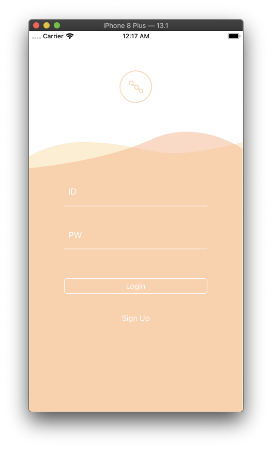
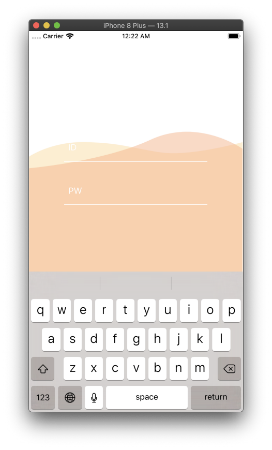
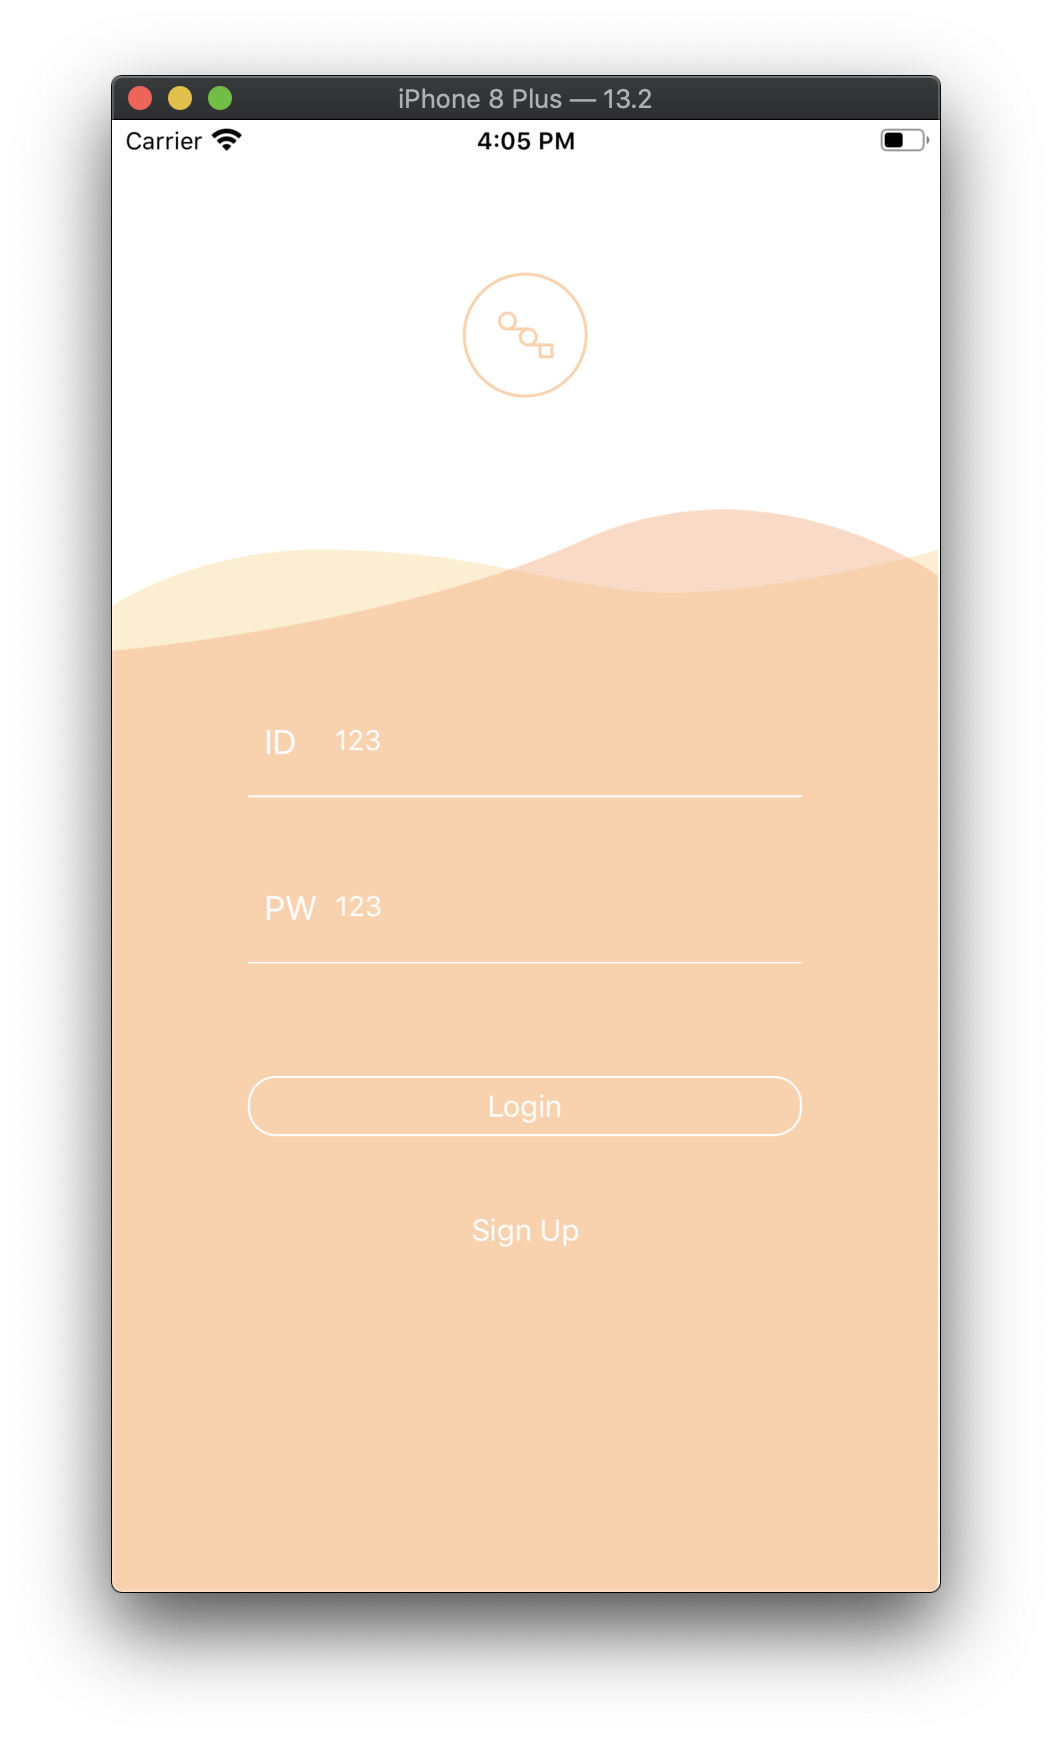
StackView
    @IBOutlet weak var stackViewCenterY: NSLayoutConstraint!
//이번에 Constraint를 IBOutlet으로 연결하는걸 배웠는데 정말 꿀팁인듯하다. UIView.animate(withDuration: duration, delay: 0.0, options: .init(rawValue: curve), animations: {
self.logoImageView.alpha = 0
// +로 갈수록 y값이 내려가고 -로 갈수록 y값이 올라간다.
self.stackViewCenterY.constant = -keyboardHeight/2 + 50
})
//스택뷰 CenterY 잡아와서 constant 계산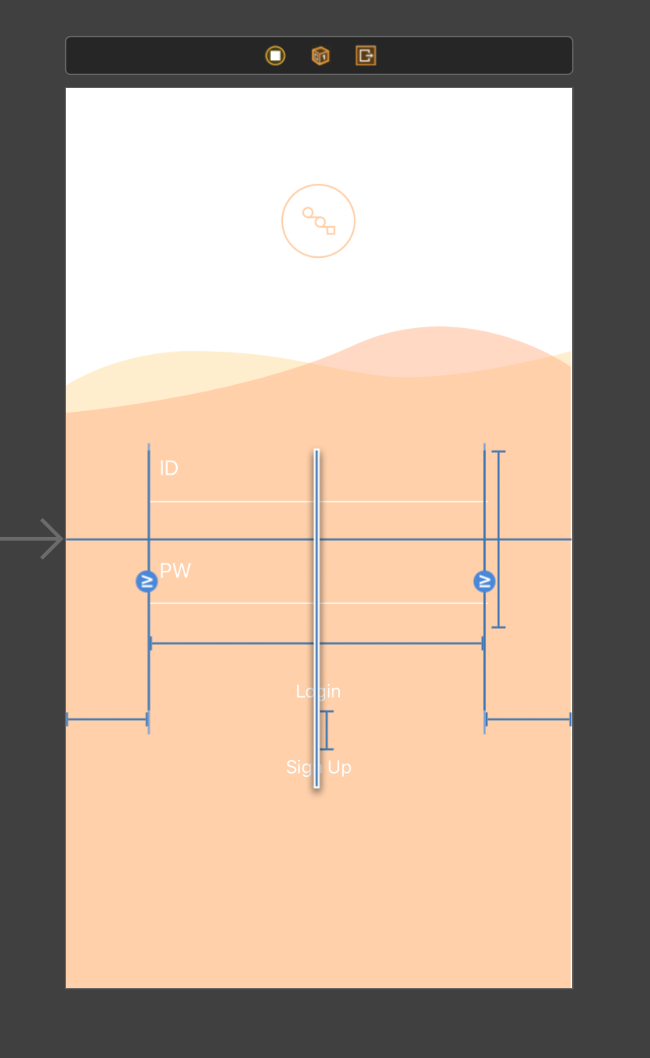
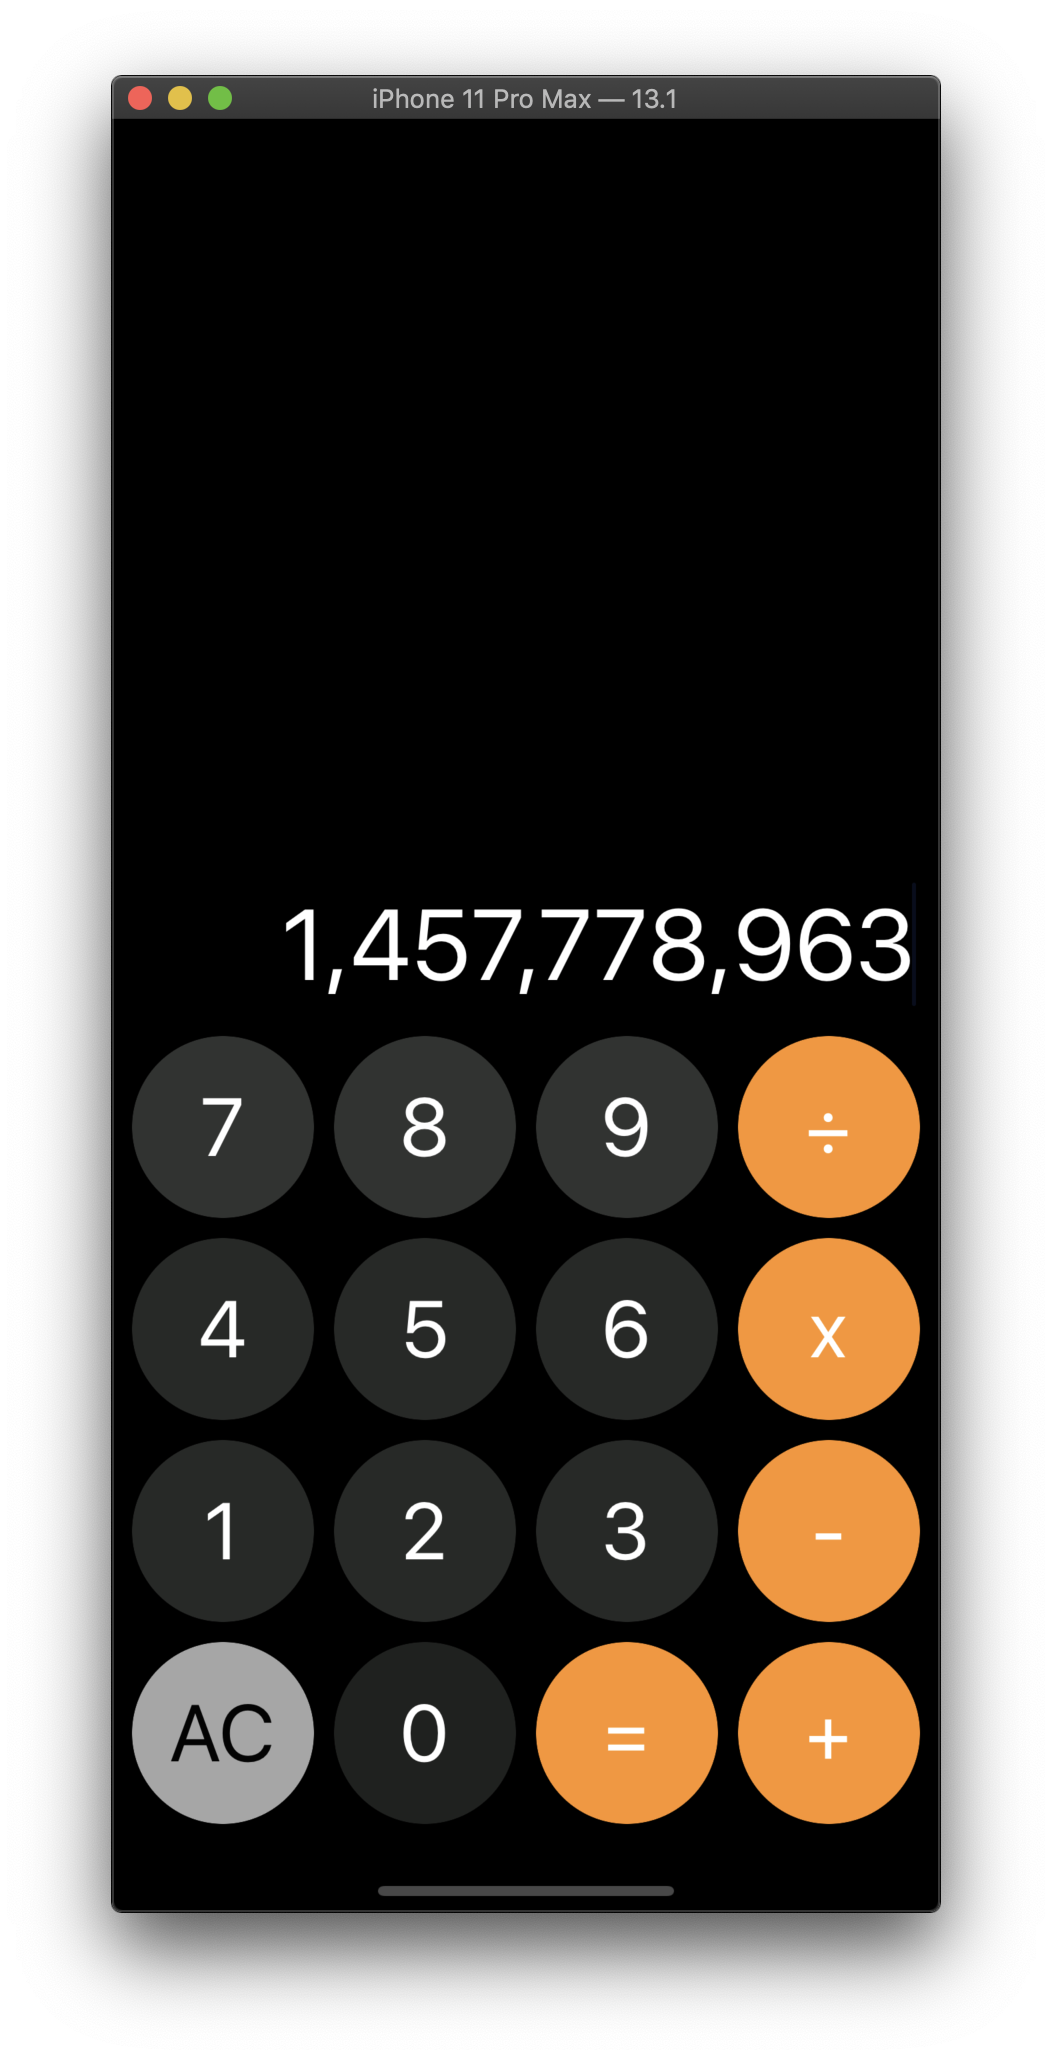
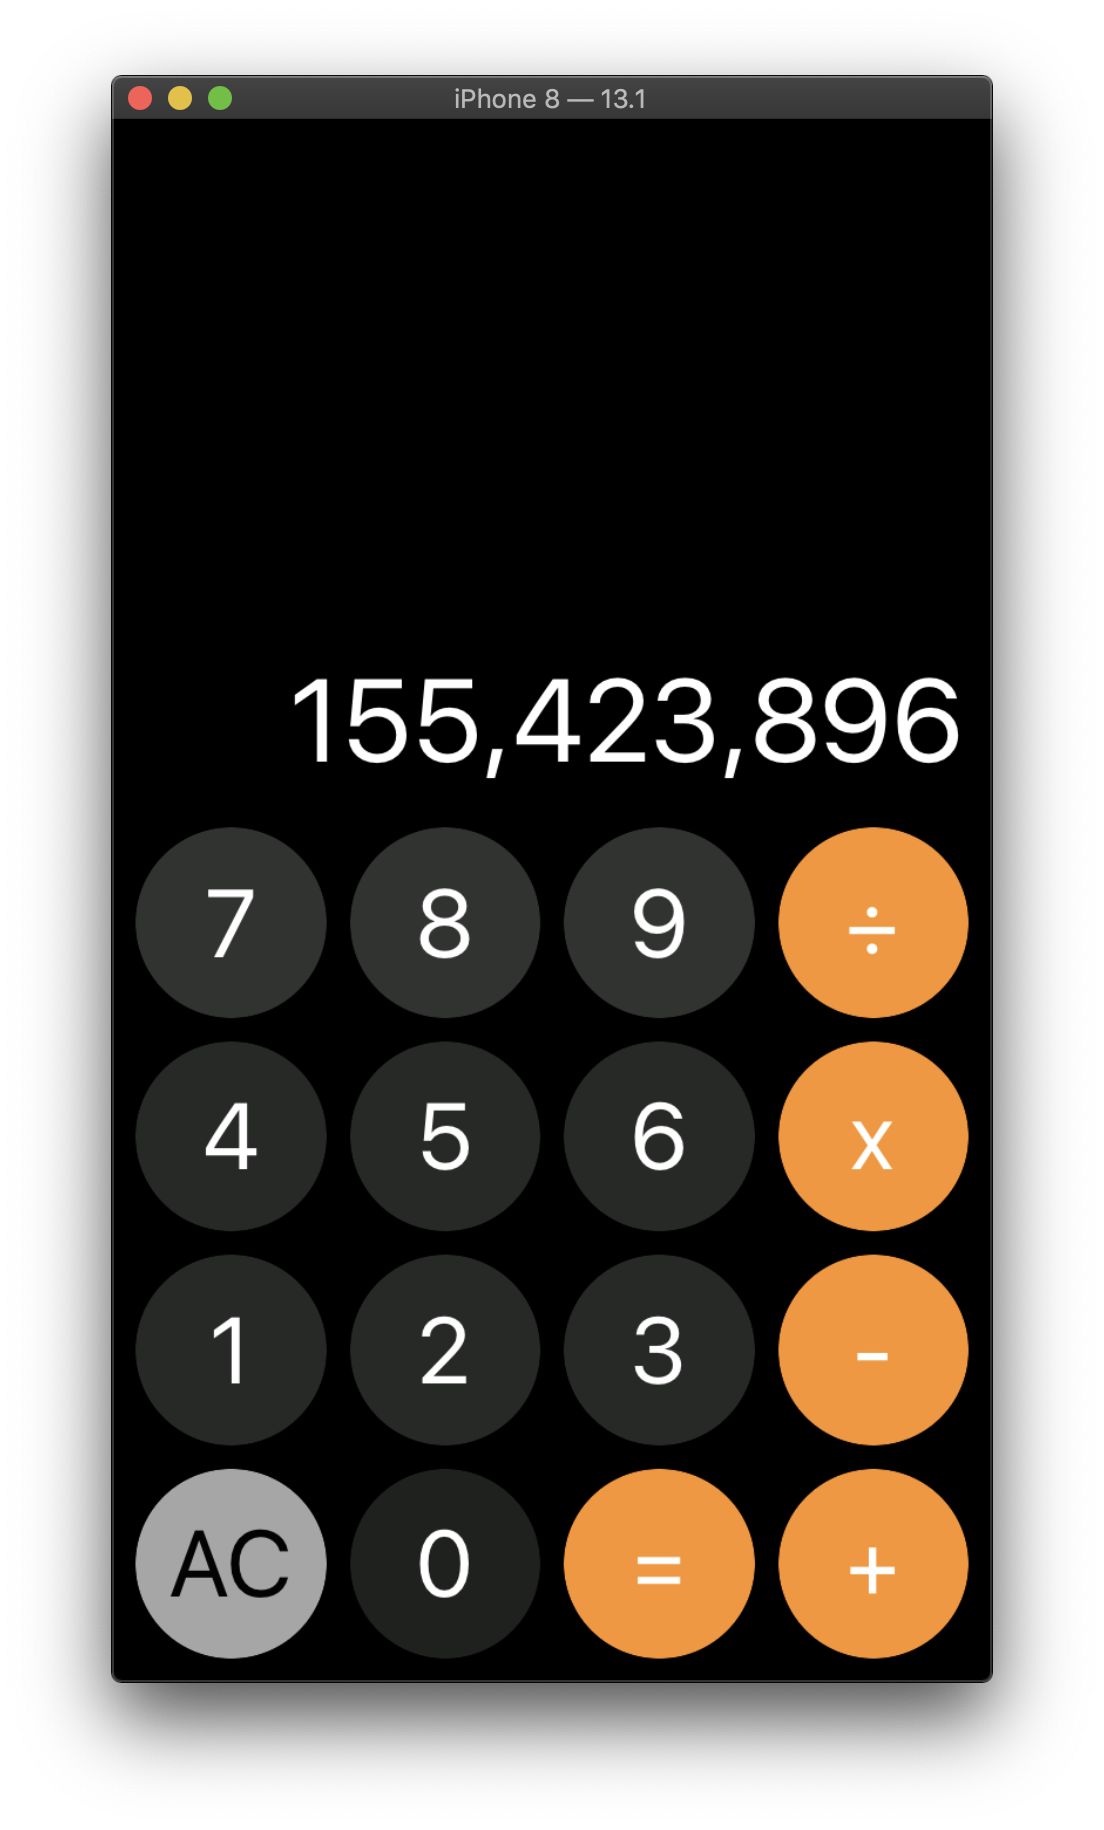
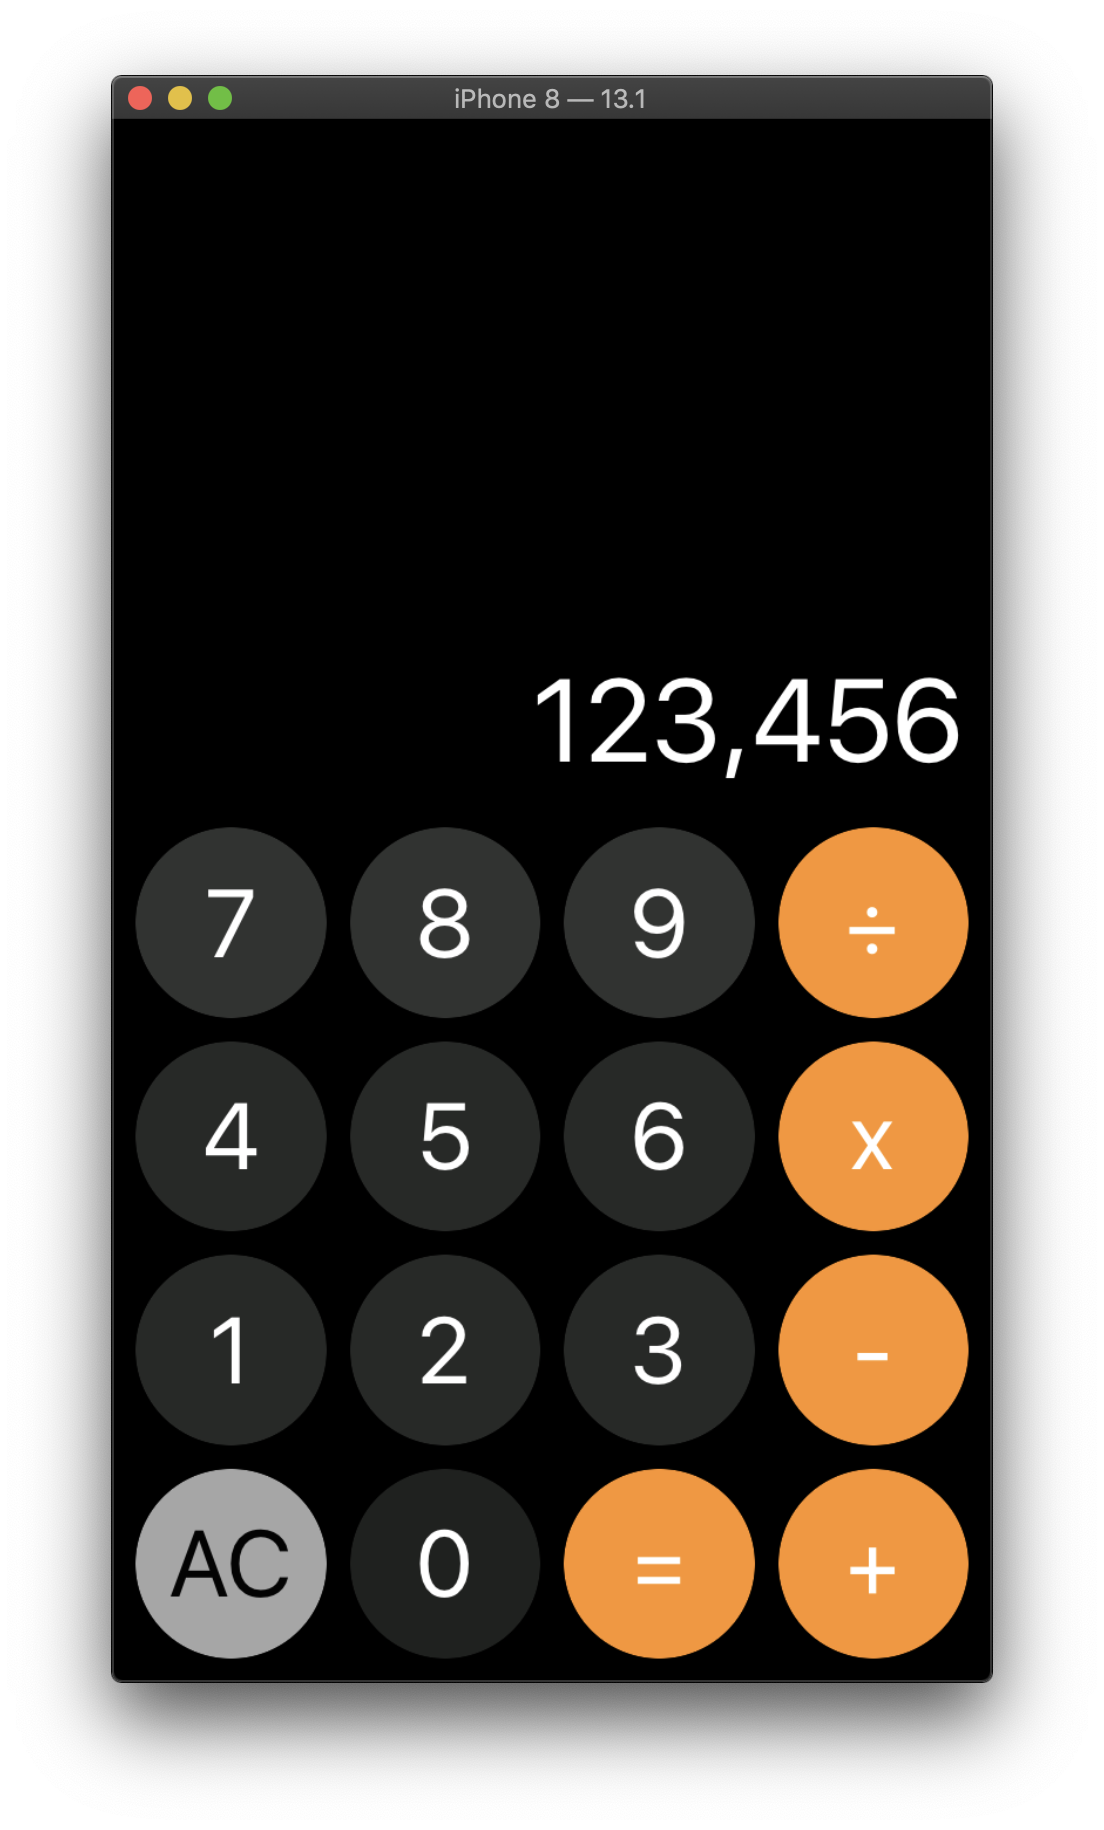
- Data Formatting
//Data Formatting
@IBAction func buttonTap(_ sender: UIButton) {
        if userIsInTheMiddleOfTyping {
            //텍스트 필드에 보여주기위한 string input
            input.append(sender.currentTitle!)
            //print(input)
            //실제 계산에 들어가는 string real
            real.append(sender.currentTitle!)
            formatNumber(input: input)
          //여기서 input 값을 formatting으로 변환하고 resultLabel에 넣어줌
            input = ""
        } else {
            //처음 텍스트에 아무것도 없을 때의logic
            input.append(sender.currentTitle!)
            resultLabel.text = input
            input = ""
        }
        //뒤에 string 으로 인식하기 위해 true로 설정
        userIsInTheMiddleOfTyping = true
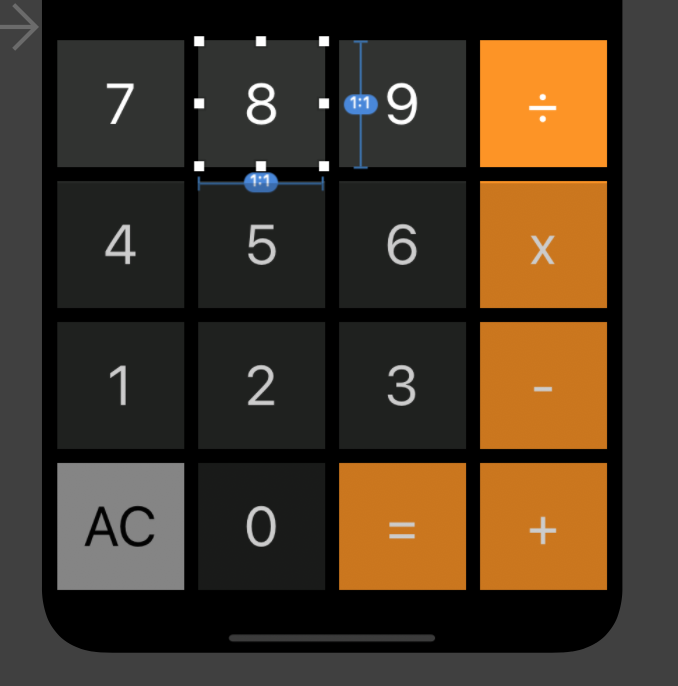
}- StackView_ Ratio Setting

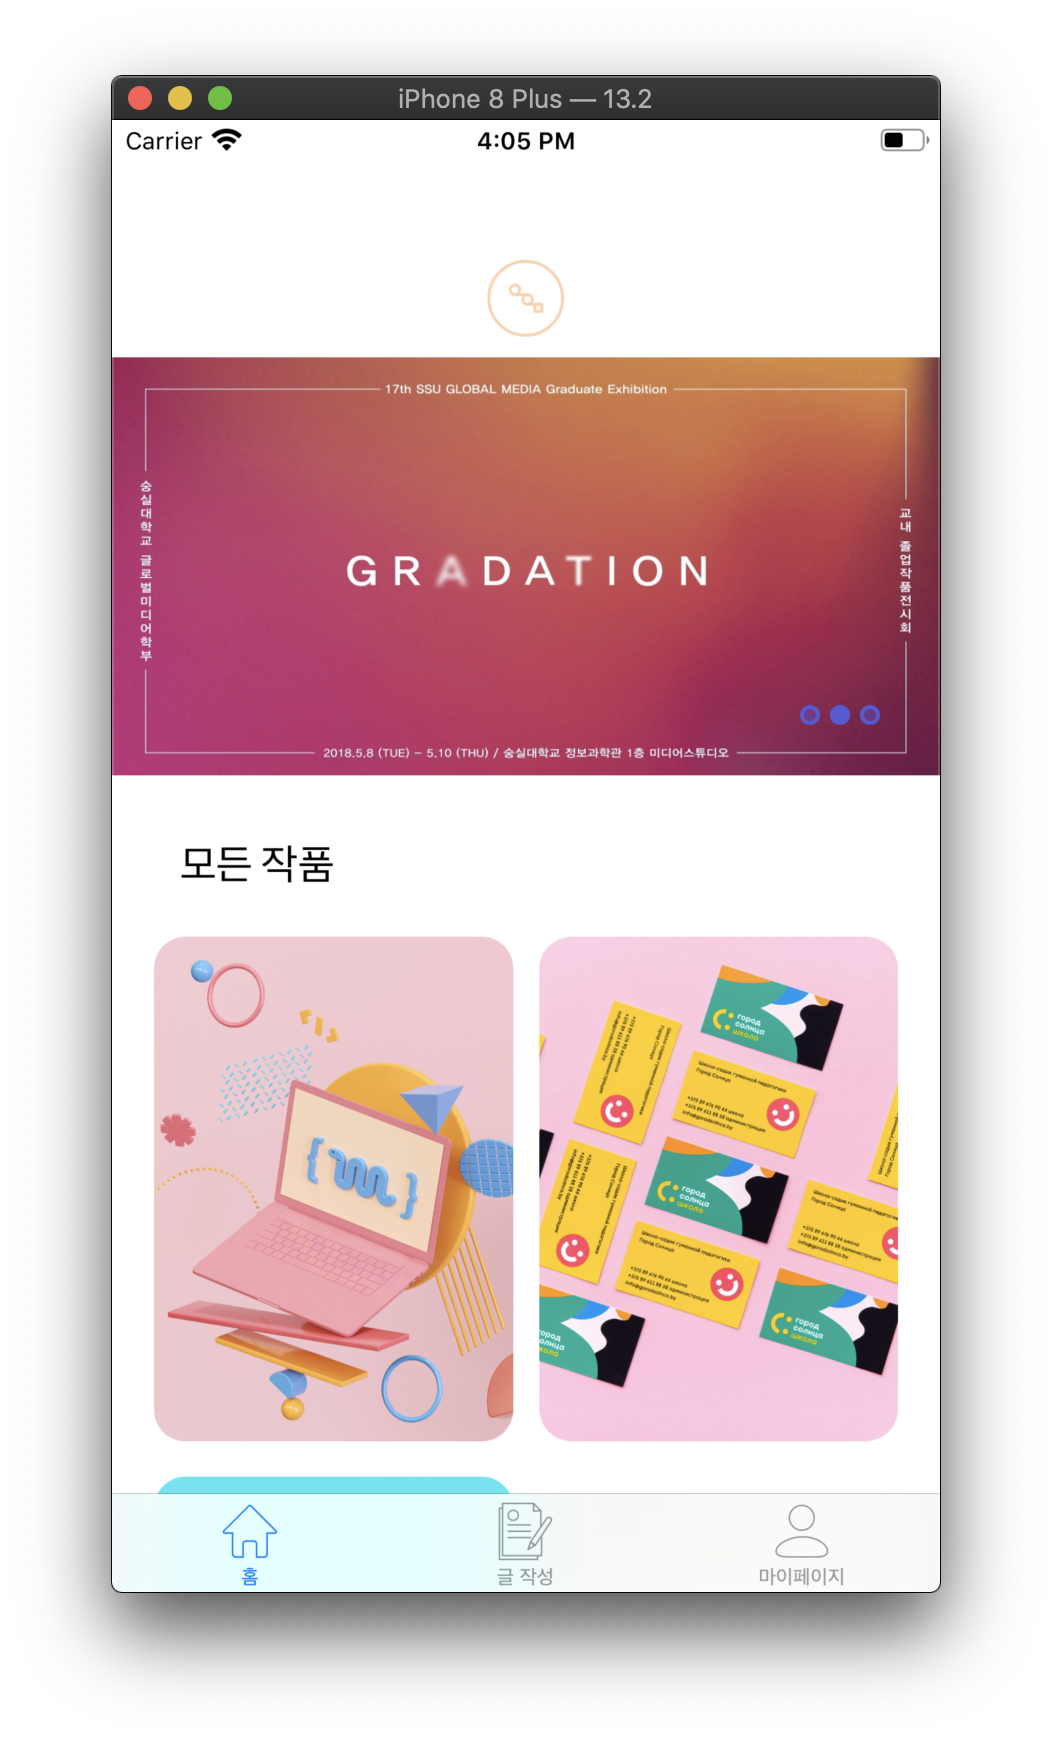
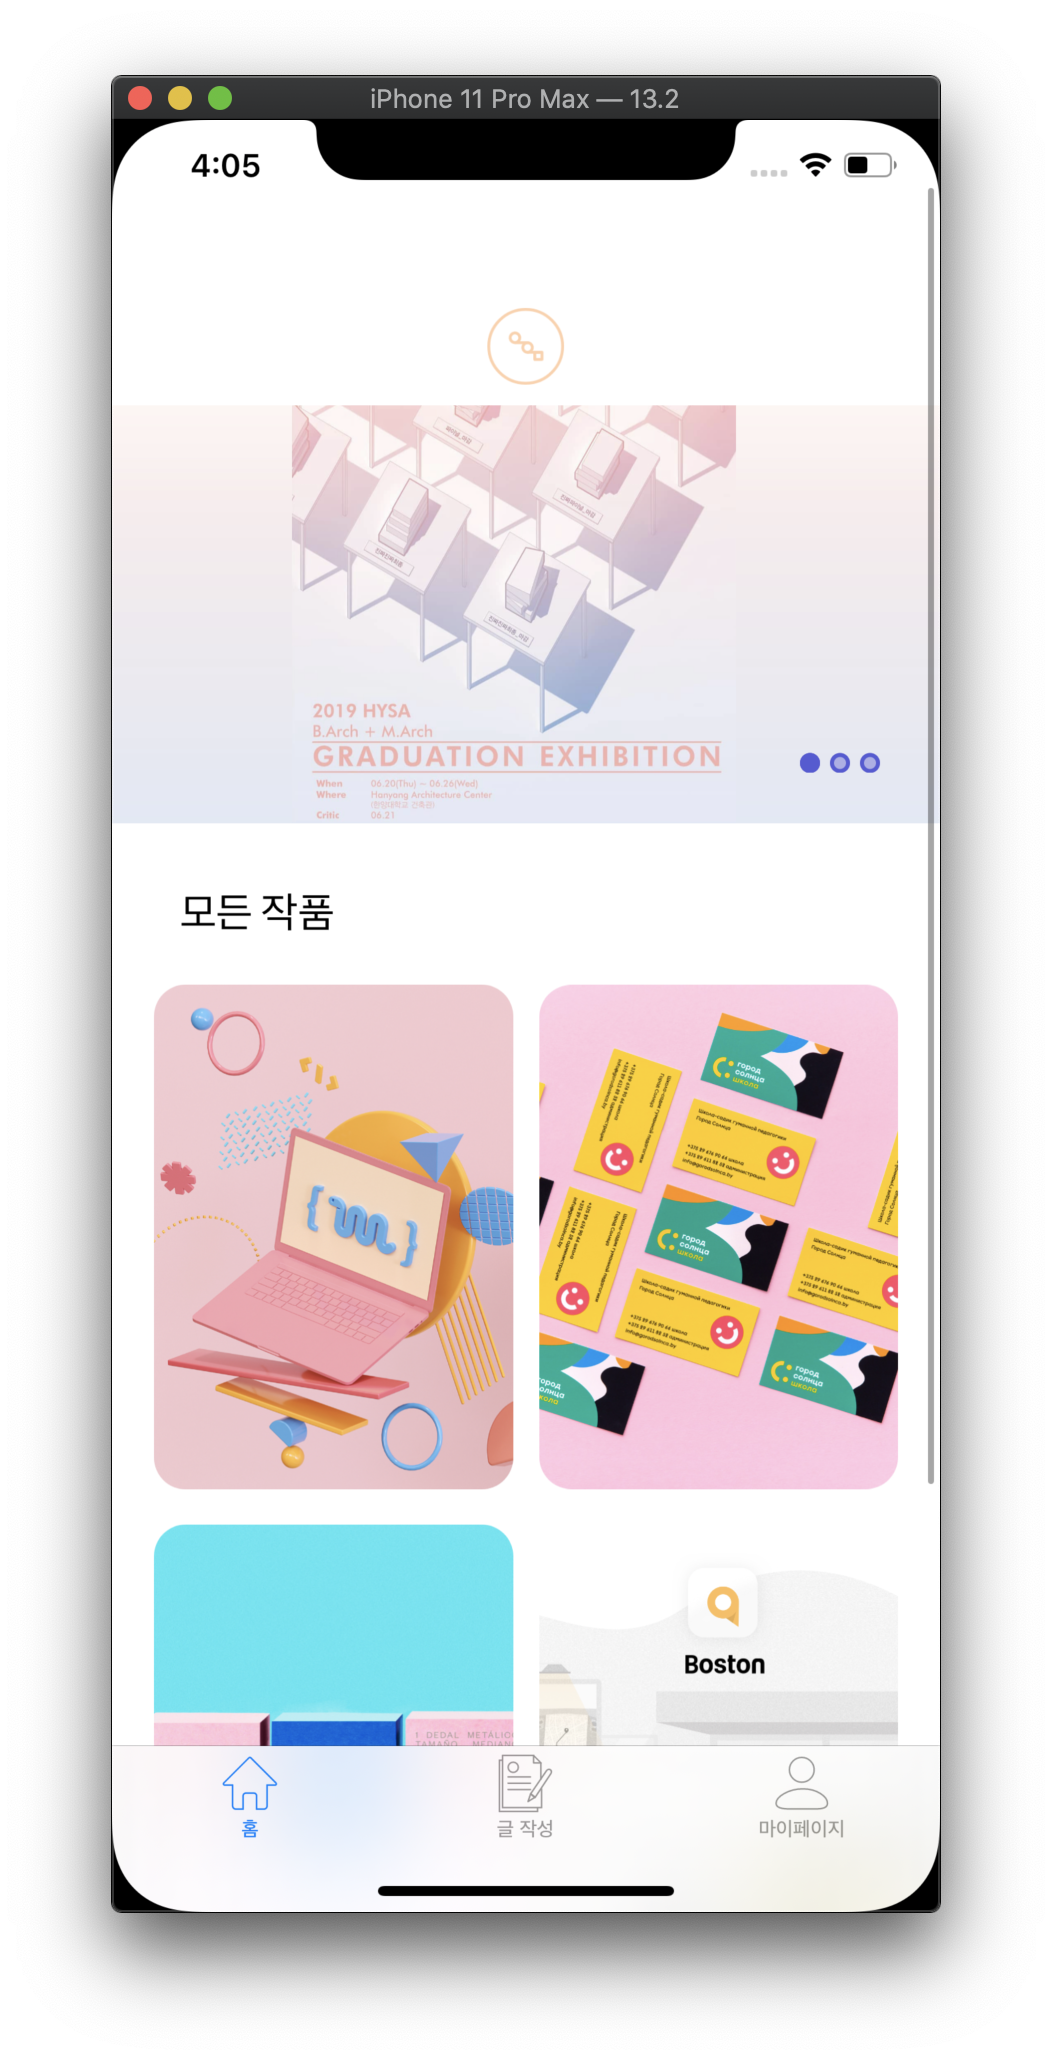
- ScrollView
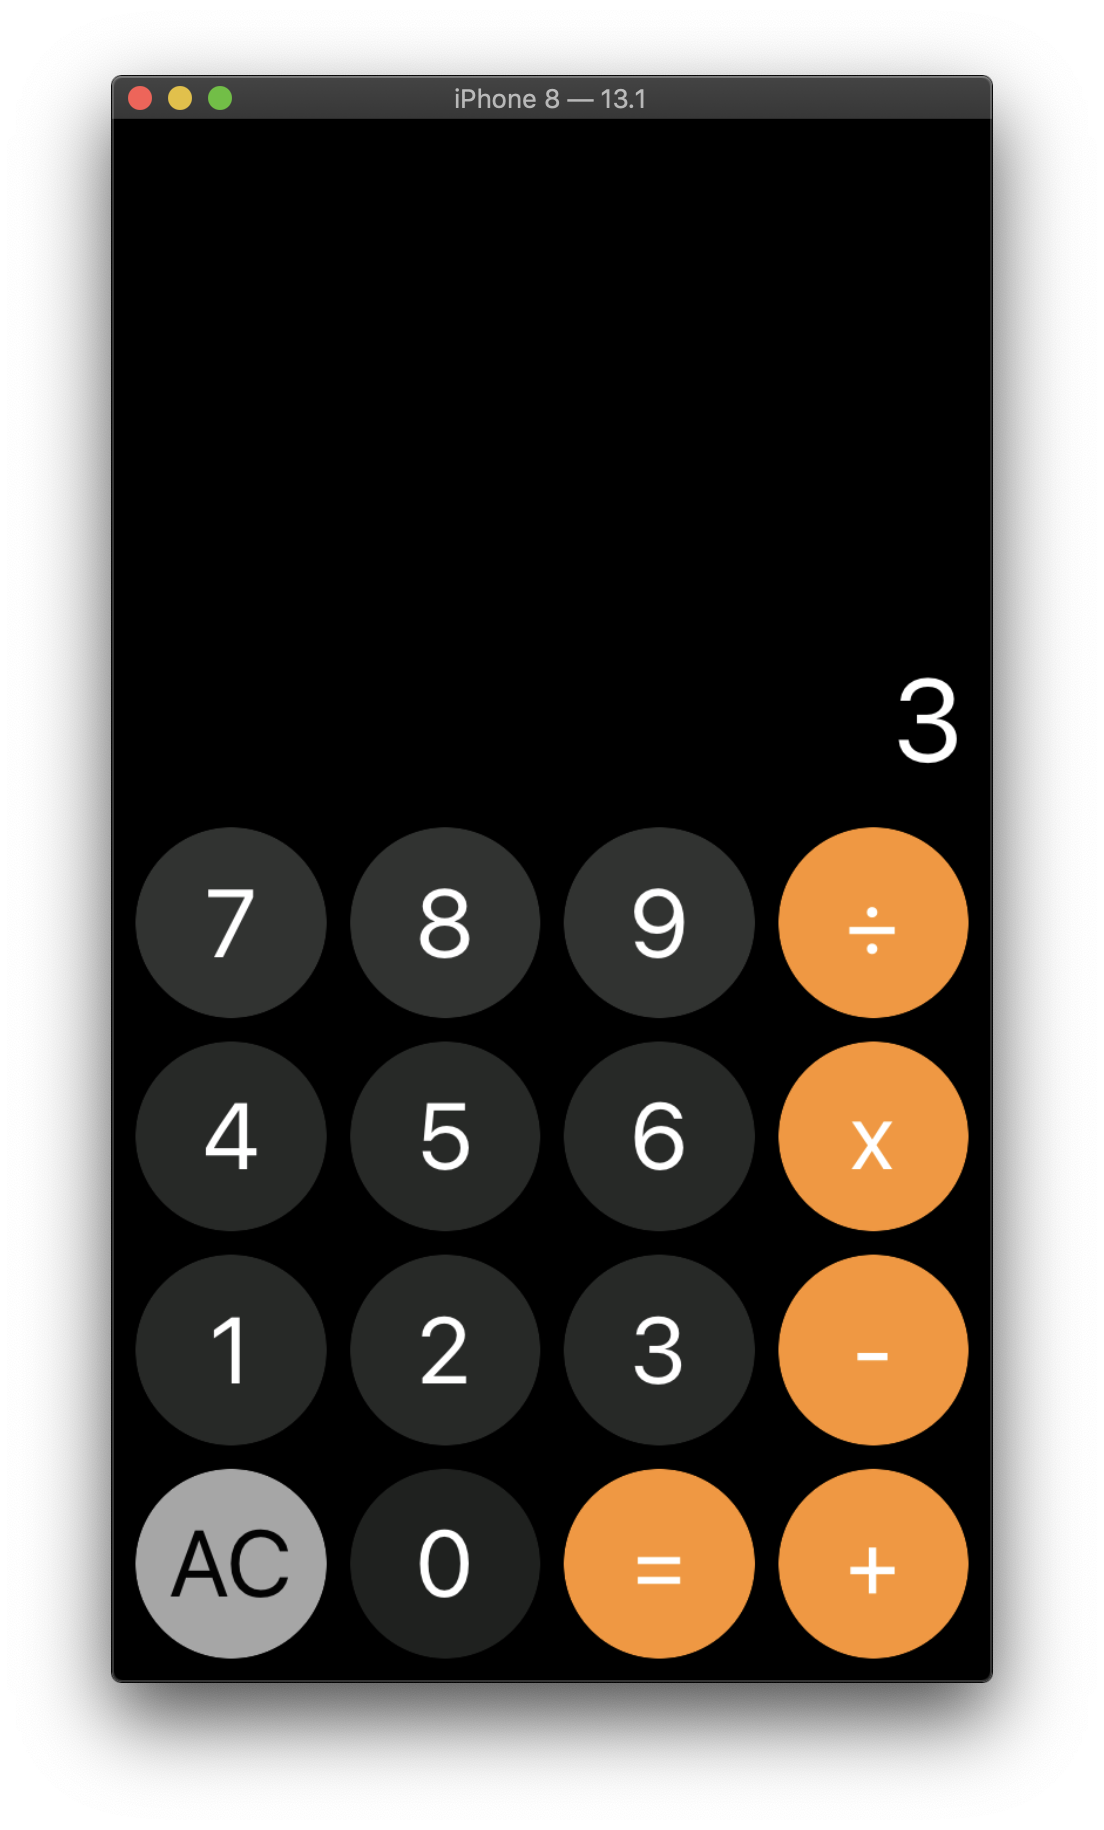
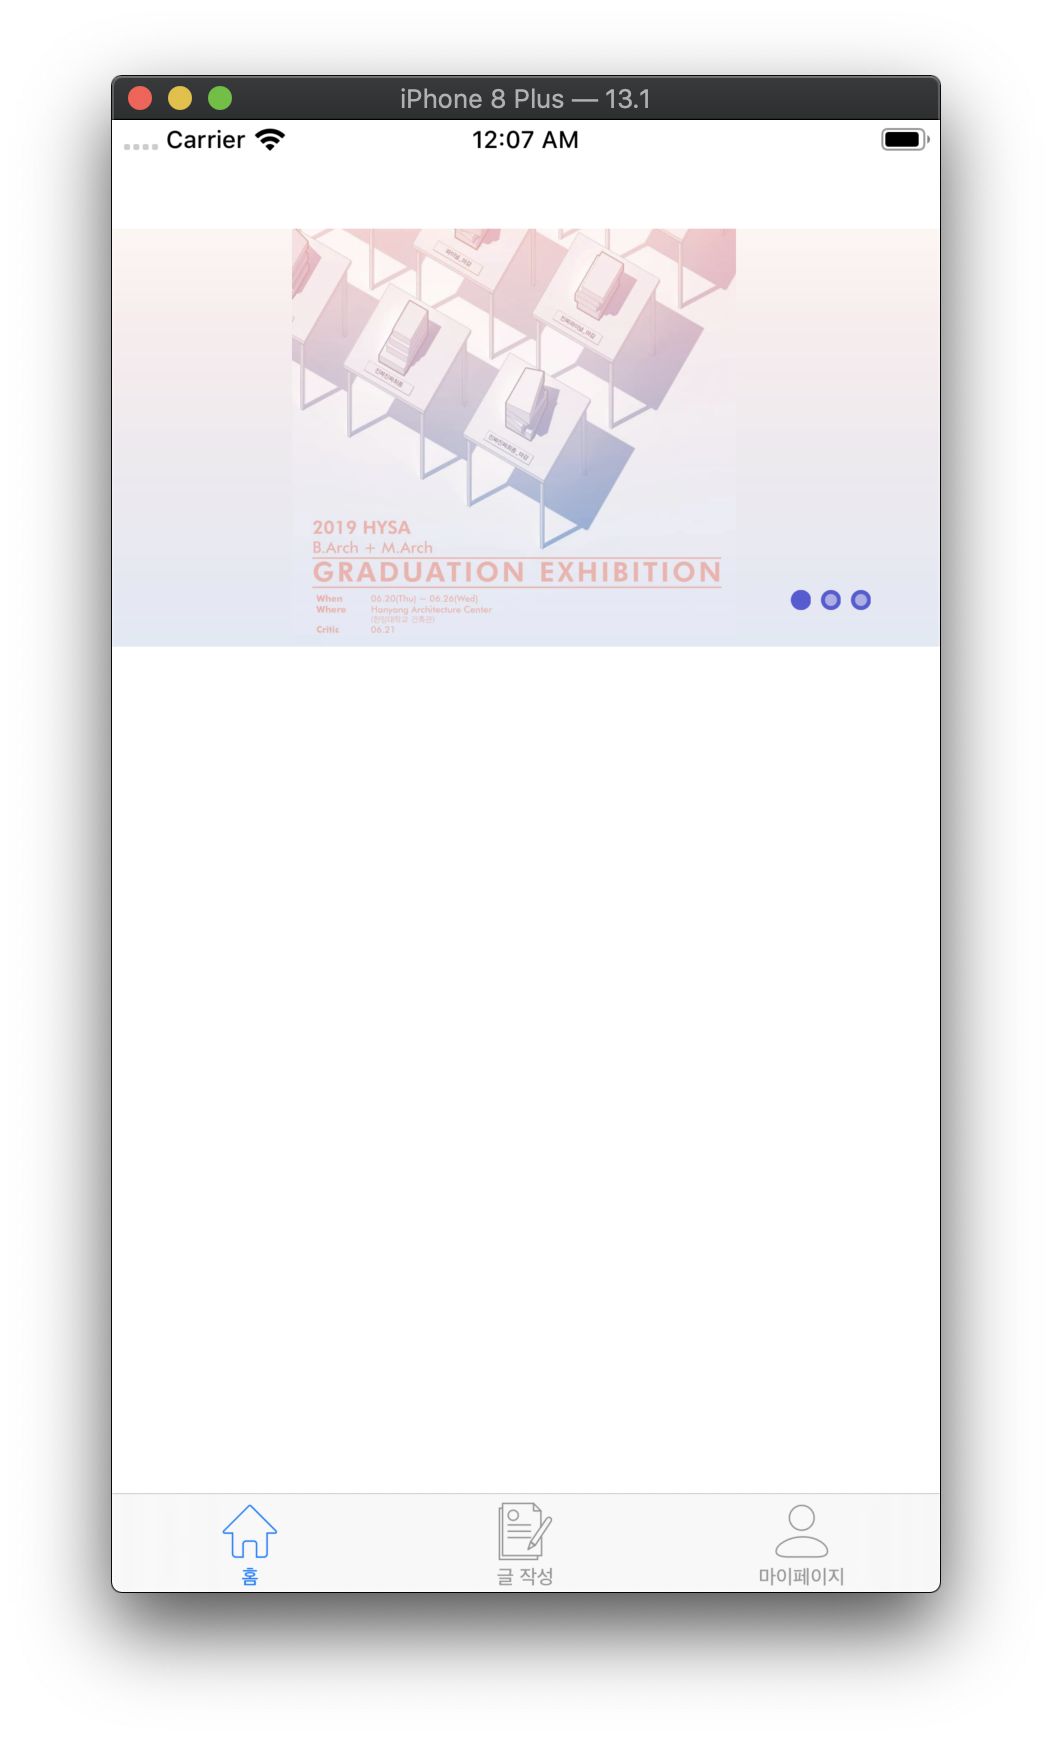
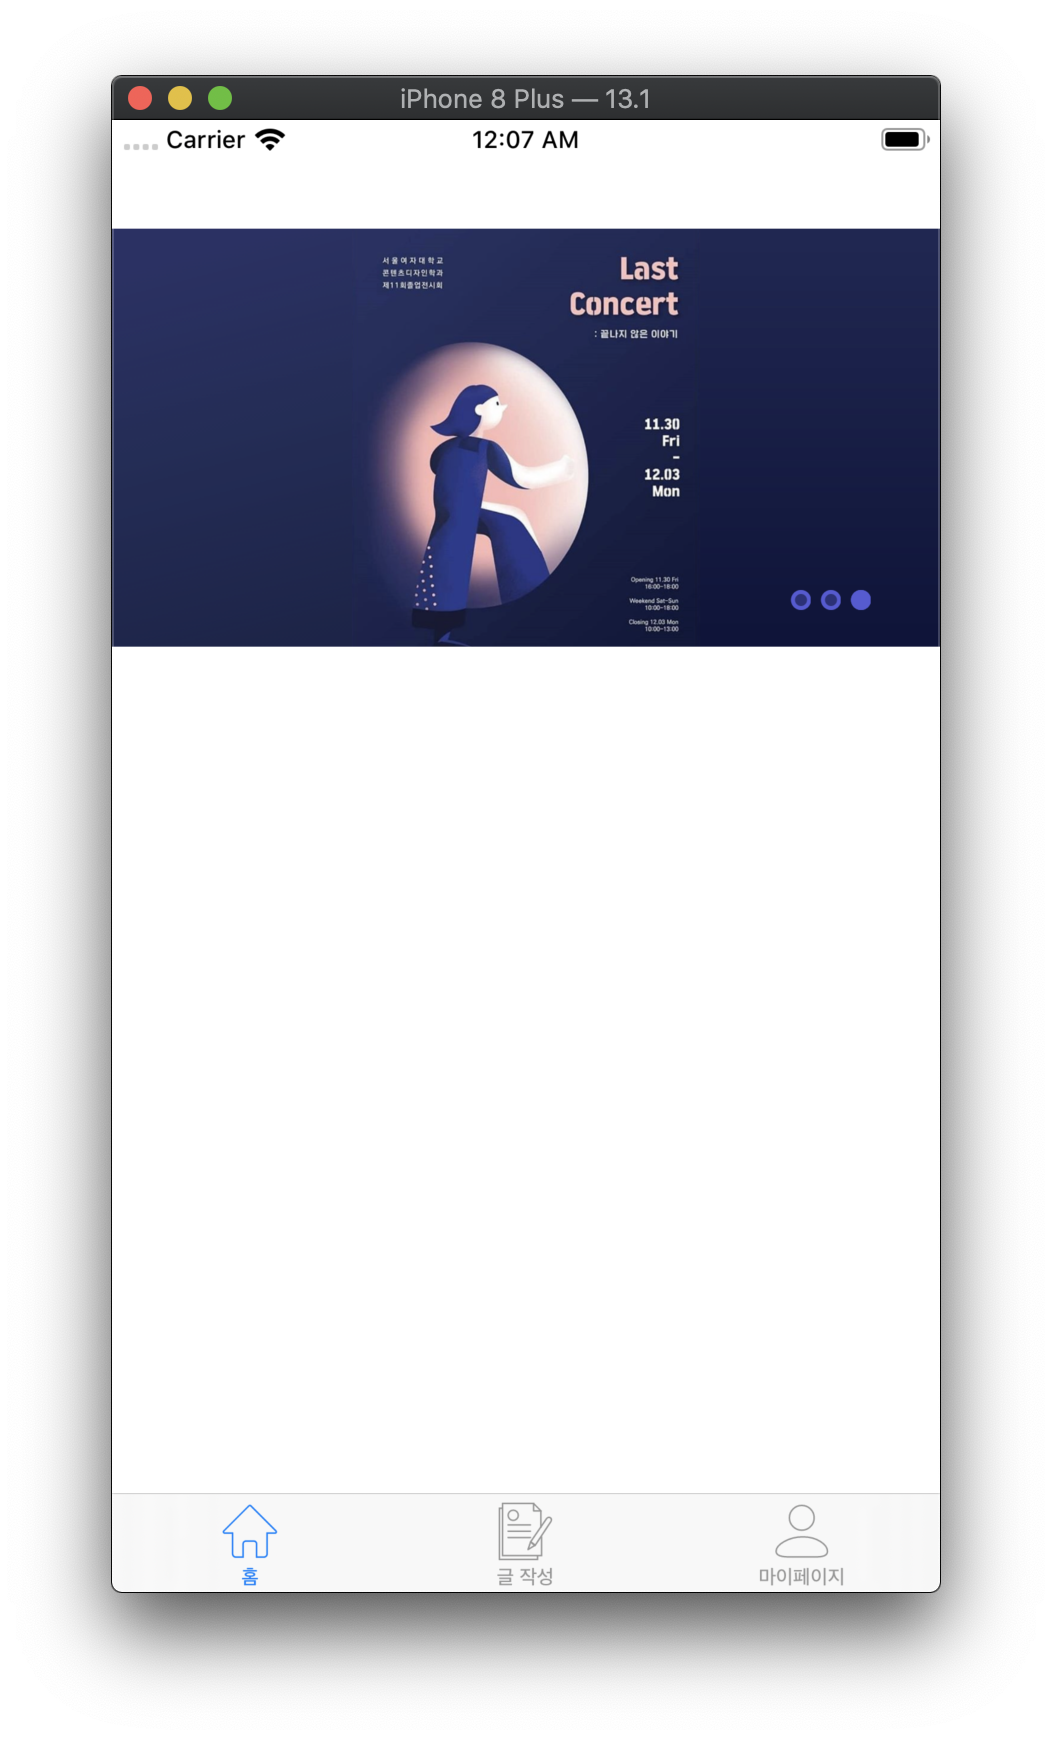
- CollectionView
func collectionView(_ collectionView: UICollectionView, numberOfItemsInSection section: Int) -> Int {
    //bannerList의 갯수만큼 return
        return appDelegate!.bannerList.count

    }
func collectionView(_ collectionView: UICollectionView, cellForItemAt indexPath: IndexPath) -> UICollectionViewCell {

                let bannerCell = collectionView.dequeueReusableCell(withReuseIdentifier: "BannerCell", for: indexPath) as! BannerCell // 커스텀 CollectionViewCell의 BannerCell으로 캐스팅 시켜준다.

                let banner = appDelegate!.bannerList[indexPath.row]
                bannerCell.banner?.image = banner.bannerImg
  //bannerCell에 image 넣기.
                return bannerCell

    }
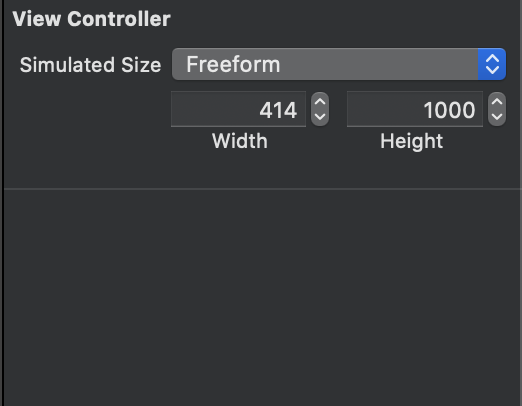
스크롤 뷰를 담을 뷰 컨트롤러의 Simulated Size를 fixed 에서 freeform 으로 바꾸고 height 크기를 1000으로 잡아준다
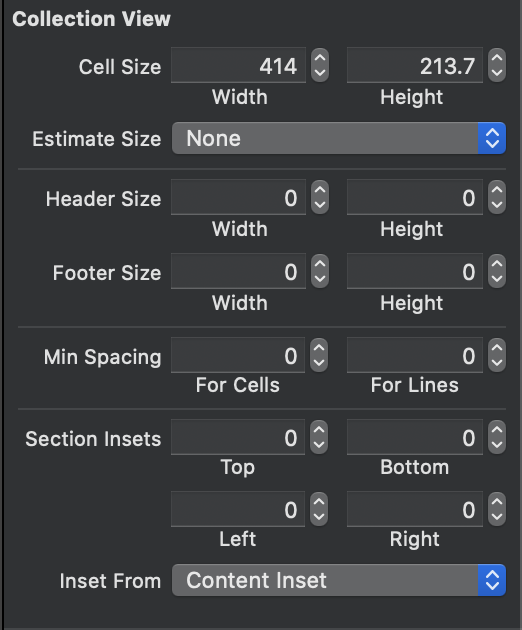
estimate Size를 Automatic으로 하지말고 Cell Size를 임의로 414, 213.7로 수정한다. Min Spacing 은 0, 0으로 바꿔주자. 그리고 Size 수정이 안되면 스토리보드에서 직접 사이즈를 키워주자
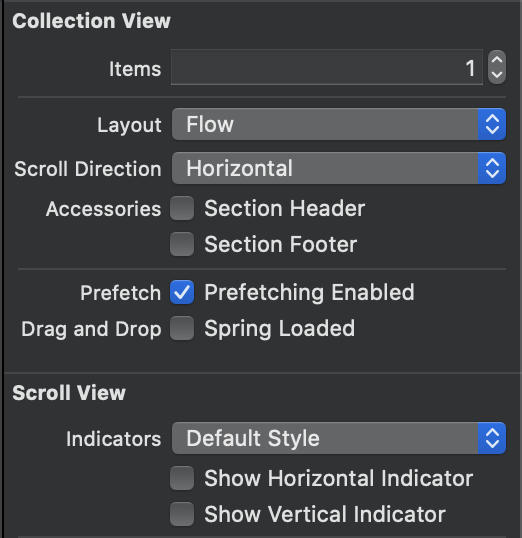
Scroll Direction을 Vertical 에서 Horizontal로 변환해서 세로 스크롤이 아니라 가로스크롤로 할 수 있게 바꿔준다. 그리고 Indicator 속성을 체크해제
- import Library using Cocoapods
- CHIPageControl //Indicator같은 느낌!

    func scrollViewDidEndDecelerating(_ scrollView: UIScrollView) {

        let x = scrollView.contentOffset.x
        let w = scrollView.bounds.size.width
        let currentPage = Int(ceil(x/w))
        print(currentPage)
        self.paging.set(progress: currentPage, animated: true)
    }
//@IBOutlet weak var paging: CHIPageControlAleppo!
//paging을 연결하여 animate 작동시켜주기- 아직 세로 스크롤 뷰는 구현하지 X
- Alamofire
- HTTP, REST API
//Decodable Protocol..
//Codable struct 생성
//Codable protocol은 JSON, plist 등으로 이루어 진 데이터를 편리하게 객체로 변환해주는 protocol..
//Decodable과 Encodable로 이루어져 있다.

// MARK: - ResponseString // 성공했을 때 response body
struct ResponseString: Codable {
    let success: Bool
    let message: String
    let data: DataClass?
    //Codable...
    //data는 DataClass의 객체
}

// MARK: - DataClass
struct DataClass: Codable {
    let userIdx: Int
    let id, password, name, phone: String
    //DataClass는 userIdx, id , password, name, phone의 인스턴스를 가지고있다.

}
let decoder = JSONDecoder()
//decode 해주기위한 객체
print("value", value)
let result = try decoder.decode(ResponseString.self, from: value)
//value로 부터 값을 뽑아낸다, ResponseString 을 JSON으로 만들고
//Decode할 타입으로 만들어줌
print(result)
// ResponseString에 있는 success로 분기 처리
switch result.success {
//ResponseString에서 만든 Bool 형의 success
case true:
print("success")
completion(.success(result.data))
//completion으로 result.data 전달
case false:
completion(.requestErr(result.message))
//completion으로 result.message 전달
}

- XLPagerTabStrip
- 상단 탭바
- Programmingly implementing components without Storyboard
let point1LeadingConstraint = NSLayoutConstraint(item: pointLabel1, attribute: .leading, relatedBy: .equal, toItem: view, attribute: .leading, multiplier: 1, constant: 62.5)
// LeadingConstraint를 코드로 구현
let point1VerticalSpace = NSLayoutConstraint(item:pointLabel1, attribute: .top, relatedBy: .equal, toItem: nameLabel, attribute: .bottom, multiplier: 1, constant: 2)
// VerticalConstraint를 코드로 구현
NSLayoutConstraint.activate([point1WidthConstraint, point1HeightConstraint, point1LeadingConstraint, point1VerticalSpace])
- Alamofire
- Postman
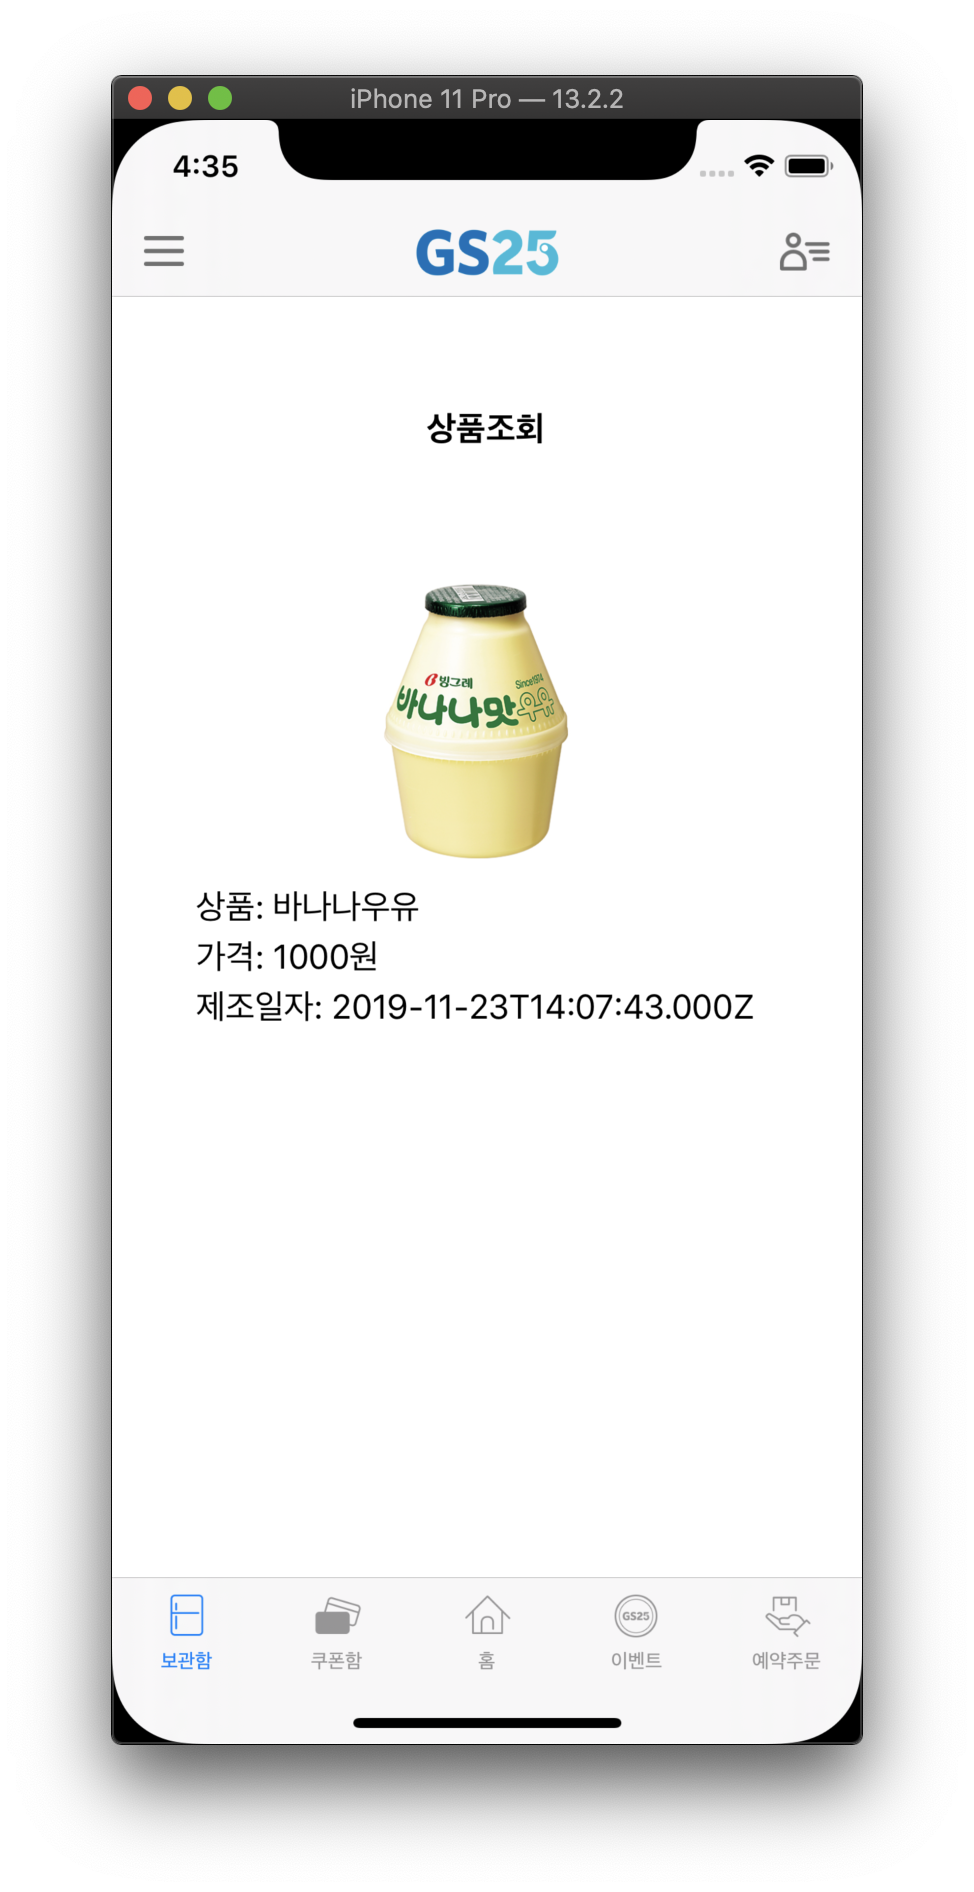
//상품 조회하는 func.. 싱글턴으로 통신 성공한 데이터를 관리하여 data를 캐스팅!
func StorageCheck() {
        DataManager.sharedManager.productCheck()
            {
                data in
                switch data {
                case .success(let data):
                    DataManager.sharedManager.setStorageList(list: data as! [DataClass])
                    self.setUp()
                  //setUp으로 getStorageList()시켜준다
                case .requestErr(let message):
                    self.simpleAlert(title: "로그인 실패", message: "\(message)", type: 0)
                case .pathErr:
                    print(".pathErr")
                case .serverErr:
                    print(".serverErr")
                case .networkFail:
                    self.simpleAlert(title: "로그인 실패", message: "네트워크 상태를 확인해주세요.", type: 1)
                }
        }
    }
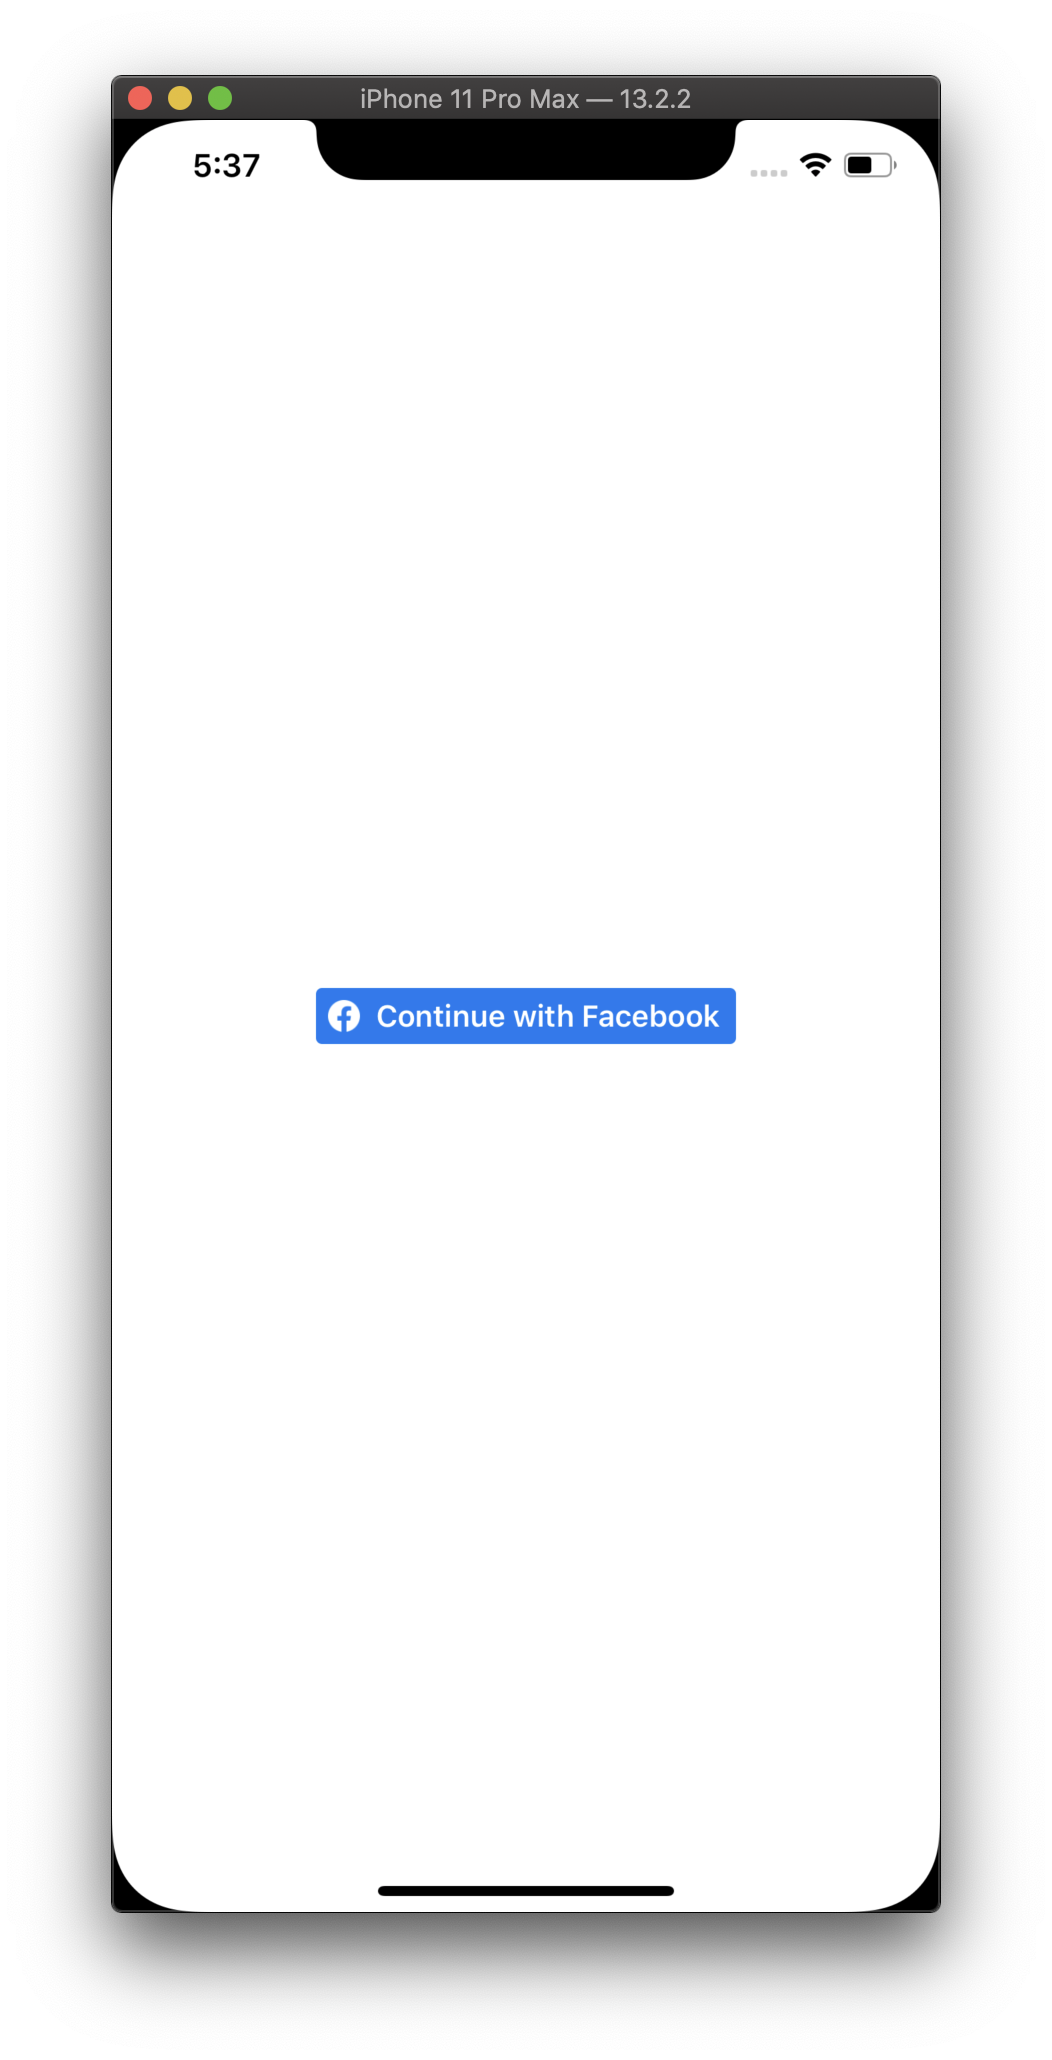
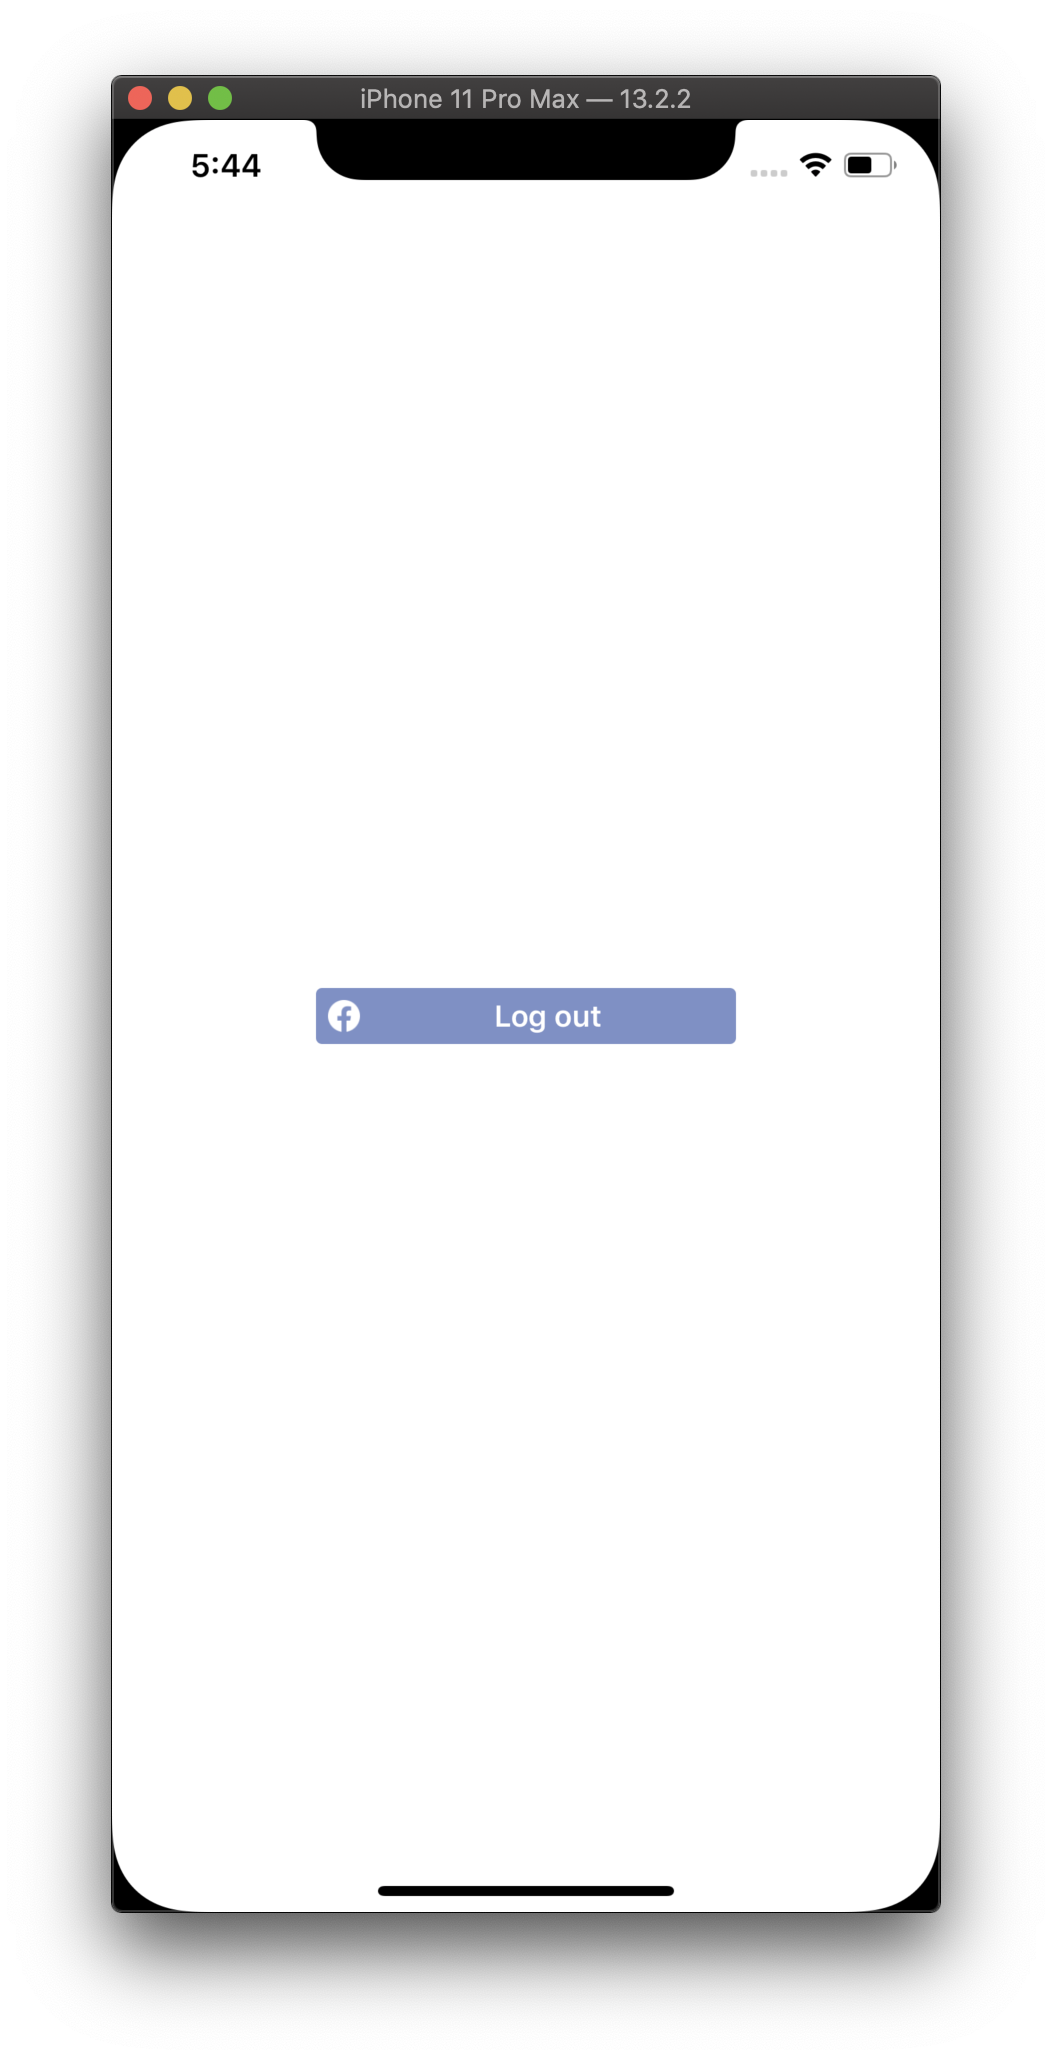
- Facebook Social Login
- OpenURL
func application(_ app: UIApplication, open url: URL, options: [UIApplication.OpenURLOptionsKey: Any] = [:]) -> Bool {
           let handled = ApplicationDelegate.shared.application(app, open: url, sourceApplication: (options[UIApplication.OpenURLOptionsKey.sourceApplication] as! String), annotation: options[UIApplication.OpenURLOptionsKey.annotation])
           return handled

    }

   let loginBtn = FBLoginButton()
        loginBtn.permissions = ["email"]

        loginBtn.center = view.center
        view.addSubview(loginBtn)