This project accomplishes motion and touch tracking using simple household stuff like Aluminium Foil, CardBoard and an Arduino Uno.
- Arduino IDE
- Processing 3.0.
- Obsessive Camera Direction
- Minim (audio library)
- PeasyCam (mouse-controlled camera)
-
Audio cables (sheilded)
-
Arduino UNO
-
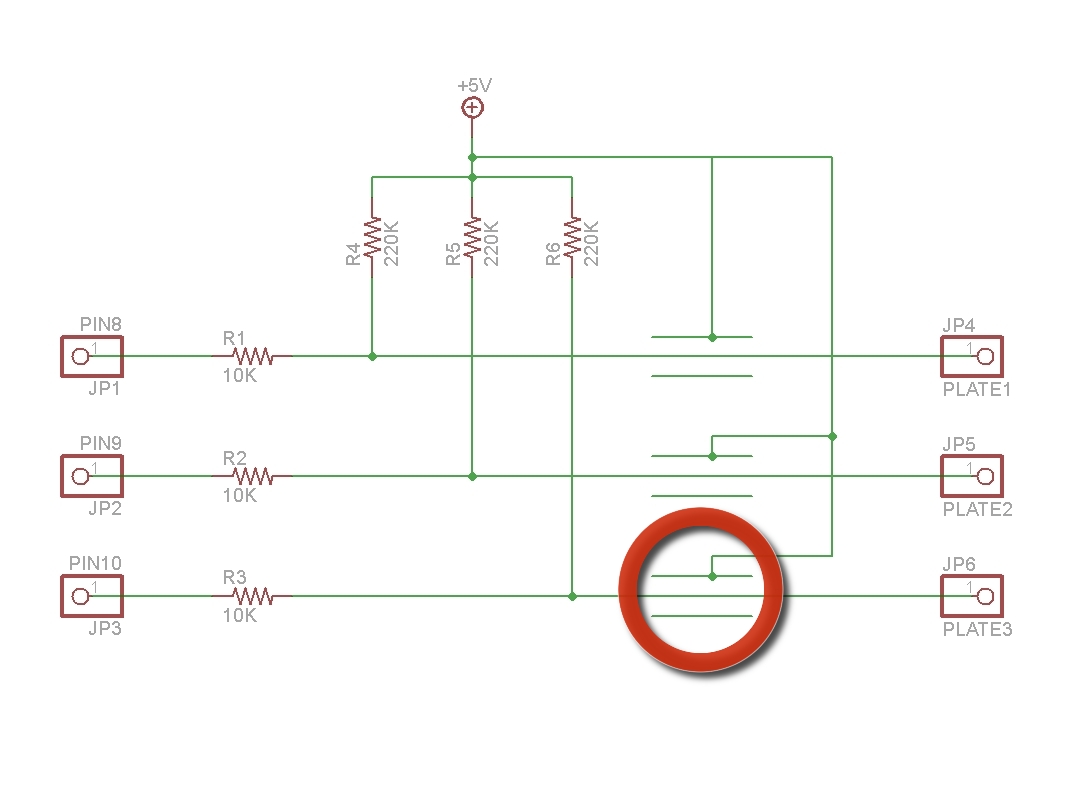
Another cardboard with aluminium foil coated to provide us GROUND.
This sketch tracks motion of your hand and presents it in a 3D block grid arrangement wherein the yellow sphere denotes your hands position
![]()
Uses same code as above and uses hands motion to control a camera's viewing angle

uses hand gestures to produce different sound output like different chords of guitar
uses hands gestures inside a 3D game.Aim is to suck people in and dodge missiles

This implementation uses both motion and touch tracking wherein all the 3 plates(X,Y,Z) become touch surfaces as well

Uses motion tracking to control 3D blocks height. This is still a work in progress.

- Get the hardware setup ready as shown in above image.
- Open arduino IDE and load the Arduino_sketch.ino file which is in the Arduino_sketch folder.
- Run the arduino sketch after connecting uno to the computer. Solve any issues like permissions denied(for ports).
- Check if sketch is uploaded properly by opening serial monitor(tools->serial monitor). It should spit out 3 numbers continuously. These numbers denote your X,Y,Z plates of the cardboard assembly.You can check if each plate is working or not by touching the plate.On touching the values of the particular plate should show significant change(increase in values).
- Now, open one of the processing sketches mentioned above. Before running the sketch remember to close arduino serial monitor.
- Next the system will require calibration wherein you place your hand on ground plate and move your hand from the top half of cardboard assembly to the innermost point of the assembly.(Do not touch the plates)
- Now you are good to go. PLAY WITH IT! HAVE FUN.
These articles have very good explanation and will guide you properly through the hardware setup. Article1.


